Craft Sewing Table Setup for Confident Machine Maintenance
By Aisha Thompson • 29th Sep
What to do
Set up your craft sewing table around your machine, body, and maintenance routine—not a universal size. Prioritize comfortable posture, clear needle visibility, a stable level surface, useful lighting, open leg space, and an easy-to-reset work area.
- Start with: Test the table while seated: keep your shoulders relaxed, forearms supported, the needle visible without leaning, and the foot-pedal area unobstructed.
- Then: Create separate machine, active-care, and landing zones; level the table before organizing, and position lighting to reduce shadows and glare.
- Important prerequisite: Keep electrical safety central: inspect the cord, turn the machine off when threading, and unplug it when not in use. Stop immediately for burning smells, sparks, damage, or unusual noises, and contact the retailer or manufacturer.
Important: There is no evidence-backed universal table size or safe model-independent procedure for opening motor covers or servicing internal electrical parts.
A craft sewing table should make routine machine care feel calm, visible, and repeatable, not turn it into a hunt for a screwdriver, bobbin, or clear patch of space. The best craft sewing table setup is not defined by one "perfect" table size. It is a work surface fitted to your machine, your body, and the small maintenance tasks you actually perform. Begin with workflows; the right bench choices follow.
A table that supports comfortable posture, clear needle-area visibility, a level surface, and simple tool organization can provide a practical starting point for arranging your craft corner. Confidence is a shop multiplier: when the table is ready, you are more likely to notice issues early, pause safely, and return to sewing without frustration.
What makes a sewing table right for maintenance?
For this purpose, the right sewing machine maintenance table is one that lets you sit upright, reach what you need, see the work clearly, and keep the area beneath the table open for your legs and foot pedal.
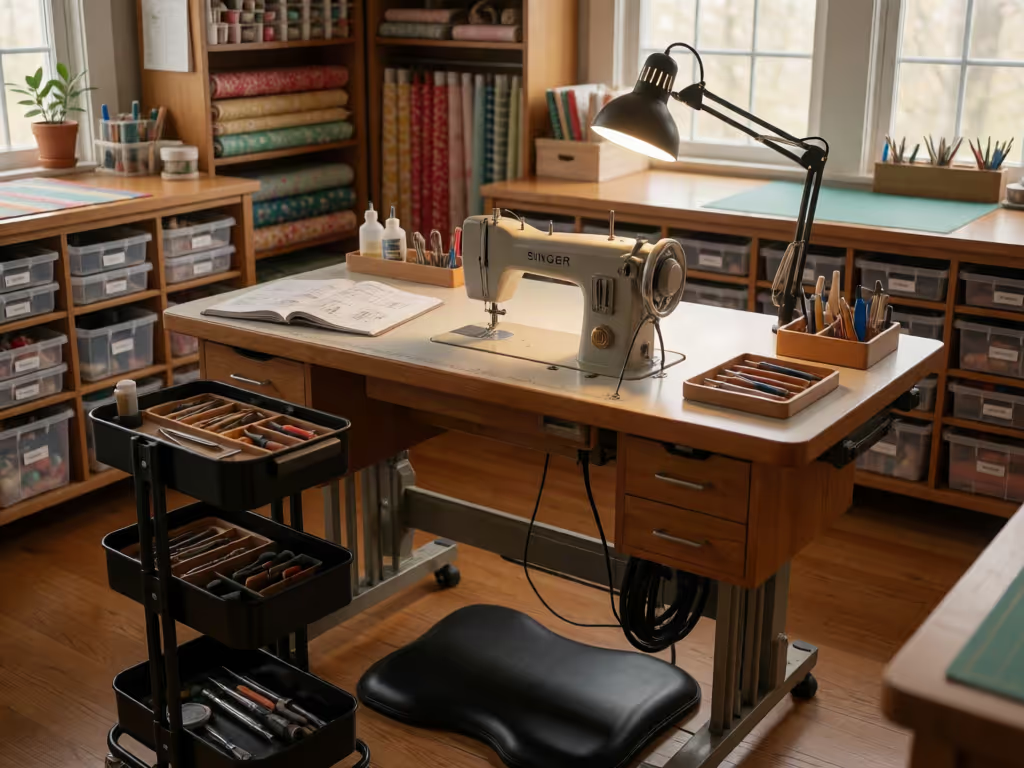
Occupational sewing-workstation guidance is especially useful here: table height should allow a comfortable upright sitting position while letting you reach and see all work areas, particularly the needle. That is a fit test, not a fixed measurement.
Use this table-fit checklist
Sit at the table with the machine in its normal position. Before adding drawers, organizers, or accessories, check that:
- You can see the needle area without leaning forward.
- Your shoulders stay relaxed rather than lifted.
- Your forearms can rest on the work surface without a hard, sharp edge pressing into them.
- You can reach the machine controls and the items used for routine care without repeated twisting or overreaching.
- The space under the table is clear enough for natural leg movement and pedal placement.
A table that is too low encourages hunching, which can strain the back, neck, and shoulders. A table that is too high can make you raise your shoulders, placing unnecessary strain on the neck, shoulders, and arms. Small fit problems become noticeable quickly during close-up work.
Choose a table by how well you can sit, see, and reach, not by a universal dimension that may not suit your machine or your body.
There is no one evidence-backed tabletop width, depth, height, or capacity that fits every home sewing setup. Measure your particular machine and consider the materials you handle. Then leave enough clear surface to place those materials down without covering the machine controls or needle area.
Build the table around clear zones
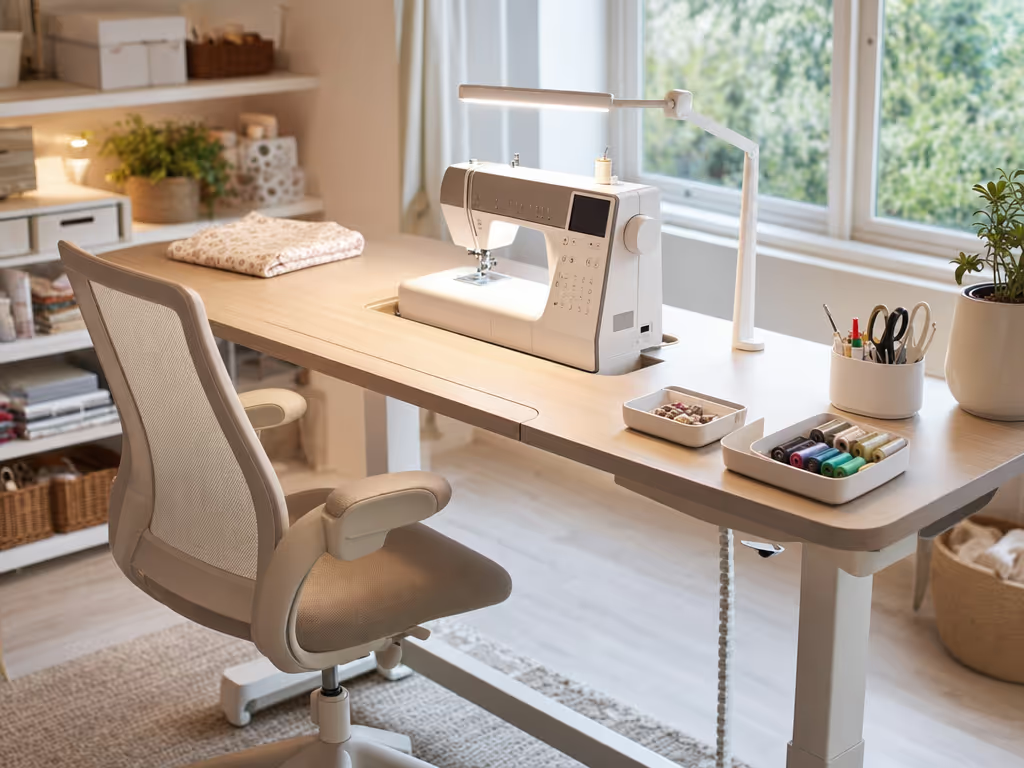
A clean craft machine work surface needs fewer zones than most people think. Give each one a job, and resist letting supplies migrate across the entire table.
1. Machine zone
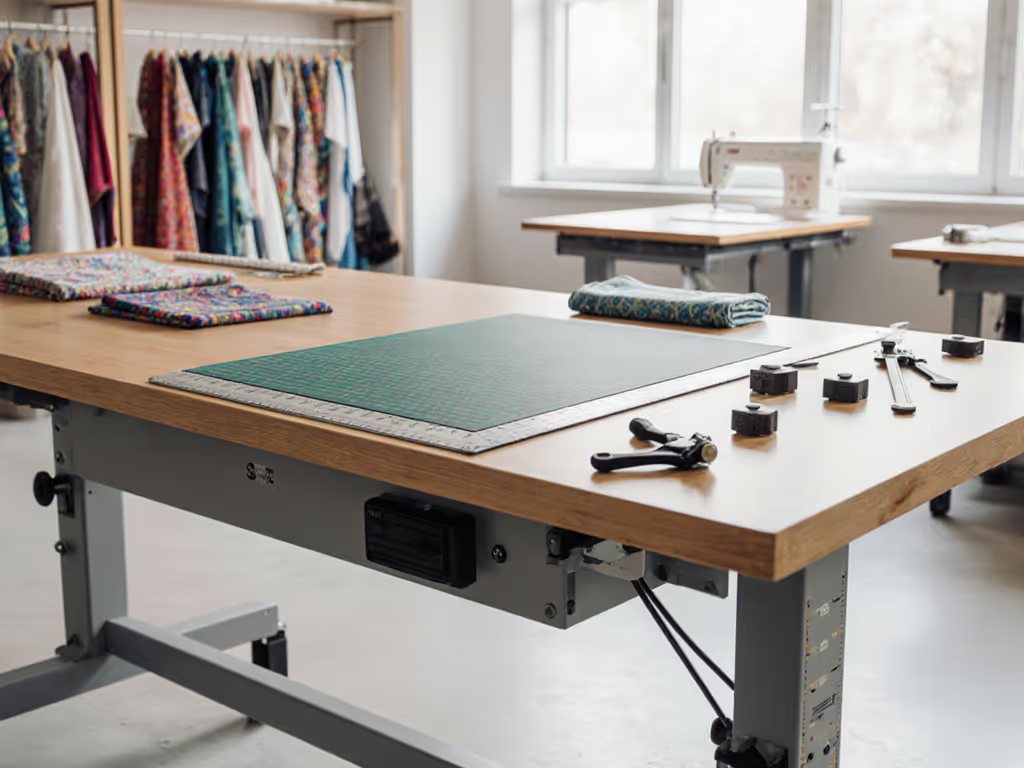
This is the machine's permanent working position. Keep the needle area visible and avoid piling tools on the bed or around moving parts. If your table includes a machine cutout, an insert can lower the machine so its sewing bed sits level with the tabletop. That may be helpful for some setups, but verify cutout dimensions, insert compatibility, and the adjustment method for your exact machine before buying or building anything.
2. Active-care zone
Reserve a small, reachable area beside the machine for only the items involved in the task at hand. The point is not to create a large repair station; it is to avoid working over loose parts, fabric scraps, and unrelated supplies.
Keep this zone easy to clear in one motion when you return to sewing. A shallow container can keep bobbins together temporarily; a small rope bowl works well for that purpose. Drawer and tabletop organizers can also help, provided they do not steal the leg clearance you need.
3. Landing zone
Give fabric, a manual, or a removed accessory a place to rest away from the needle and power controls. This simple buffer prevents the machine zone from becoming a pile.
If you work with larger projects, attachable side or rear leaves are one good option for adding material support. Add surface only when it solves a real handling problem; a larger table is not automatically a more usable table in a compact room.
Set stability before you organize
Before organizing, check whether the table rocks on the floor where it will live.
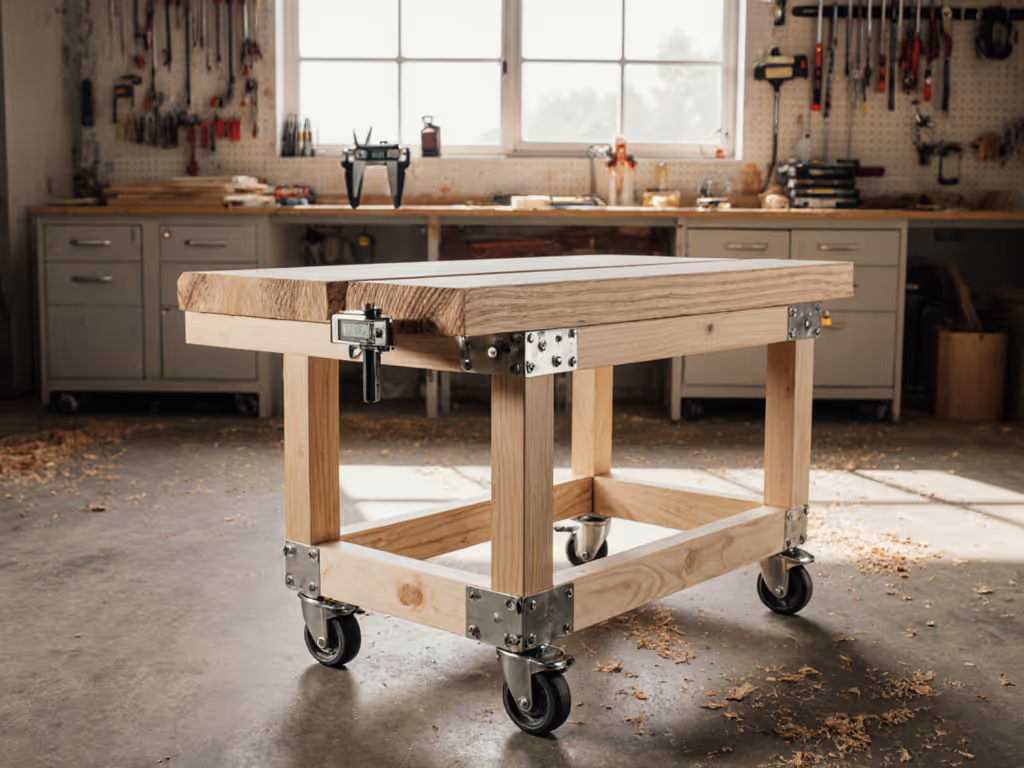
Start with an empty table and check it on the floor where it will live. Adjustable leveling feet and a simple level can remove wobble on uneven floors. Treat that as practical setup advice rather than a universal performance specification. The goal is simply a table that feels settled before you place the machine and supplies on it.
Use this short reset:
- Put the table in its intended position.
- Remove loose items from the top and lower shelf.
- Check for rocking from each corner.
- Adjust the table's leveling method, if it has one, until the wobble is gone.
- Recheck after the machine is positioned.
- Keep the same layout for a few sessions before deciding what needs to move.
On my first solo build, I lost far too much time chasing tools buried under materials. The fix was not more storage, it was a clear surface, fixed locations, and an easy reset. The same principle works here. A maintenance table earns its space when you can restore it quickly after each session.
Light the needle area, not just the room
Machine maintenance is detail work. Use lighting that lets you see the work area clearly, especially the needle.
Occupational guidance uses 500 lux as an example of sufficient ambient work-area lighting and recommends at least 1,000 lux in the sewing area. These are workplace guidelines, not a mandatory home requirement, but they make the practical point well: use enough light to see clearly at the machine.
Place task lighting so it helps rather than hides detail. Check for:
- Shadows cast by your hands or head across the needle area.
- Glare reflecting from the machine bed or tabletop.
- Strong contrast between a bright lamp and an otherwise dark room.
- A light position that remains useful when you change sitting position.
A few minutes spent adjusting the workbench lighting can be more valuable than adding another organizer.
Keep electrical safety at the center of the setup
A thoughtful table layout makes safe pauses easy. Electrical Safety First advises keeping sewing machines unplugged when they are not in use. It also advises turning the machine off when threading the needle, and notes that unplugging is even better.
Make that simple behavior part of the table's routine:
- Keep the plug accessible; do not bury it behind storage.
- Inspect the power cord before use to make sure it is in good condition.
- Route the cord so it is not snagged by your chair. For height-adjustable tables, avoid routing cords where they can be caught in the lifting mechanism.
- Clear the table before plugging in, rather than working around clutter.
If you notice a burning smell, sparking, cracks or damage, or unusual noises, switch the machine off immediately and contact the retailer and/or manufacturer. Unplugging is an important safety step, it is not permission to open or service internal electrical or motor areas without model-specific guidance.
Make the setup sustainable
The table does not have to support every possible craft task. It needs to reliably support the next one. Keep the surface easy to reset, retain leg room, and vary your position and tasks during longer sessions. Occupational guidance recommends changing sitting positions, taking breaks, moving while handling materials, and varying tasks to reduce one-sided physical stress.
At the end of a session, use a 60-second closeout:
- Put small supplies back in their assigned home.
- Clear the machine bed and surrounding surface.
- Check that the cord is not pinched or tangled.
- Turn the machine off and unplug it when it will not be used.
- Leave the active-care zone empty for the next session.
Explore your next improvement
Start by changing one friction point, not by replacing the whole table. Perhaps it is clearing the leg area, leveling a wobble, moving a lamp, or giving bobbins one dependable home. Use the setup for several sessions, notice what repeatedly interrupts you, and improve only that part next.
A well-arranged craft sewing table is not about having more gear. It is about making careful work easier to begin, and easier to enjoy.
Related Articles