The Textile Workbench Buying Guide for Flawless Fabric Work
By Aisha Thompson • 25th Oct
When you're selecting your textile workbench, you're not just picking a table; you're building the foundation for every project you'll create. The right workshop bench transforms frustrating fabric sessions into flowing, joyful making. I've seen countless textile artists and sewists struggle with ill-fitting tables that fight their workflow instead of supporting it. Today, I'll help you find a workbench that disappears into your process, letting you focus entirely on your craft. Confidence is a shop multiplier. When your foundation feels solid, your creativity flows.
Why Your Workbench Choice Matters More Than You Think
On my first solo project, I wasted hours chasing clamps and tools buried under fabric scraps. It wasn't until a mentor helped me reset with clear zones and fixed work points that my projects actually became fun again. That single afternoon taught me to begin with workflows; the right bench choices follow. A well-structured textile workspace doesn't just organize your materials; it shapes your entire creative experience.
For textile makers, the wrong bench leads to fabric tension issues, inaccurate cuts, and unnecessary strain. The right one supports your body, organizes your workflow, and stays invisible while you create. Let's build your perfect foundation together.
#1: Surface Size That Matches Your Fabric Projects
Your work surface should accommodate your largest regular project with room to maneuver. Different textile tasks demand different dimensions:
- Quilting: Minimum 72" x 36" for batting and backing management
- Apparel: 96" x 48" for full fabric layouts and pattern spreading
- Embroidery: 60" x 30" works for smaller hoop setups but consider growth
A cramped fabric cutting table forces you to work in sections, creating alignment issues that show up in finished garments. Measure your largest regular project, then add 12" in each direction for comfortable handling.
Pro tip: If space is tight, prioritize depth over width. A 36" deep surface accommodates most fabric widths while fitting in narrower rooms. For small studios, the compact 72" x 36" craft sewing table offers surprising versatility without overwhelming your space. If you're short on space, see our compact workbench comparison to find a footprint that fits your studio.
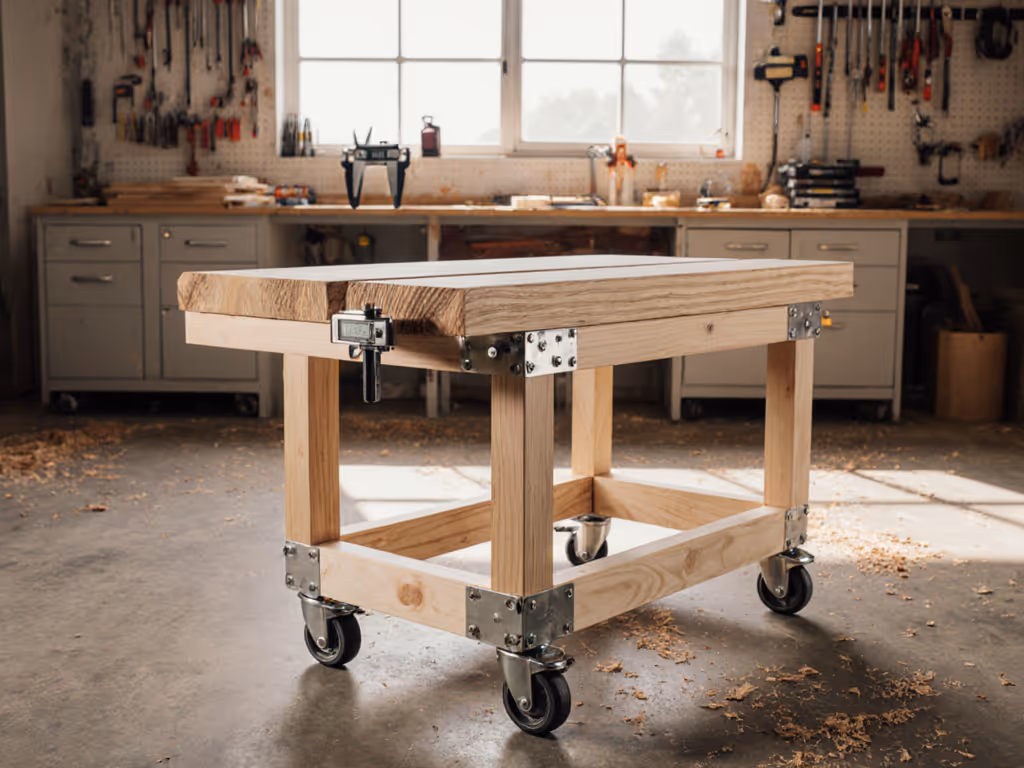
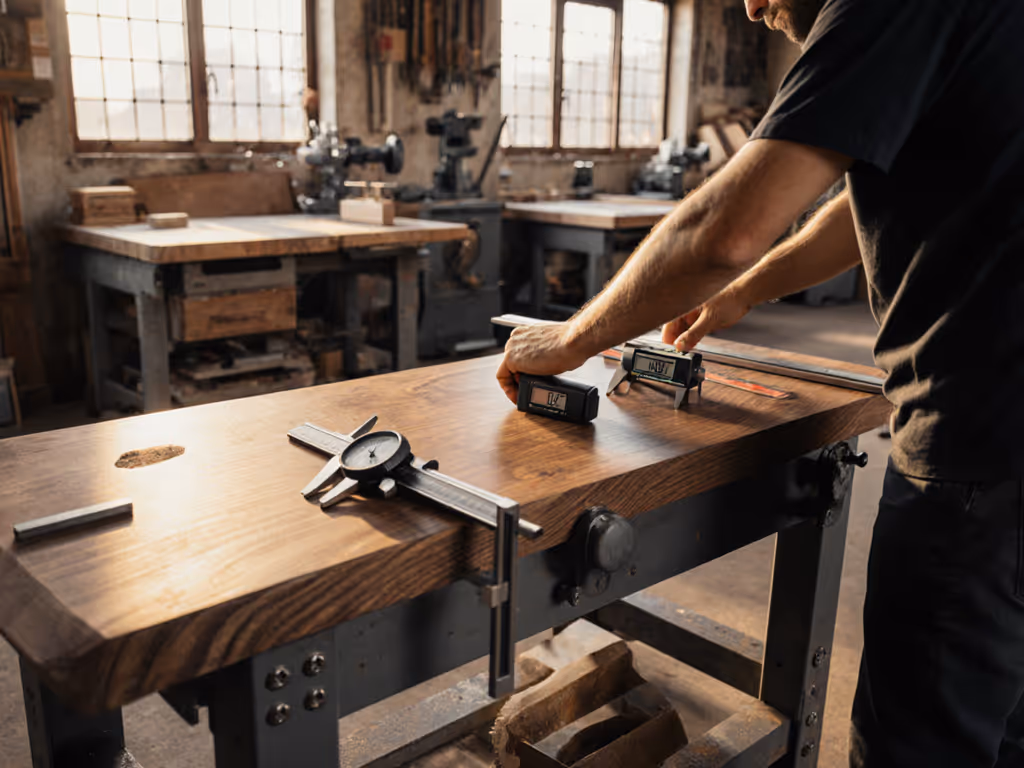
#2: Stability That Stays Rock-Solid Under Fabric Pressure
Textile work creates unique stability challenges. Unlike woodworkers who apply downward force, fabric makers often pull and stretch materials across the surface. This lateral tension reveals weaknesses in lesser benches.
Look for:
- Reinforced frames with cross-bracing (especially underneath)
- Heavy-duty legs with corner gussets
- Minimum 1,000 lb capacity (even if you're not putting that weight on it)
Most fabric cutting tables fail through subtle wobble during layout, not complete collapse. That microscopic movement causes fabric to shift during cutting, creating frustrating inaccuracies in your final pieces. A bench that doesn't fight you builds confidence through consistency.
#3: Ergonomic Design for Hours of Comfortable Creation
Sitting or standing? The answer depends on your workflow and physical needs. For textile work, consider these ergonomic factors:
- Adjustable height (28"-42" accommodates most positions)
- Knee clearance minimum 24" deep x 24" wide
- Edge radius (1/4" softens accidental bumps during long sessions)
If you'll be sitting for embroidery or detailed handwork, ensure your bench allows proper alignment: elbows at 90 degrees, feet flat on floor. For standing work, the sweet spot is usually elbow height when arms are relaxed at sides.
Personal note: As someone who's recovered from wrist strain, I can't overstate how much proper height matching extends your creative years. Your body should feel supported, not compromised, after a long sewing session.
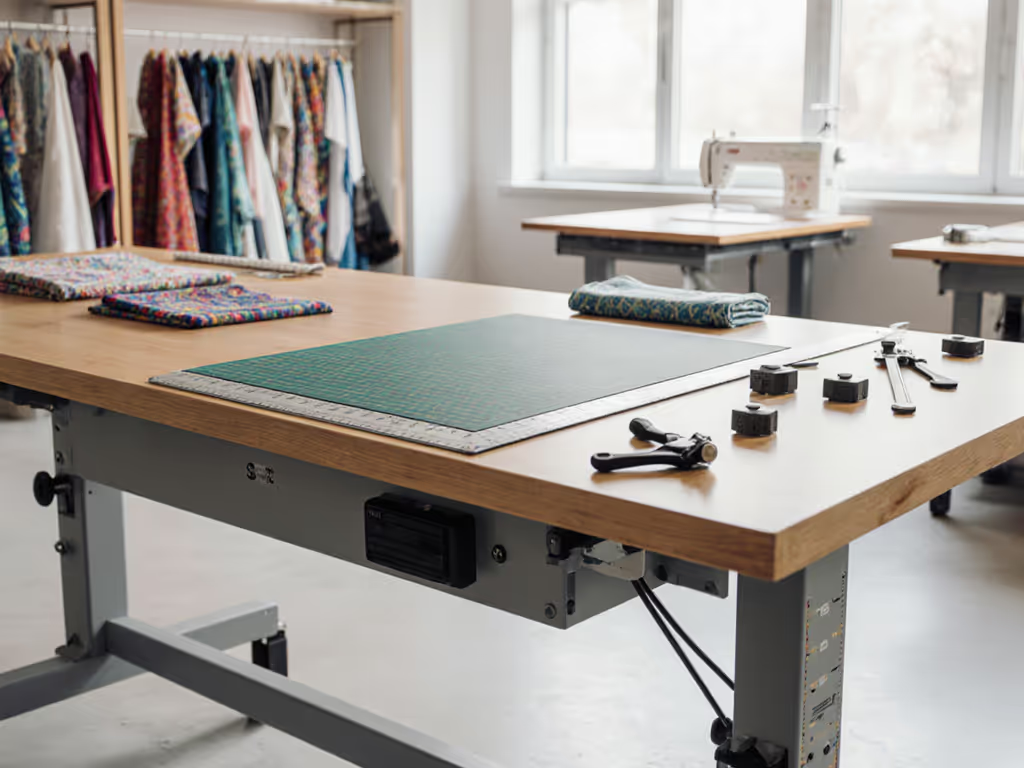
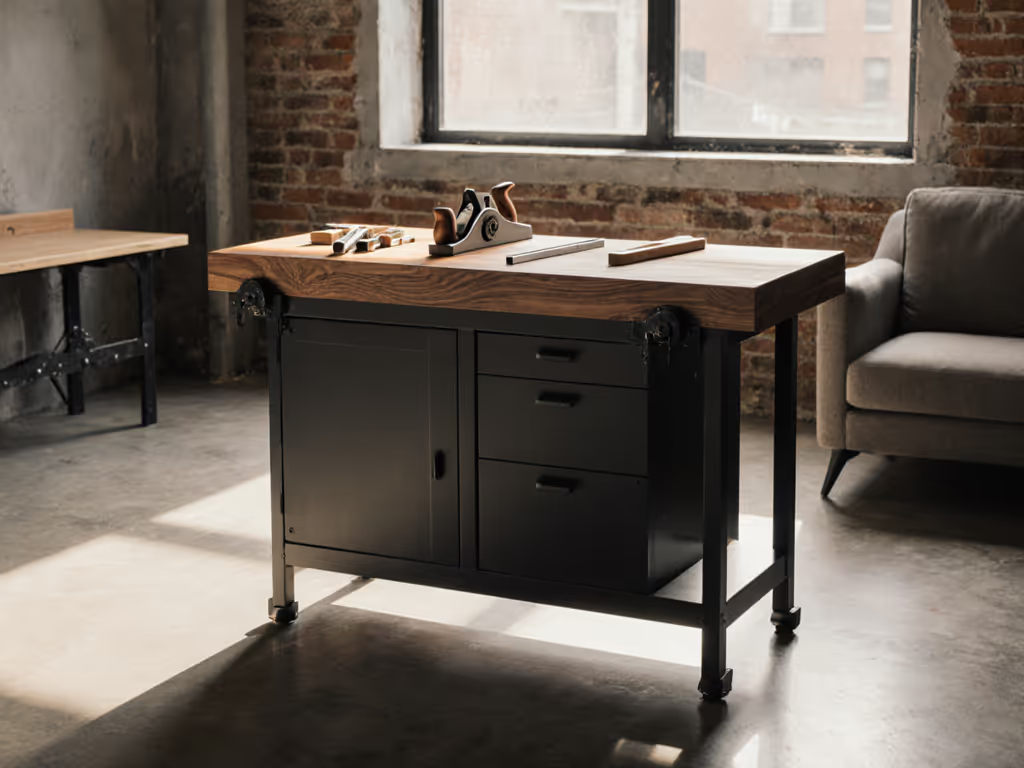
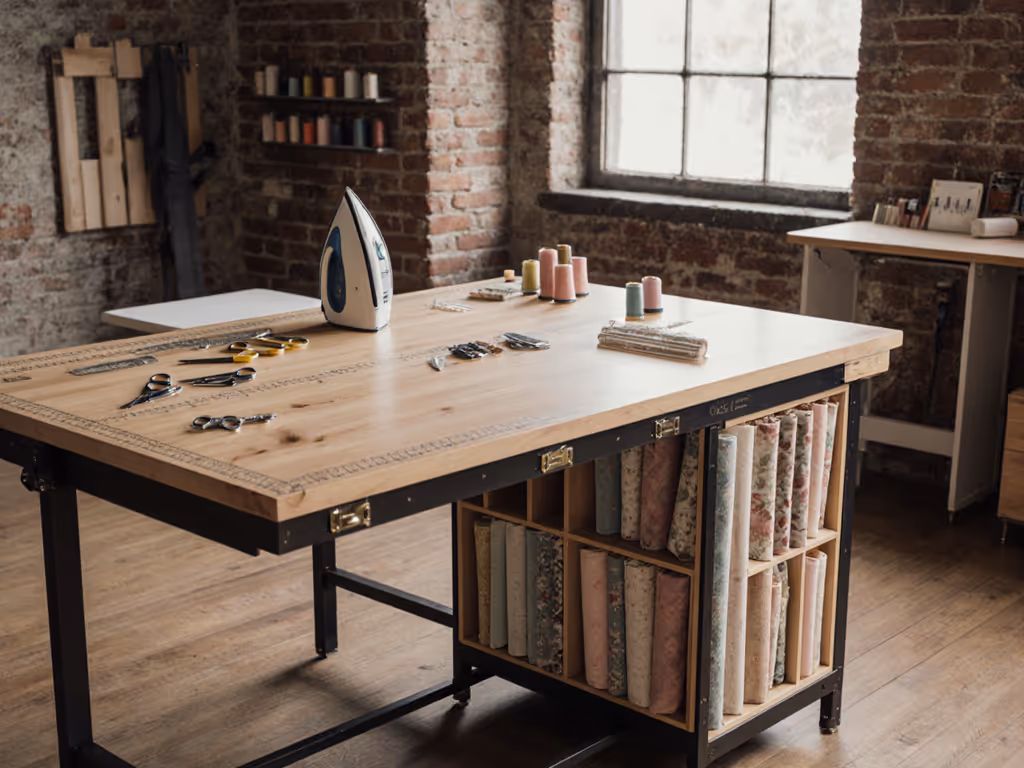
#4: Smart Storage Solutions for Textile Workflows
A workbench that doesn't organize your tools creates decision fatigue with every project. Your embroidery work surface should integrate storage that matches textile-specific needs:
- Under-table shelving for fabric bolts and cutting mats
- Pegboard backing for hanging rulers, scissors, and marking tools
- Roll-out trays for notions and small tools that disappear on flat surfaces
Forget generic "craft storage": textile makers need organization designed for their specific tools. Fabric scissors, rotary cutters, and marking pens have different storage needs than woodworking tools.
The best setups create "tool homes" within easy reach but out of your primary work zone. This reduces reaching and searching, keeping your workflow smooth and frustration-free. I recommend mapping your most-used tools before selecting storage options. Then use these workbench storage hacks to keep rulers, cutters, and notions within reach.
#5: Surface Material Options for Textile-Specific Needs
Unlike woodworkers, textile makers need surfaces that balance smoothness with slight grip. Here's how common options perform for fabric work:
| Material | Pros | Cons | Best For |
|---|---|---|---|
| Phenolic resin | Smooth glide, resists marking | Can be too slick for some fabrics | Precision cutting |
| Birch plywood | Affordable, slightly grippy | Requires sealing, dents easily | Budget-conscious makers |
| Laminate | Durable, consistent texture | Edges can snag fabric | General sewing/cutting |
| Rubberized mat | Excellent grip, quiet | Can create drag during cutting | Stretchy fabrics |
For most textile applications, a laminate surface with a matte finish provides the best balance of smoothness and slight grip. Avoid glossy surfaces that cause fabrics to slide unexpectedly during layout. For a low-friction yet durable option, compare our top phenolic resin workbenches picks.
#6: Height Adjustability for Multi-Task Textile Work
The "perfect" height for cutting differs from embroidery or hand-finishing. Consider these approaches:
- Fixed-height bench: Ideal if you primarily do one type of textile work
- Adjustable legs: Simple but limited range (usually 2-4")
- Electric height adjustment: Best for multi-task studios (cuts fabric strain)
For hybrid workspaces, look for benches that accommodate both seated and standing heights. Many modern designs include cutouts for adjustable chairs or footrests that tuck away when not in use. If frequent task-switching is your norm, an adjustable height workbench can save your back and speed up setups.
#7: The Essential Pressing Station Connection
Here's what most textile workbench guides miss: your cutting and sewing surface needs to integrate with your pressing station. That's why I always recommend considering your iron setup when selecting your main work surface.
Enter the oliso TG1600 ProPlus Smart Iron with Auto-Lift, a game changer that pairs perfectly with any thoughtfully designed textile workspace. This isn't just another iron; it's an ergonomic extension of your workflow.
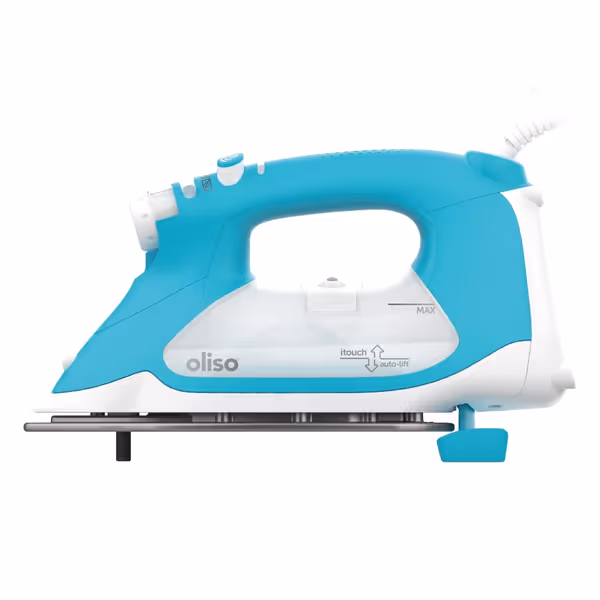
oliso TG1600 ProPlus Smart Iron
Effortless, safe ironing with Auto-Lift technology for makers.
$199.99
Wattage1800W
Wattage1800W
Pros
Auto-Lift prevents scorching & wrist strain.
Diamond Ceramic-Flow soleplate glides smoothly.
Precision detailer tip for intricate work.
Cons
Steam functionality can be inconsistent.
Durability concerns reported by some users.
Customers find this iron excellent for sewing and appreciate its ease of use, heat-up time of just a couple of minutes, and auto-lift feature. The functionality receives mixed feedback - while it works well for quilting, some report it stops working after a year. The steam quality and value for money also get mixed reviews, with some saying it delivers great steam while others report it doesn't steam at all, and some find it worth the price while others say it's not worth the money paid. The auto shut-off feature receives mixed reactions, with some appreciating the automatic shut-off after 30 minutes of non-use while others report it failing after one month.
Customers find this iron excellent for sewing and appreciate its ease of use, heat-up time of just a couple of minutes, and auto-lift feature. The functionality receives mixed feedback - while it works well for quilting, some report it stops working after a year. The steam quality and value for money also get mixed reviews, with some saying it delivers great steam while others report it doesn't steam at all, and some find it worth the price while others say it's not worth the money paid. The auto shut-off feature receives mixed reactions, with some appreciating the automatic shut-off after 30 minutes of non-use while others report it failing after one month.
"Confidence is a shop multiplier."
When you don't have to worry about scorched fabric or wasted time waiting for your iron to heat up, your entire creative process accelerates.
The genius of the ProPlus Smart Iron lies in its auto-lift feature. When working at a dedicated textile bench, you'll frequently move between cutting/sewing and pressing. With traditional irons, you waste time and create risk through:
- Constantly lifting and setting down the iron
- Waiting for the iron to cool before setting it down
- Accidental burns from forgetting to turn it off
The Smart Iron solves all these with its touch-activated auto-lift system. Simply take your hand off the handle, and it raises itself off your fabric: no more scorched materials or anxious monitoring. For textile makers who juggle multiple tasks, this small innovation significantly reduces workflow interruptions.
Why This Belongs in Your Textile Workbench Setup
- Time-saving integration: When your iron lifts itself, you can move between cutting and pressing without breaking rhythm
- Space efficiency: The compact design fits neatly at the end of your workbench without needing a separate ironing station
- Safety for textile-specific materials: The diamond ceramic soleplate glides perfectly over delicate fabrics without snags
- Workflow continuity: With the 30-minute auto-off (extended from the standard 8 minutes), you can focus on sewing while the iron stays ready
This iron isn't just a tool: it's a workflow partner that respects the flow of textile creation. When your pressing station works with you rather than against you, your entire bench setup becomes dramatically more effective.
Creating Your Complete Textile Workspace
Your textile workbench shouldn't exist in isolation. The most effective setups follow this pattern:
- Cutting zone: Largest flat surface, positioned near fabric storage
- Sewing zone: With machine and thread storage, near electrical outlets
- Pressing zone: Featuring your iron and a small mat, connected to cutting zone
- Finishing zone: With good lighting for handwork and quality checks
Map these zones before buying any furniture. For better visibility in the finishing area, use our workshop bench lighting guide to eliminate shadows on fabric edges. Your bench might serve one or multiple functions depending on your space. For small studios, look for multi-functional workbenches that convert between tasks.
The Bottom Line: Your Bench Should Disappear Into Your Process
When you've found the right textile workbench, you'll stop noticing it. It won't wobble during cutting, fight your fabric layout, or force unnatural positions. Instead, it will support your workflow so completely that your focus stays entirely on your creative work.
Remember: Workflow discipline makes modest tools feel world-class and frees your focus for craftsmanship. Start with how you work, then select the bench that supports that process (not the other way around).
Ready to build your dream textile workspace? Take this actionable first step: measure your three most-used tools (probably your cutting mat, sewing machine, and ironing mat), then sketch how they'll flow together on your ideal bench. This simple exercise will reveal exactly what size and configuration you need before you invest in a single piece of furniture.
Confidence begins with foundations that work for you (not against you). When your workshop bench disappears into your process, your creativity takes center stage.
Related Articles