Workflow-First Rolling Workbench for Ecommerce Packing
By Elena Kovács • 6th Sep
Quick answer
The best rolling workbench for ecommerce packing is not defined by a universal size. It should fit your real package, support your task sequence, keep frequently used tools within easy reach, accommodate your posture, and move only when mobility is genuinely useful.
- Short answer: Map how orders arrive, get checked, packed, labeled, and staged before choosing a bench, storage layout, or caster system.
- Key distinction: Size the surface around the largest routine package and nearby supplies without forcing repeated reaching or stretching.
- Important caveat: Carrier and label requirements are service-specific and time-sensitive. Verify current requirements, and confirm loaded caster capacity and rolling-versus-static ratings against the exact hardware.
Important: The evidence supports workflow and ergonomic principles, not a universal bench width, depth, height, surface material, or cabinet configuration.
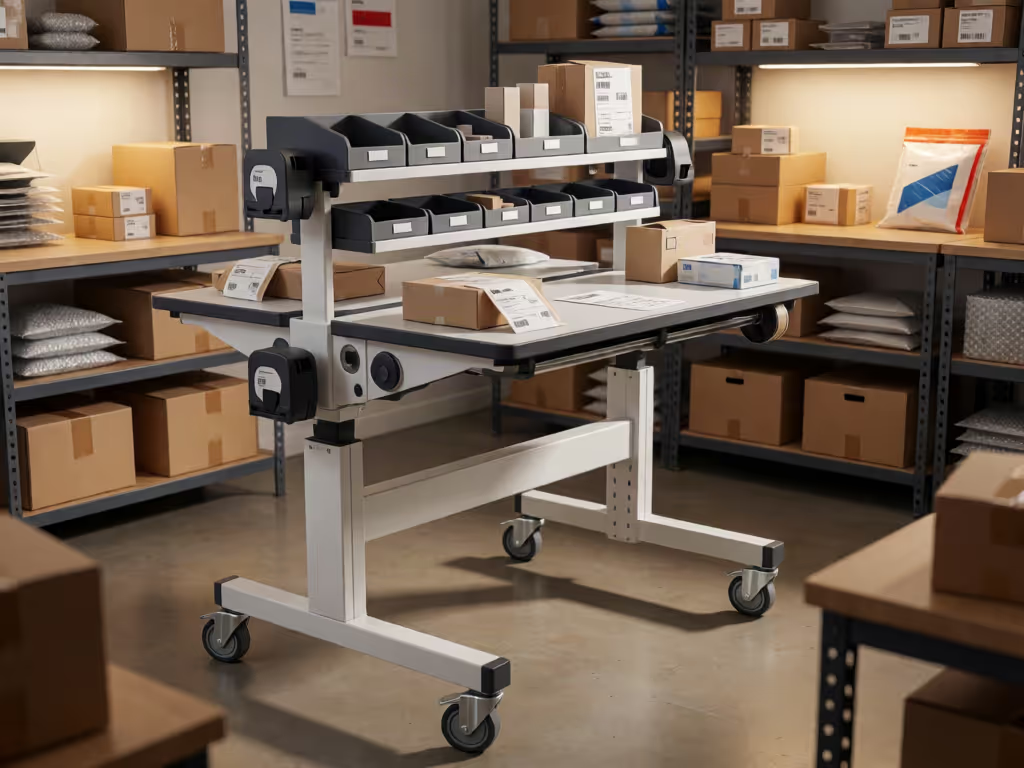
A rolling workbench can serve as a flexible shipping station bench when you design it around the work you actually perform, not around a generic bench dimension or a catalog photo. For a small seller, maker, or shop shipping its own orders, the useful question is not "What is the ideal bench?" It is: Can this ecommerce packing table hold today's package, keep the frequently used tools close, accommodate my working posture, and move when the room needs to change?
That human-first framing matters. Packing-station planning starts with the tasks performed at the station and the order in which they happen. When the surface, supplies, and devices support that sequence, you spend less time reaching across the bench or rearranging it between orders.
Your posture is a spec; design the bench around it.
FAQ: What should a rolling packing bench do first?
It should make the next required action clear and easy to reach.
Before choosing drawers, a top, or caster hardware, write down every task your order fulfillment workstation must handle. Packing-station guidance identifies work such as consolidation, final quality checks, packaging, addressing and labeling, manifesting, and staging. You may do all of those tasks, or only a few.
Then map the flow in your own terms:
- How does the item arrive at the bench?
- What must be checked before it goes into a carton or mailer?
- Which supplies are used to pack and close it?
- Where do the scale, computer or device, and label printer fit?
- Where does the finished parcel go next?
This is not an argument for one fixed left-to-right layout. It is a way to expose unnecessary crossings and reaches in your process. The layout should reflect the work performed at the station and the order in which tasks happen.
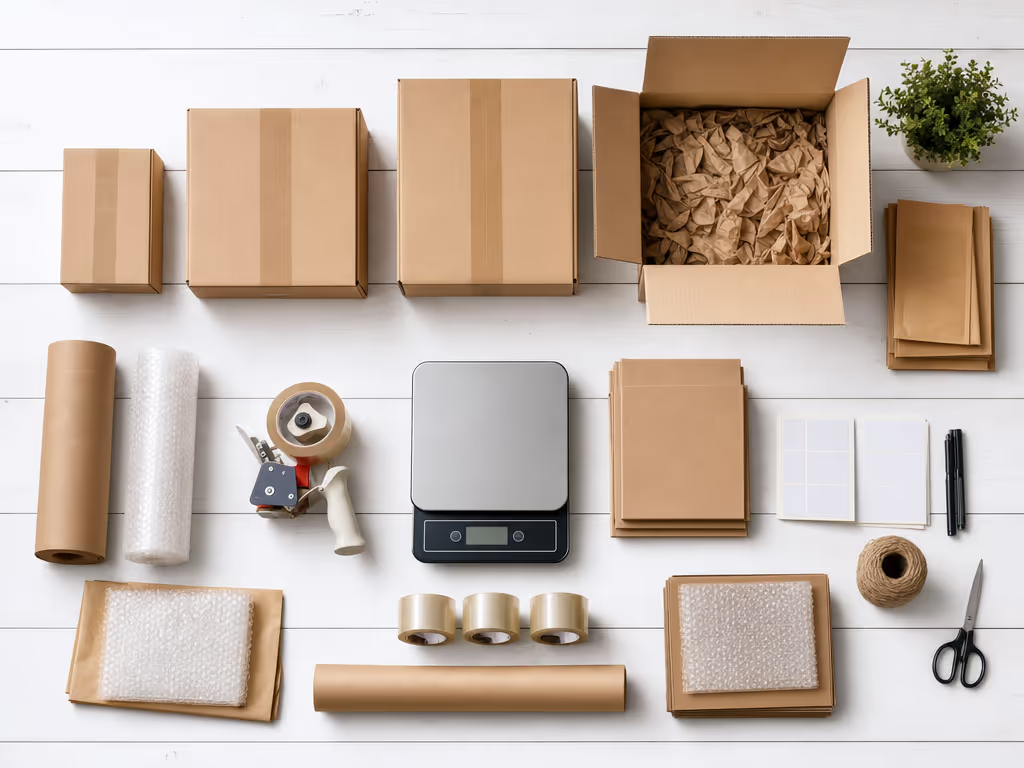
Make a simple inventory while you work through several ordinary orders: cartons or mailers, void fill, tape, a tape dispenser, scale, label printer, computer or tablet, scanner if used, packing slips, and inventory bins. Note which items you touch on nearly every order, which are occasional, and which require more force to use or move. Place more frequent items where access is easiest; placement can also follow the sequence in which you use them.
Small ergonomic wins stack into big improvements when they remove a reach or search from every single parcel. For a deeper look at organizing storage around specific packing tasks, see this workflow-optimized bench storage guide.
FAQ: What is the best size for a rolling workbench?
There is no evidence-backed universal width, depth, or height for a rolling packing bench. A useful size provides enough task space without continual reaching and stretching, while fitting the operator and the actual work placed on the surface.
Size it with the real package, not a hypothetical one
Set out the largest package you routinely prepare, plus the supplies that must sit beside it during the task. If that arrangement forces you to keep shifting items away and back, the surface is not providing enough working room for that workflow. Conversely, a very deep surface can push frequently used items farther away than necessary.
Use a temporary setup (an existing table, sheets of cardboard, or a cleared worktop) to observe where items naturally land during several orders. This is a planning exercise, not a standardized performance test. Its value is that it shows whether the package, packing material, and devices compete for the same limited space.
Fit the bench to the operator
OSHA's computer-workstation guidance supports adjustable desks and cautions that a surface that is too high or too low can encourage awkward posture. That guidance is not a prescribed standing height for packing. Still, it supports a sensible buying or building priority: favor a configuration you can adjust, or modify, such as an adjustable height workbench, rather than assuming one published height fits every operator and every task.
If your station includes seated computer work, keep the under-surface area clear enough for posture changes. OSHA's desk guidance gives 20-28 in (50-72 cm) as general under-desktop leg-clearance height guidance for computer workstations. Treat that as a seated-workstation reference, not as a cabinet-height recipe for every shipping desk.
Protect the primary reach zone
Frequently used devices belong in the primary work zone, the area you can access repeatedly without extended reaching. OSHA applies that principle to items such as keyboards, phones, and mice; applying it to a label printer, scale, or scanner is a practical workflow adaptation, not a fixed placement rule.
For a packing station, that means the tools used on most orders should not live at the back edge, on a distant shelf, or under the bench. Less-used backup stock can sit farther away. Warehouse guidance similarly recommends organizing frequently picked goods between waist and shoulder height, often called the "golden zone."
FAQ: How should I organize supplies on an ecommerce packing table?
Organize by frequency, sequence, and force required. Those three factors are more useful than organizing purely by product category.
Start with three levels of access
- Primary zone: Items used on almost every order (such as your active packing material, tape dispenser, and the device you use to create labels).
- Secondary zone: Supplies used often but not continuously (alternate box sizes, extra tape, inserts, or a backup roll).
- Reserve zone: Bulk inventory and replenishment supplies that do not need to occupy prime space.
Bins, dividers, and totes can help keep supplies organized and in usable condition while making better use of storage capacity. Give each container a defined job. The goal is not decorative minimalism; it is quick visual recognition when you need to replenish or switch materials.
Keep the front edge comfortable
If you lean against the front edge while typing, applying labels, or working on a package, inspect that edge. OSHA notes that hard, angled leading edges can create contact stress; a rounded edge or suitable padding can reduce that issue. This is a modest detail, but it is exactly the kind of detail that makes a station easier to use for a full packing session.
Treat printer placement as a workflow decision
A label printer does not have a universally correct side of the bench. Put it where it supports your own sequence and remains easy to access. For a single fixed station, Shipmondo's vendor guidance describes USB as a simple, stable connection; where several computers or tables share a printer, it suggests network connectivity may suit the arrangement better. Confirm compatibility with your software and network before committing to a setup. If the station also needs integrated power, charging, or cable management, review this workbench electrical integration guide before routing cords or mounting devices.
Likewise, do not buy a printer or label stock based on a supposedly universal carrier format. Shipmondo describes a label size for its own supported carriers, not a standard that applies to every carrier and service.
FAQ: How do I make mobility sensible rather than risky?
Start by calculating the fully loaded bench weight: the bench itself, equipment, stored packing supplies, and the heaviest package load you reasonably expect it to carry.
CasterHQ's commercial sizing guidance uses this planning formula:
(Total loaded weight ÷ 3) × 1.20 = target minimum capacity per caster
For example, if the complete loaded station is 300 lb, the calculation is:
(300 ÷ 3) × 1.20 = 120 lb per caster
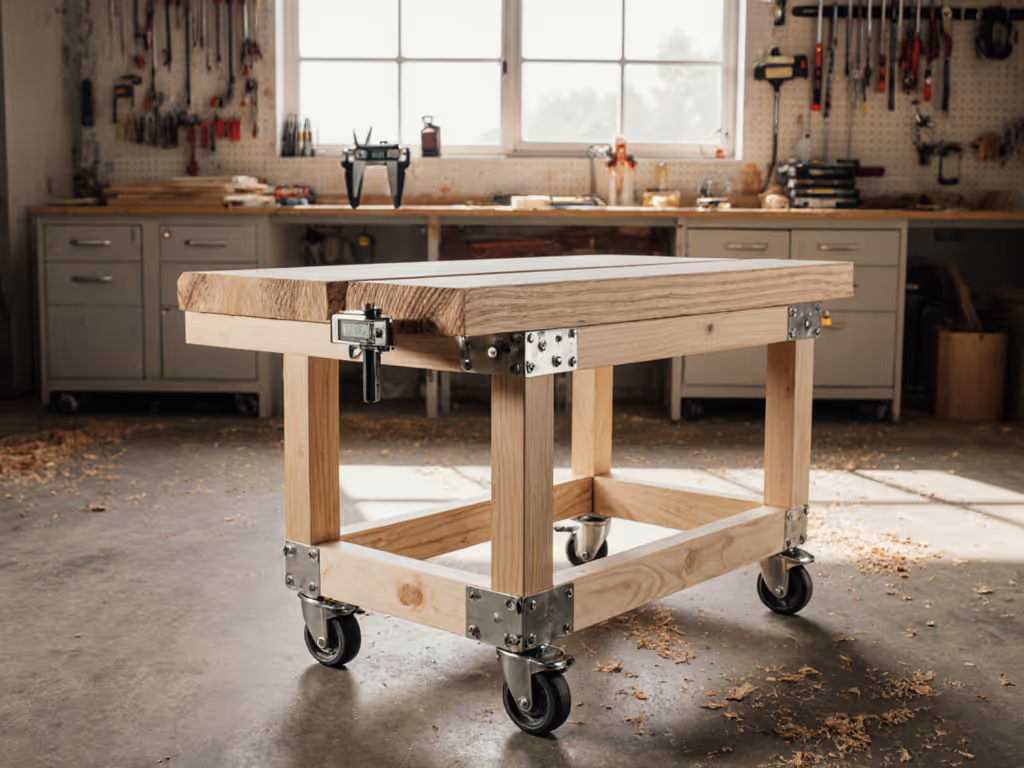
Use that result as an initial planning figure, then verify the actual caster manufacturer's documentation. A dedicated workbench caster system guide can help you compare load ratings, brake designs, installation methods, and stability considerations before choosing hardware. In particular, check whether the stated rating is dynamic (for rolling) or static (for a parked load). They are not interchangeable descriptions.
This guide does not establish requirements for brakes, leveling hardware, floor condition, tip resistance, or workbench-specific load ratings. Review those details directly against the exact bench, caster, and site conditions rather than relying on assumptions based on a general rolling cart.
FAQ: What carrier and label rules belong in the bench design?
Carrier and label requirements are service-specific and time-sensitive. Build your station around the current requirements of the services you actually use.
Before shipping with UPS Ground, confirm its current instructions. As of September 6, 2026, UPS U.S. guidance stated that UPS Ground shipments require an address label containing "to" and "from" information, included inside and attached to the outside of the package. For the UPS domestic air services described in its guidance as of September 6, 2026, UPS specified a label created and printed from UPS.com or a UPS Air Shipping Document. Check the current carrier instructions before shipping; this article does not establish physical label orientation, seam clearance, tape placement, or rules for other carriers.
The practical design implication is simple: leave clear working space for the labeling step and for whatever documentation your chosen carrier requires. Do not let a convenient bench arrangement override the current shipping instructions.
FAQ: What is the most useful first upgrade?
Make the workflow visible before buying more furniture. For your next packing session, use a notepad and record:
- Every object you reach for more than once per order
- Any item that has no defined home
- Each time you stretch, turn, or move a package just to access a tool
- The supplies that need replenishing mid-session
- Whether your computer, scale, and label materials each have a defined place
Move only the most frequently handled items into easier reach for the next session. Clear leg space if seated work is part of the process. Then reassess the bench size and storage needs from what you observed.
A polished warehouse packing bench is not defined by its number of drawers or by a universal dimension. It is defined by whether its layout supports your task sequence, your supplies, your mobility needs, and the way you stand or sit to work. Start with that map, make one measurable adjustment, and let the station earn its next change.
Related Articles