Vintage Workbench Restoration: Fixing Flatness & Stability
By Taro Nakamura • 28th Oct
Why Does Bench Flatness Degrade Over Decades?
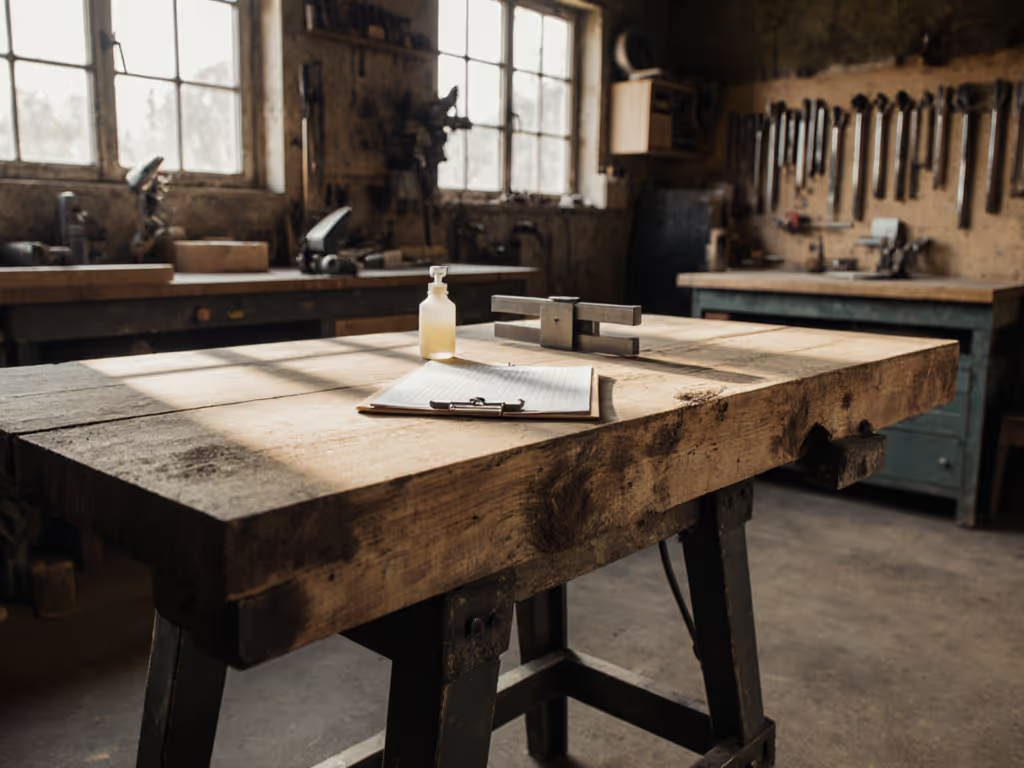
Restoring a vintage workbench demands precise attention to flatness and structural stability, the core metrics separating a showpiece from a functional asset. Neglecting these compromises every task, from joinery to assembly. This analysis dissects empirically validated restoration techniques that target these failure points, prioritizing repeatable results over aesthetics.
Wood movement from humidity cycles introduces cup, twist, and bow, especially in wide tops. If your shop faces coastal or high-RH swings, see our humidity-resistant workbench guide for material and design tweaks. A FineWoodworking analysis confirms "beneficial stress" vanishes as original fasteners loosen[2]. The critical sequence:
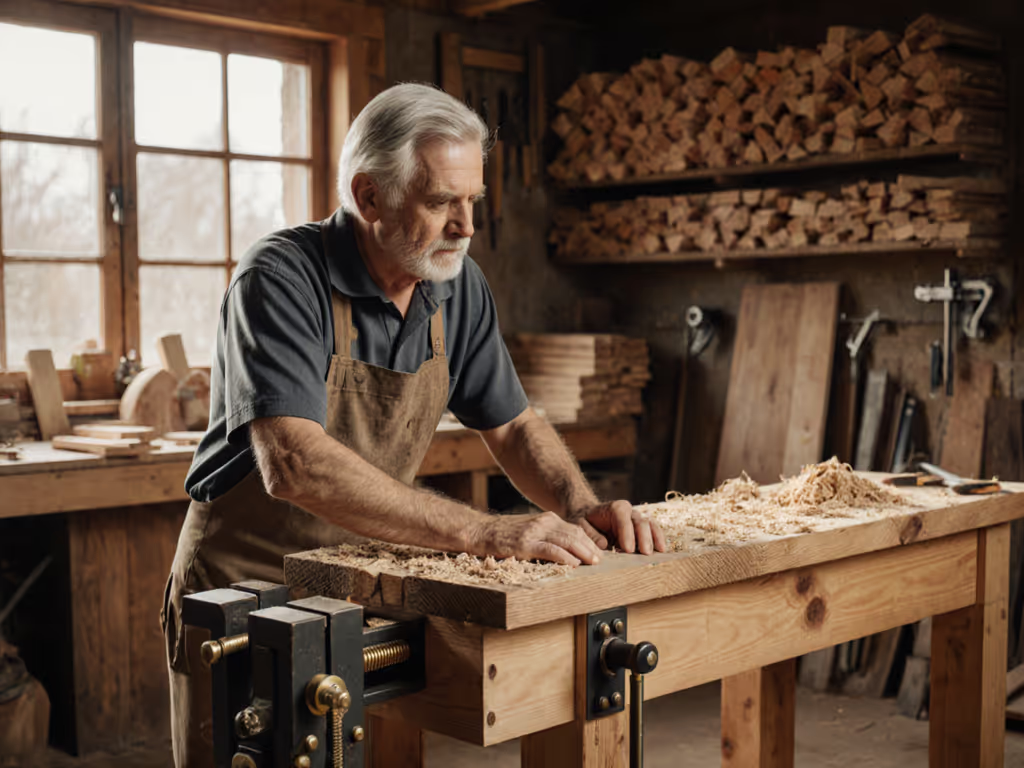
- Surface mapping: Use winding sticks diagonally across the surface; shadow gaps reveal high spots[2].
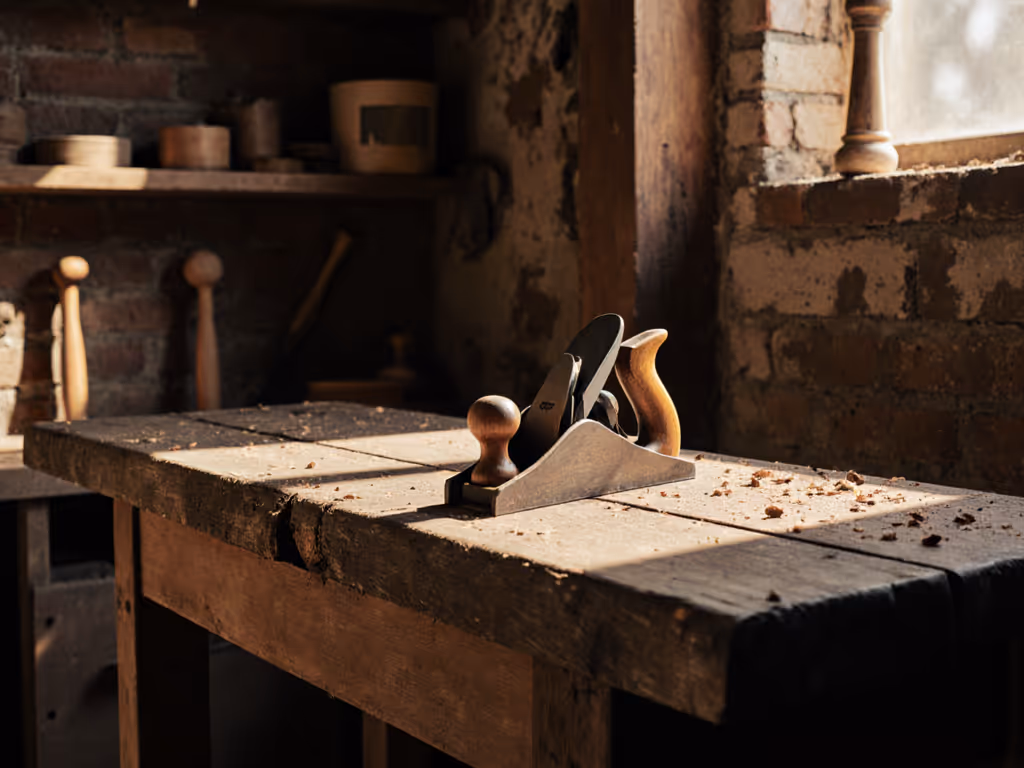
- Material removal: Strategic hand-planing (No. 7 preferred) follows grain direction, with chamfered edges preventing tearout[2].
- Compensation: For cupped boards, remove 80% material from convex faces to avoid thinning the slab excessively.
How Do You Address Structural Instability?
Wobbly legs or racking under load trace to three primary failure modes:
- Foot degradation: Rot or compression from floor contact
- Joint fatigue: Mortise-and-tenon joints loosening from seasonal wood movement
- Bracing insufficiency: Inadequate stretchers allowing lateral flex
Rehab protocol:
- Replace deteriorated feet with hardwood blocks, epoxy-sealed at end grain. Affix 1/8" rubber pads (carpet underlayment material) to damp vibration and prevent sliding[2].
- Inject hide glue into loose joints, then clamp under tension for 48 hours. For failed tenons, insert tapered hardwood shims coated in epoxy resin.
- Install diagonal steel tension rods (3/8" diameter) between legs if original bracing is marginal (hidden inside stretchers to maintain aesthetics). You can also explore workbench add-ons that reduce racking without rebuilding the base.
Overbuild the interface; let precision handle the finesse. My film set collapse (a portable bench folding mid-glue-up) taught me that stability isn't optional.
What Restoration Methods Fix Deep Surface Damage?
| Technique | Use Case | Implementation |
|---|---|---|
| Dutchman patch | Gouges exceeding 1/4" depth | Router out cavity; glue oversize matching-grain insert; plane flush[2] |
| Pegged fill | Small holes (nail/bolt) | Drill clean hole; glue tapered hardwood peg; saw/chisel excess[2] |
| Stabilized epoxy | Checks/splits | Inject low-viscosity epoxy under pressure; cure 72h before flattening |
Caution: Metal fragments (remnants of old hardware) can lurk beneath surfaces. A magnetic sweeper or metal detector prevents planer blade catastrophe[3]. For a broader checklist, review our workbench safety features guide before drilling or planing unknown surfaces.
How Do You Maintain Restored Flatness Long-Term?
Annual maintenance beats intensive rehab:
- Wax coating: Apply paste wax with 0000 steel wool; buff aggressively. Reapply quarterly[1][2].
- Moisture control: Maintain 40-50% RH in shop via dehumidifier. Birch tops move 1/16" per 10% RH shift.
- Re-flattening verification: Check with 4' straightedge quarterly; hand-plane high spots if gaps exceed 0.005".
Final Verdict: Quantifying the Investment
Restoring a heritage bench demands 20-40 labor hours and $200-$500 in materials. However, a properly stabilized bench delivers:
- Stiffness: Original hardwoods (beech, maple) offer 12,000-15,000 MPa modulus, outperforming modern softwood laminates
- Workholding: Traditional face vises withstand 600-800 ft/lbs torque, ideal for heavy planing
- Longevity: Properly maintained tops retain +/- 0.01" flatness for 5-7 years between touch-ups
Prioritize structural integrity over cosmetic perfection. A bench that disappears during work is the ultimate metric: no racking, no deflection, just reliable rigidity.
Related Articles