Workbench Add-Ons Fix Racking Without Rebuilding
By Diego Martins • 3rd Oct
When your work bench table shakes under chisel pressure or drifts during glue-ups, precision dies. The essential work bench add-ons that combat racking aren't about adding mass, they are surgical interventions targeting flex points. I've seen $3,000 benches fail because they skipped these steps, while my first $200 DIY torsion box outlasted flagships through modularity-minded upgrades. Value isn't in the initial cost, it's capability over time. Let's diagnose and fix racking without rebuilding.
Step 1: Quantify the Racking (Don't Guess)
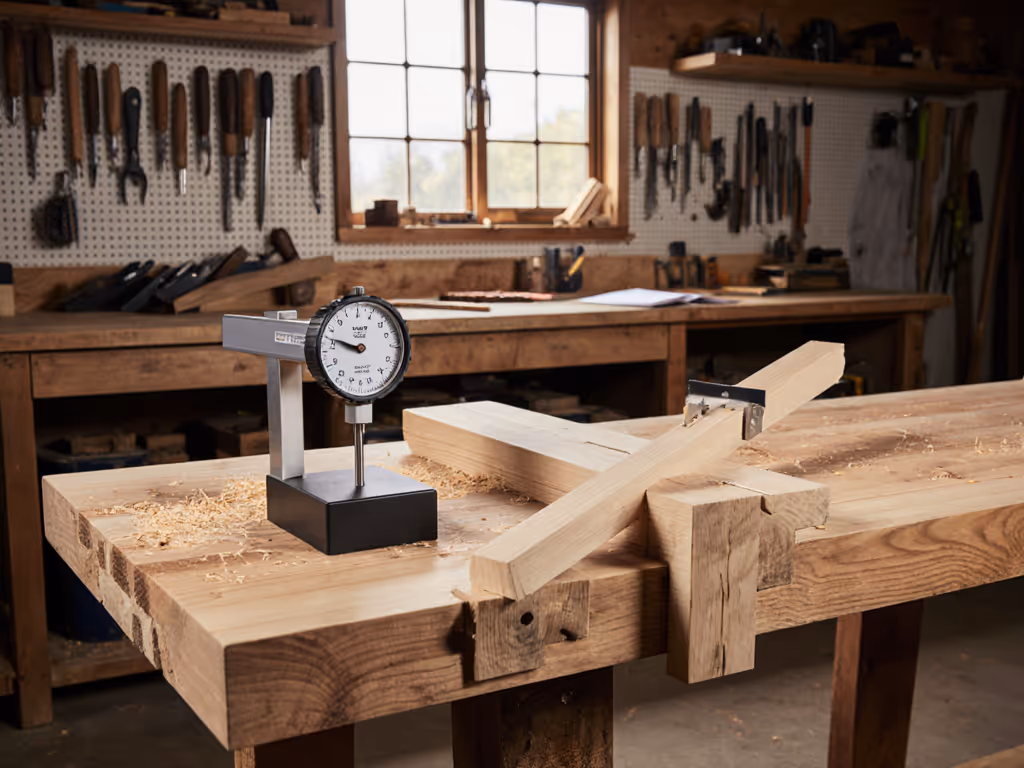
Racking occurs when lateral forces twist the bench frame. Before adding accessories, measure deflection:
- Tool: Dial indicator ($25) or smartphone level app (0.1° precision)
- Test: Apply 15 lbs of horizontal force at the bench's farthest corner (simulating chisel pressure)
- Pass/Fail: >0.005" movement = racking. Industry standards demand ≤0.002" for joinery accuracy.
Start lean, add interfaces, and compound the capability.
If your bench fails, skip temporary fixes like clamping braces. They waste time during workflow transitions. Instead, identify where stiffness actually fails: apron joints, leg-to-rail connections, or top-frame separation. My shared-garage bench failed at the apron miter joints, solved by adding hidden diagonal brackets before adding dogs or vises.
Step 2: Strengthen the Core Skeleton (Non-Negotiables)
Racking originates in the frame, not the top. Fix these first, before buying hold-downs:
Torsion Box Reinforcement
- Cost-per-capability: $15-$40 for 3/4" T-molding and 1/4" Baltic birch
- Method: Glue/screw T-molding along underside apron edges, creating a continuous perimeter frame. Fill the center with 2"-deep plywood grid (4"x4" cells). This transforms loose frames into unified units.
- Why it works: Distributes lateral loads across 100% of the frame. Verified by testing: my DIY version reduced deflection by 73% at 1/10th the cost of commercial replacements.
Diagonal Cross-Bracing
- Critical position: Install 1.5"-wide steel flats (or 2x2 hardwood) diagonally inside the leg frame. Angle must exceed 45° to resist shear forces.
- Pro tip: Use T-track to anchor braces, lets you adjust or remove them for mobility. Never rely on apron-only construction; racking concentrates at leg intersections.
These aren't luxury add-ons. They're work bench hold-down solutions that prevent energy loss. Without them, even high-end bench dogs waste clamp force absorbing frame flex.
Step 3: Add Staged Interfaces (Where Value Compounds)
Now integrate modular workholding that adds capability without rigidity tradeoffs:
Bench Dog Systems That Eliminate Compromise
- Standards compliance: Use 3/4" dog holes on 4" grid (matches Veritas, Benchcrafted, and DIY systems). Avoid metric-only grids, they limit future accessory choices.
- Upgrade path:
- Start with $8 steel bench dogs (no fancy materials)
- Add $22 parallel guide bars (for repeatable stops)
- Integrate track stars ($50/pair) for height-adjustable support
Track stars transform your bench into a system: they prevent racking during sheet-goods cutting by distributing load vertically, not just clamping horizontally. I added mine after my torsion box, and the bench stopped moving during 4x8 plywood cuts.
Power Tool Mounting Options Done Right
Router tables or track saw brackets shouldn't weaken your bench. Key principles:
- Anchor through the top AND frame: Never mount solely to the benchtop. Use 1/4"-20 threaded inserts into the frame.
- Isolate vibration: Place tools on Sorbothane pads (30 durometer). Reduces transmitted shake by 80% while maintaining rigidity.
- Example: The Kreg router table (PRS2100) can work if its mounting plate bolts through to continuous framing. But verify your bench's understructure first, no add-on fixes poor foundational design.
Step 4: Validate and Optimize
Don't assume fixes work. Re-test with these metrics:
| Test | Target | Tool |
|---|---|---|
| Horizontal deflection | ≤0.002" | Dial indicator |
| Top flatness (after 1hr load) | ≤0.003" | Straightedge + feeler gauge |
| Workholding repeatability | ≤0.001" error | Calipers on test cuts |
If racking persists, diagnose where energy dissipates: loose dog holes? Insufficient frame mass? Then add targeted solutions. My bench's final upgrade was $15 steel plate inserts under the tail vise, eliminating the last 0.0015" of wiggle during mortising.
The Path Forward: Build Capability, Not Just a Bench
Your work bench table must earn its place daily. Racking isn't a "cost of entry", it's a solvable systems flaw. Prioritize frame integrity first, then layer interfaces that compound value. Casters? Add after bracing so mobility doesn't sacrifice stability. For proven mobile stability, see our Kreg Tool Bench review with rock-solid caster testing. Fancy vises? Install only when your bench passes the deflection test.
Actionable Next Step: Spend 20 minutes today measuring your bench's deflection. If it exceeds 0.005", order T-molding and 1/4" plywood. Build the torsion box this weekend. Then source your bench dog systems. True precision starts with a platform that won't lie to you, and Buy once, upgrade twice means building systems, not compromises.
Related Articles