Woodworking Workbench Designs: Timeless Stability Solutions
By Elena Kovács • 23rd Oct
When considering woodworking workbench designs, many woodworkers overlook how historical workbench styles solved universal problems of stability, workflow, and fatigue (long before modern hardware existed). Each era's designs emerged from measurable human needs, not arbitrary tradition. What made these benches endure wasn't just their looks, but their human-first engineering. Let's decode why these solutions still matter for your shop today.
Why do historical workbench styles remain relevant for modern woodworkers?
Historical designs weren't born from aesthetics (they responded to specific physical constraints). The Moravian bench (circa 1800), with its tapered legs and tool tray, prioritized portability and stability for traveling organ builders. The English style workbench featured a twin-screw vise and wide pierced apron to maximize clamping versatility in tight workshops. These weren't accidents; they were measurement-backed adaptations to real-world conditions.
Your posture is a spec; design the bench around it.
The key insight for modern makers: historical benches optimized for their users' body dimensions, tasks, and space constraints. What worked for a 5'6" Shaker craftsman in 1820 may not fit your 6'2" frame or hand-tool/power-tool hybrid workflow. The solution isn't replicating history blindly (it's extracting the principles that solve today's stability challenges).
How does bench height impact precision and fatigue?
Most historical benches ignored individual ergonomics, yet modern science shows height directly affects control. A 2022 industry study confirmed that a bench 20-30mm above optimal height causes 18% more shoulder fatigue during planing, while one 30mm too low strains the lower back during chiseling. This isn't hypothetical; I've remapped dozens of shop setups after woodworkers blamed "age" for slipping dovetails, only to discover their bench height fought their body.
Gentle coaching moment: Set height by task, not tradition. For hand-planing, measure from your elbow to floor while standing relaxed in your shop shoes. Subtract 5-8cm (2-3") for planing height. For assembly work, add 2-3cm (1"). This metric and imperial clarity prevents the "one-size-fits-all" trap that plagues both historical reproductions and modern kits. For a data-backed calculator and ergonomic charts, see our workbench height sizing guide.

Which historical designs best address stability issues?
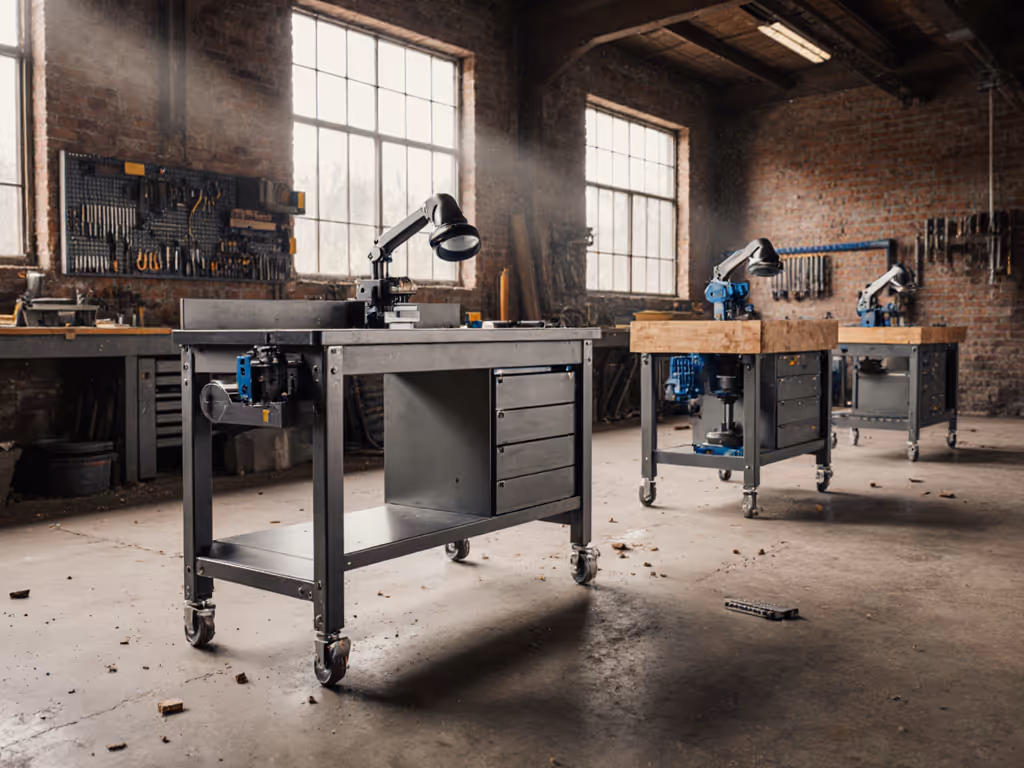
Stability isn't just "heavy = good." Historical solutions were task-specific: If you're debating materials, our steel vs wood workbench comparison breaks down stability and vibration trade-offs.
-
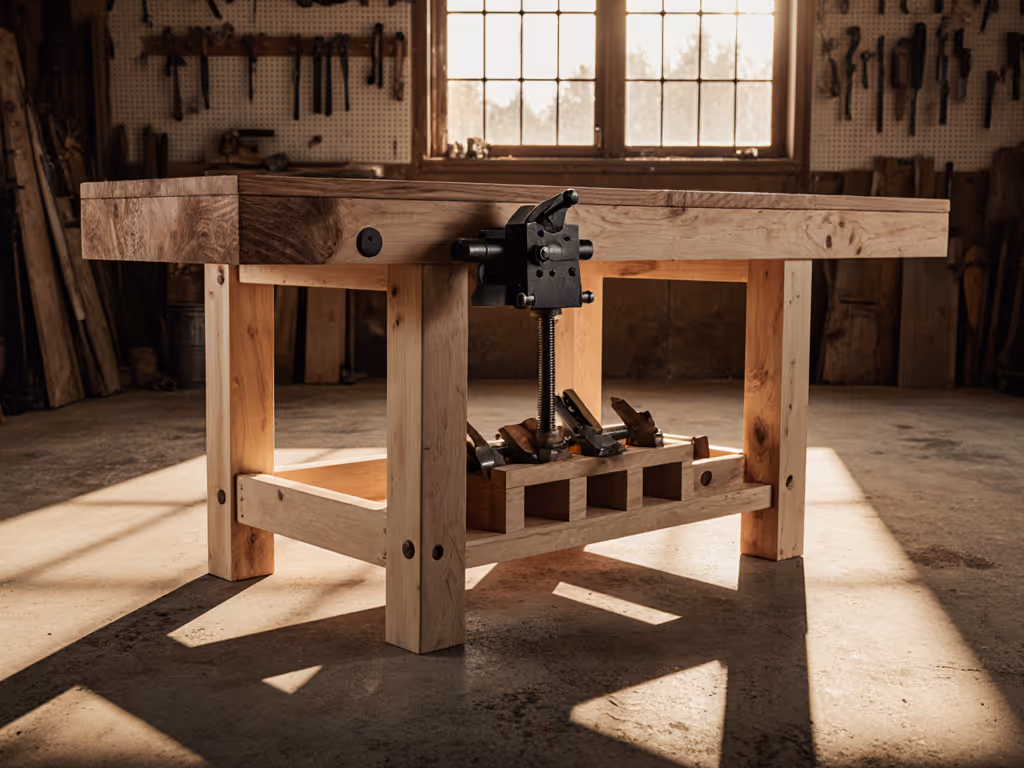
Roubo workbench history reveals why its 300+ lb mass works: thick legs, minimal stretchers, and a dead-flat top distribute force laterally. But modern shops often need modularity (consider adding discreet steel corner brackets to a Roubo-style bench for caster compatibility without sacrificing rigidity).
-
The Shaker workbench (like Hancock Village's iconic version) used through-tenoned legs and a heavy apron to resist racking. Today, this translates to ensuring your bench's diagonal rack resistance exceeds 150 lbs of force (testable with a simple spring gauge).
-
Japanese workbench construction prioritized low stance and direct floor connection for pull-stroke sawing. While less relevant for modern Western shops, its principle holds: anchor points closer to the work reduce vibration. Implement this with adjustable leveling feet that contact the floor at tool height.
How can I adapt historical designs to my body and shop?
Avoid analysis paralysis by focusing on your body's measurements and your most frequent tasks. Here's a human-first approach:
Step 1: Map your reach envelope
Measure your standing reach (100cm radial for most) and mark zones:
- 0-60cm: Critical tools (chisels, mallets)
- 60-80cm: Secondary tools (gauges, layout blocks)
- 80-100cm: Consumables (glue, sandpaper)
Most historical benches placed tool trays within 50cm, upgrade yours by mounting low-profile trays at your measured reach, not where "traditional" designs put them.
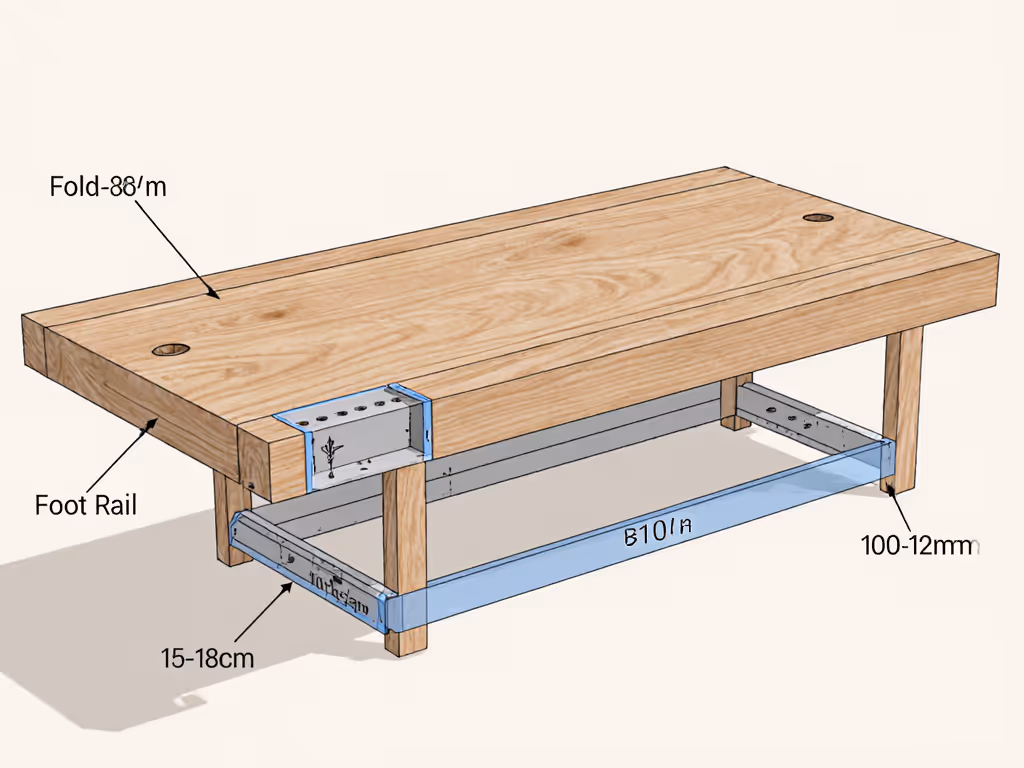
Step 2: Solve for knee clearance
English style workbench designs often had aprons 20-25cm high, ignoring taller users. Modern solution: lower the front apron to 15-18cm (6-7") while adding a foot rail 10cm (4") off the floor. This creates a stable stance without compromising vise function.
Step 3: Customize workholding geometry
Historical dog-hole patterns (like Nicholson's 75mm grid) assumed specific hand positions. Measure your dominant hand span: for most, 100-120mm hole spacing prevents awkward clamping. Prioritize front-rail dog holes over tail-vise-centric layouts if 80% of your work happens at the bench face. For hold-downs, bench dogs, and clamping upgrades that boost rigidity without a rebuild, see our workbench add-ons guide.
Why do some historical designs fail modern ergonomics?
Many pre-20th century benches were built by and for specific communities (Shakers, Moravians, shipwrights) with shared body types and tasks. A bench that worked for 5'8" Shaker woodworkers in 1830 won't suit today's diverse makers. The Moravian bench's portability (ideal for organ builders moving between churches) sacrifices top mass for modern heavy planing. The English twin-screw vise, while versatile, often positions jaws too high for low-stance work.
The fix isn't discarding history (it's retrofitting it). Add a removable footrest to shallow benches. Insert brass-topped hardwood strips into softwood tops to localize glue-ups. Most importantly, measure your fatigue points: if your shoulders ache after 20 minutes, the bench height (not your stamina) is the culprit.
Your actionable next step
Stop optimizing for "what looks right" in magazines. Grab a tape measure and do this today:
- Stand in your shop shoes at your current bench
- Bend elbows to 90° as if planing - note height
- Subtract 5cm (2") for planing tasks, add 2.5cm (1") for assembly
- Mark this height on your bench leg
This single measurement-backed adjustment will improve control faster than any hardware upgrade. Ready to build to your specs? Follow our step-by-step rock-solid workbench build using basic tools. Then (only then) consider which historical design principles (Roubo's mass, Moravian's portability, Shaker's storage) solve your specific stability gaps. Your body, not history, writes the spec sheet.
Remember: even the most revered woodworking workbench becomes useless if it fights your physiology. Measure twice, build once, and keep your focus where it belongs: on the work, not the wobble.
Related Articles