
Woodworking Workbench for Carving: Height, Workholding, Vibration
By Maya Iqbal • 2nd Sep
What to do
Set up a carving workbench around three checks: fit the height to your wrist, secure the workpiece against unexpected movement, and use a level surface that stays stable as you cut.
- Start with: Use wrist height with your arm hanging naturally as the starting reference. A carving publisher reports 33–38 inches as common, but that is not a universal ergonomic standard.
- Then: Test the actual workholding setup with a vise, clamp, or dog holes and holdfasts.
- Important prerequisite: Run a pass/fail stability check with the bench on its intended floor and a V-tool cut. Heavier construction may resist movement, but no independent evidence establishes a required weight or vibration-control design.
Important: There is no evidence-based best bench depth, fixed height for a particular stature, or proof that building costs less than buying.
A woodworking workbench for carving has three jobs: put the work at a usable height, hold it without unexpected movement, and remain stable and level while you cut. That is the useful definition of a carving bench setup, not a bench style, a brand, or a cosmetic finish. Start with what happens at the cut: if the bench shifts when you push a V-tool through wood, the interface has failed. Measure, don't guess.
The available guidance is narrower than many bench discussions imply. One carving-school publisher recommends fitting bench height to your wrist height with your arm hanging at your side, while retailer guidance advises securing the workpiece in a vise or clamp and using a stable, level surface. Those are sensible starting conditions, not universal specifications. Control the variables, and the numbers will explain themselves.
What height should a woodworking workbench be for carving?
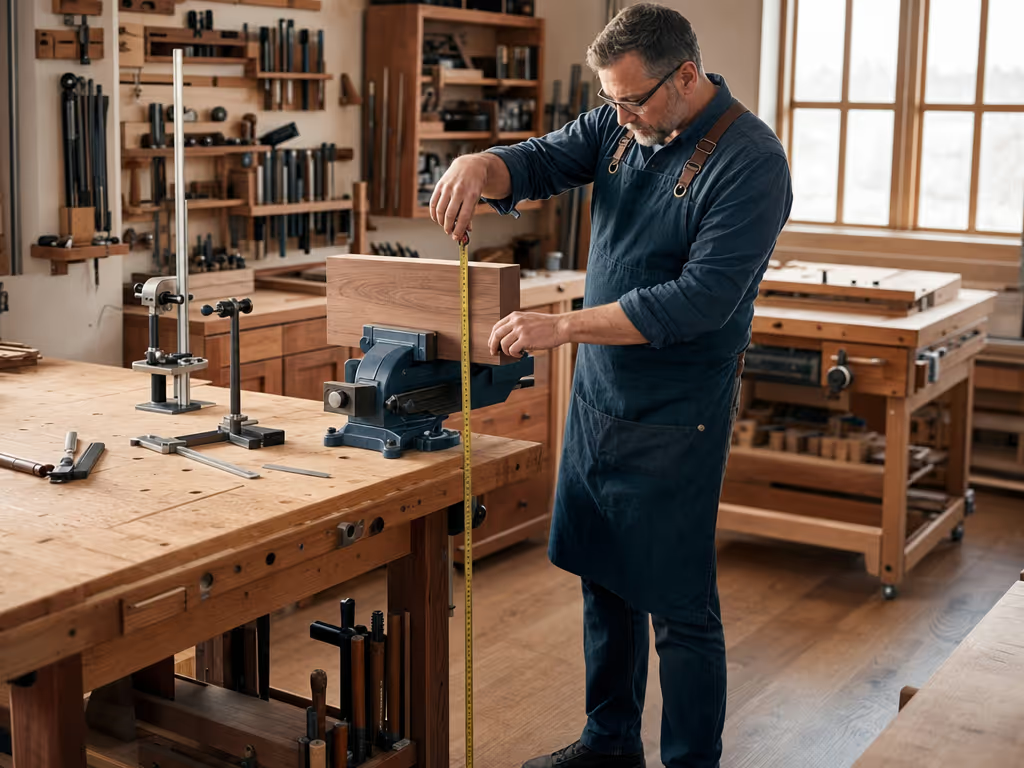
Use your own wrist height as the starting reference. The School of Wood Carving advises that the benchtop should sit about at wrist height when your arm hangs naturally at your side. That is practitioner guidance, not a validated ergonomic standard, but it is more useful than selecting a height solely from a chart.
The same publisher reports that most carvers end up with benches between 33 and 38 inches tall. Treat that range as a reference point, not a requirement. Your target is a setup that lets you work at the actual carving position without the bench becoming the source of instability.
Why a single "best height" is the wrong target
No material here establishes a universal best height, a height based on a particular body stature, or a recommended bench depth. So avoid false precision. A 5 ft 8 in carver does not automatically need a particular bench height just because of stature; the wrist-height check is the available individualized reference.
Use this short fitting sequence:
- Stand in your usual carving footwear on the floor you will use.
- Let your arms hang normally at your sides.
- Mark wrist height against a wall or straight reference.
- Compare that mark with the proposed benchtop height.
- Re-check after you place the work in the holding method you expect to use most often.
The last step is not a published height formula. It is a practical check against building around an empty top when your real work will be held in a vise or clamp.
A height number is only useful when it describes your body, your floor, and your working position.
Is 40 inches too tall, or 16 inches too low?
Neither question has a categorical answer. The reported 33 to 38 inch range means 40 inches sits above that publisher's reported typical range, but it does not prove 40 inches is too tall for every carver or task. Likewise, 16 inches is far below that reported range, but the guidance does not establish that it is categorically too low in every possible use.
The better question is: does the bench meet the wrist-height starting reference for the person using it? If not, do not let a round-number rule settle the decision.
For a detail carving workstation, this matters because small cuts reveal unwanted bench movement quickly. But height and stability are separate variables. A correctly fitted top that moves is not a successful setup; a stable top at a poorly fitted height is not a complete solution either.
What workholding does a carving bench need?
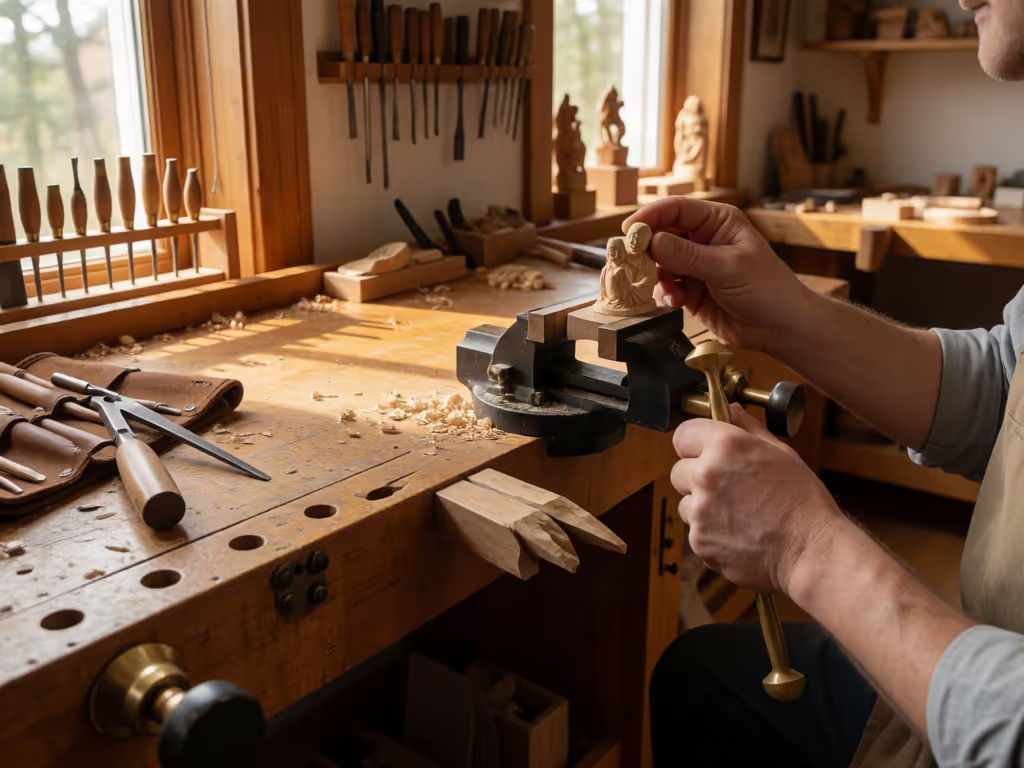
The non-negotiable requirement is simple: secure the carving so it does not move unexpectedly. Retailer-published carving guidance specifically recommends using a workbench vise or clamp when possible. A bench vise is designed to grip an object between fixed and movable jaws; that basic function is useful only when the work can be held firmly for the cut you need to make.
The useful question is not "Do I have a vise?" It is "Can I secure this workpiece for the way I intend to carve it?" General woodworking guidance also notes that vise selection, dog-hole placement, and bench design affect how easily work can be secured flat, on edge, or upright.
Start with two workholding paths
A capable carving bench setup gives you more than one way to restrain a piece:
- Vise or clamp: Use when the work can be held securely without unexpected movement.
- Dog holes with holdfasts or clamps: The carving-school guidance identifies dog holes as a way to use holdfasts and clamps on odd-shaped workpieces.
That is enough to define a planning test before you build or modify a bench. Put a representative workpiece on the proposed top. Identify where the vise or clamp would engage it. Then identify whether the dog-hole layout gives you an alternative when the first method does not suit the form.
Do not assume a general woodworking layout will fit every irregular or delicate carving. The available guidance supports the value of workholding access; it does not validate a specific vise, jaw arrangement, hole spacing, or fixture configuration for every carved shape.
What should you inspect before committing to a layout?
Keep the inspection direct:
- Can you clamp a sample piece without the work shifting unexpectedly?
- Can you use a holdfast or clamp through the available dog holes for an odd-shaped piece?
- Can you secure the work flat, on edge, or upright when those positions are relevant to your work?
- Does the bench remain level and stable once the work is secured?
This is where benches that look equally substantial separate. The label and finish do not tell you whether the workholding path is usable. A stable interface does.
How do you judge vibration on a carving bench?
First, separate movement from vibration. The available guidance supports checking whether the bench moves while you push a V-tool through wood and using a stable, level work surface. It does not provide an engineering vibration test, a required mass, a required top thickness, or a validated damping material or construction method.
One woodworking retailer states that a heavier bench resists movement during chiseling, planing, and joinery. That is a qualitative retailer claim, not independent vibration testing. It can support a modest conclusion: bench mass may be relevant to movement resistance. It cannot tell you how heavy your low vibration carving bench must be or prove that one construction method will damp vibration better than another.
Use a pass/fail stability check instead
For the information available, the practical test is observable:
- Set the bench on its intended floor.
- Confirm that the work surface is level.
- Secure a representative carving in the workholding method you will use.
- Push a V-tool through the wood in the manner your work requires.
- Watch for bench movement and for unexpected movement of the workpiece.
If the bench moves under that task, it has not met the carving-school stability criterion. If the workpiece moves unexpectedly, revise the holding approach before treating the bench as ready. This does not quantify vibration, but it tests the condition the available guidance actually identifies.
Should you build or buy a carving bench?
Cost cannot be settled from the guidance here. There is no like-for-like price comparison, materials total, labor valuation, or proof that building is cheaper than buying.
Building does have one documented advantage: it lets you choose the height, top material, and number of dog holes. That matters if wrist-height fitting and an adaptable workholding layout are your priorities. Buying may still be appropriate, but assess the same variables rather than assuming a finished bench solves them: height fit, level stability, and a practical way to secure your work.
FAQ
What is the best height and depth for a workbench?
For carving, use wrist height with your arm hanging at your side as the available starting reference. One instructional publisher reports a 33 to 38 inch range for many carvers. No collected guidance establishes a best bench depth.
How tall should a workbench be for someone who is 5 ft 8 in?
There is no 5 ft 8 in-specific height in the available guidance. Fit the bench to the user's wrist height rather than choosing a fixed number from stature alone.
Can weight solve carving-bench vibration?
Not based on the guidance available. A retailer makes a general claim that a heavier woodworking bench resists movement during chiseling, but no independent test establishes a required weight or a proven vibration-control design. Verify stability under your own representative cut.
The next measurement to make
Before selecting a bench style or adding accessories, measure wrist height, identify two viable workholding routes, and run the V-tool stability check on the intended floor. Those three checks address the actual carving task: position the work, restrain the work, and prevent the bench from moving.
For further exploration, make those observations on your current bench first. They will show whether you need a different height, better clamping access, or a more stable base, without asking paint, branding, or a generic "heavy-duty" claim to answer a measurement question.
Related Articles