Reclaimed Material Workbench: Build Specs
By Maya Iqbal • 3rd Mar

A reclaimed material workbench built for structural performance (not nostalgia) requires the same rigor as any engineered assembly. When you're sourcing salvaged wood, you're inheriting material properties that new lumber can't guarantee: density variations, hidden grain direction, knots, and moisture history all affect stiffness and racking resistance. The equation is simple: sustainable workshop construction means measuring twice, designing once, and verifying performance under realistic loads. For a step-by-step build process that complements these specs, see our rock-solid workbench tutorial.
What Makes Reclaimed Wood Suitable for Workbench Tops and Bases?
Not all reclaimed wood is equal. Species matters enormously. Dense old-growth pine (the kind salvaged from industrial flooring or warehouse structures) outperforms most southern yellow pine by a measurable margin in modulus of elasticity and deflection under load.[1] Hardwoods like salvaged ash, maple, or oak offer even higher stiffness-to-weight ratios. The catch: you cannot know the wood's performance until you verify it.
Reclaimed sources vary widely. Dismantled pallets yield 2×4s and 2×6s, though wood quality is inconsistent and nails must be removed carefully to avoid dulling tools.[2] Architectural salvage (old flooring, barn siding, or industrial ties) typically offers larger, denser stock. Fence panels and rejected millwork can fill in gaps when planned carefully.[2]
The practical threshold: if your reclaimed wood is soft, checked, or has been sitting in damp conditions, its internal cell structure has degraded. A quick hardness test using a compression tool will tell you whether the material is worth the labor to mill and incorporate.
Density and Stiffness: The Numbers
Bench performance under planing, chiseling, or heavy clamping depends primarily on mass, cross-sectional height, and material density. A 4-inch-thick tabletop made from dense salvaged pine will resist deflection far more effectively than a thin, soft-wood alternative. The reason is structural: deflection scales with load divided by (modulus × moment of inertia). Reclaimed dense species raise both the modulus and usable material depth simultaneously.[1]
Wood movement, seasonal expansion and contraction, adds another layer. Reclaimed timber that's been indoors or in stable climates for years has often reached equilibrium moisture content. New lumber hasn't. This stability is an advantage if you're building in a controlled shop, a liability if the bench will experience wide swings in humidity.
How Should You Design a Sustainable Workbench Frame?
Frame design determines whether your bench resists racking. The most common failure mode is twisting: when load is applied at one corner, the legs splay or torque sideways. Resist this through:
Diagonal Bracing or Mortise-and-Tenon Joinery: Lap joints and mortise-and-tenon connections are proven racking fighters. Modern screw-based joinery can work if you orient fasteners to resist shear and torsion, but traditional joinery tolerates seasonal wood movement better and is non-destructive to disassemble.[1]
Leg Configuration and Stance: Wider stance reduces overturning moment. A 30-inch-wide bench with legs set 24 inches apart at the base is far more stable than one with legs at 20 inches. If you're sourcing reclaimed 2×4s, doubling them at each corner (using two 2×4s side by side) adds torsional stiffness without requiring special stock.[2]
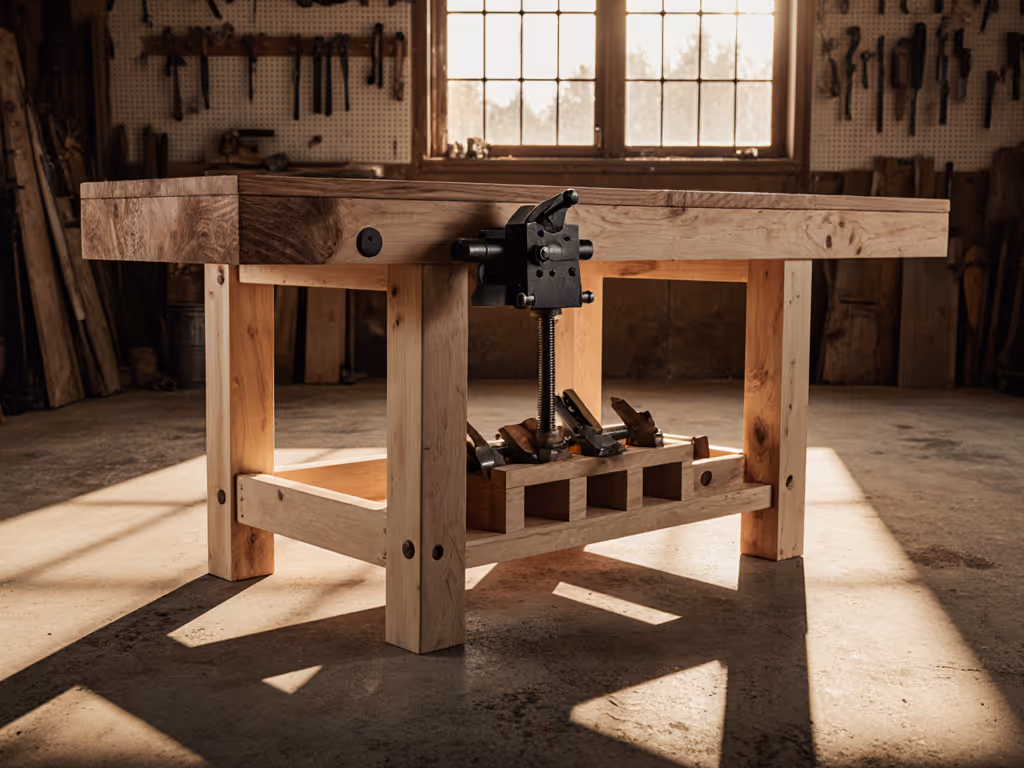
Stretchers: Horizontal and end-grain stretchers running between legs tie them together and prevent lateral flex. A reclaimed workbench documented in the research used both long and short stretchers fabricated from the same dense stock, dramatically improving torsional stiffness.[1] For deeper design principles on leg bases and stretchers, read our workbench foundation engineering guide.
Control the variables, and the numbers will explain themselves.
If you can't measure deflection or twist with a dial indicator or laser, you're guessing. I learned that lesson rebuilding a community makerspace, two benches looked indistinguishable until we loaded them side by side with sand bags. One flexed visibly; the other didn't flinch. The difference? One had properly spaced stretchers; the other didn't. The dial indicator confirmed what the naked eye suspected.
What Tabletop Thickness and Materials Are Optimal?
Solid Wood Thickness: A 4-inch-thick reclaimed tabletop is a functional baseline for hand-tool work.[1] For the data behind thickness choices and racking resistance, see our workbench top thickness guide. At 4 inches and under heavy impact or leverage from a planing stop, deflection remains minimal if the wood's modulus of elasticity is above 1.2 million psi (typical for old-growth species). Thinner tops, 2.5 inches, require denser species or lamination to perform equivalently.
Laminated Alternatives: If solid reclaimed stock is limited or inconsistent in thickness, laminate two or three thinner layers of salvaged wood with glue, clamping them flat under weight until set.[4] A two-ply top with 1.25-inch layers and a staggered joint pattern provides redundancy: if one layer moves seasonally, the other resists it. This also allows you to use mixed reclaimed grades, core layers from softer stock, outer veneers from premium material.
Surface Preparation: Mill or plane the top flat to within 0.015 inch if you're doing hand-tool work. Sand progressively from 80 grit to 150 grit to remove saw marks and machine marks. Finish with a hard exterior sealer (water-based or oil-based) to stabilize moisture absorption and simplify cleanup after glue-ups.
What Are Budget-Conscious Material Lists for Reclaimed Builds?
A functional reclaimed workbench can be assembled for under $200 if materials are sourced carefully and joints are hand-cut. A typical framing bill includes:
- 7 to 12 pieces of reclaimed 2×6 or 2×8 (total ~60-80 board feet for legs, apron, stretchers)
- 2 to 4 pieces of reclaimed 2×4 or 4×4 for additional framing
- Tabletop: 30-50 board feet of dense reclaimed stock, milled to working thickness
- Hardware: exterior wood screws (2.5 inch, pocket-hole style), lag bolts, and corner braces (~$20-40)
- Finishing supplies: exterior sealant, sanding consumables (~$15-25)[5]
If you're laminating the top, add glue cost (~$10 for Titebond III or equivalent). If you're adding a vise, budget an additional $50-150 depending on style.[1]
The key variable is labor. Hand-cutting mortises and tenons takes time. Using pocket-hole joinery with a Kreg jig speeds assembly but introduces some flex compared to classical joinery. Balanced: pocket holes work if stretcher spacing is tight and leg stance is wide.
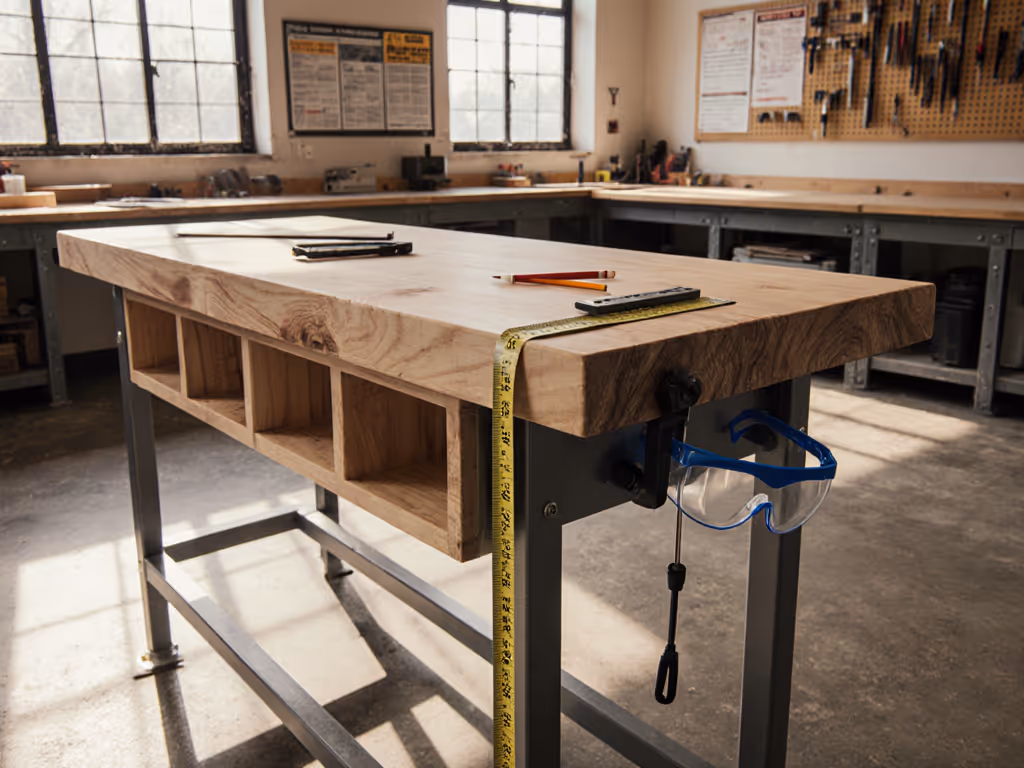
How Do You Verify Flatness and Stiffness After Assembly?
Flatness Checks: Lay a 4-foot straightedge across the top in multiple directions (lengthwise, widthwise, diagonal). Mark gaps larger than 0.0625 inch. If the top rocks on a straightedge, plane down high spots or shim legs. Flatness tolerates seasonal movement if you've designed the frame to resist racking, movement happens uniformly, not differentially.[4]
Deflection Under Load: Place a dial indicator under the tabletop at midspan, apply downward load (50-100 lbs), and measure movement. Deflection under 0.05 inch is acceptable for a 36-inch-wide bench. Anything over 0.1 inch signals insufficient mass or poor joinery.
Torsional Stiffness: Twist the bench frame gently by hand (no excessive force). There should be zero perceptible twist and no creaking. Creaking indicates loose joints; twist indicates inadequate stretcher bracing.
What's the Right Height, Footprint, and Clamping Configuration?
Height: 32 to 36 inches is standard for hand-tool work and light assembly. Taller benches (38-40 inches) suit overhead planing or metalsmiths. Test by standing with arms relaxed; work surface should be within 1 inch of wrist height to minimize fatigue.[1] For personalized ergonomics, use our workbench height sizing guide.
Footprint: 24 inches deep, 48-60 inches long accommodates most tasks in a 10×12-foot shop. Wider (30 inches) is better for assembly work but demands more floor space. Longer benches require robust stretcher bracing to prevent sagging midspan.
Clamping: Drill a grid of 3/4-inch holes (or 20mm) on 4-inch centers along the top edges and face. This grid pattern allows bench dogs and clamping accessories to hold work from any angle. Space holes at least 1 inch from edges to avoid splitting.[1] If you’re choosing between hole standards, compare 20mm vs 3/4 inch bench dog systems to match your accessories.
Final Thoughts: Reclaimed Material as a Systems Choice
Choosing salvaged wood is an act of constraint: material properties and availability force you to design more carefully. You cannot improvise a workbench from mediocre reclaimed stock; the material demands honesty in load testing and layout. That rigor, ironically, often yields a better bench than off-the-shelf designs that skip the verification step.
Source material selectively, measure performance directly, and document what works. Your next build, and your shop's workflow, depends on it.
Related Articles