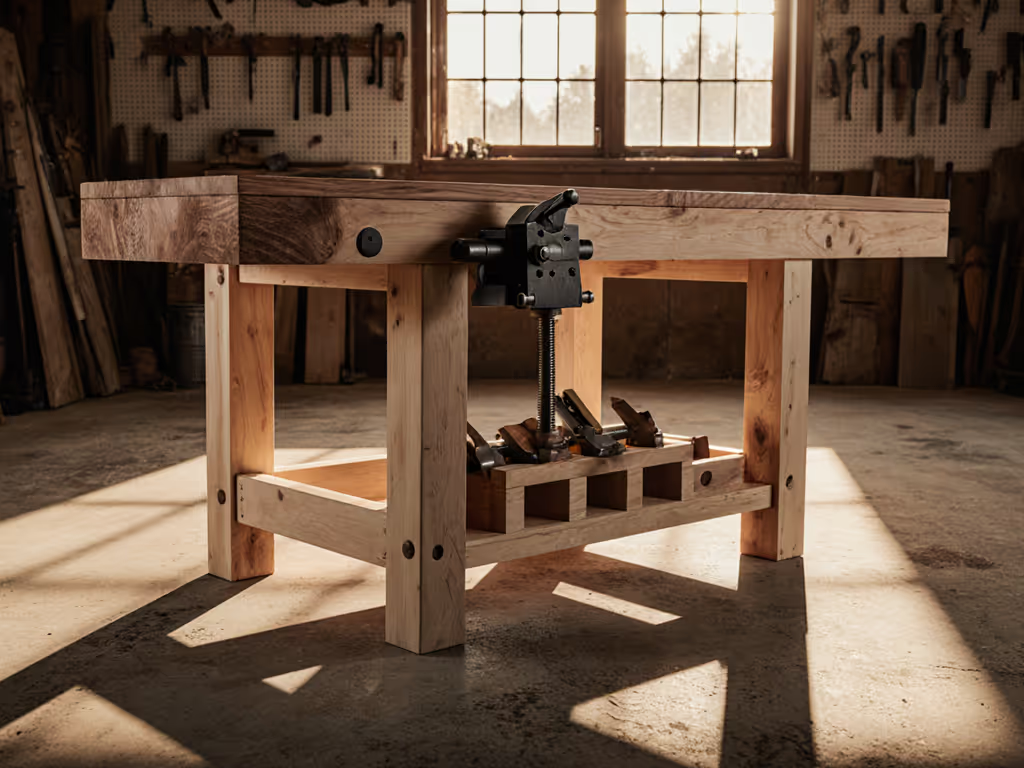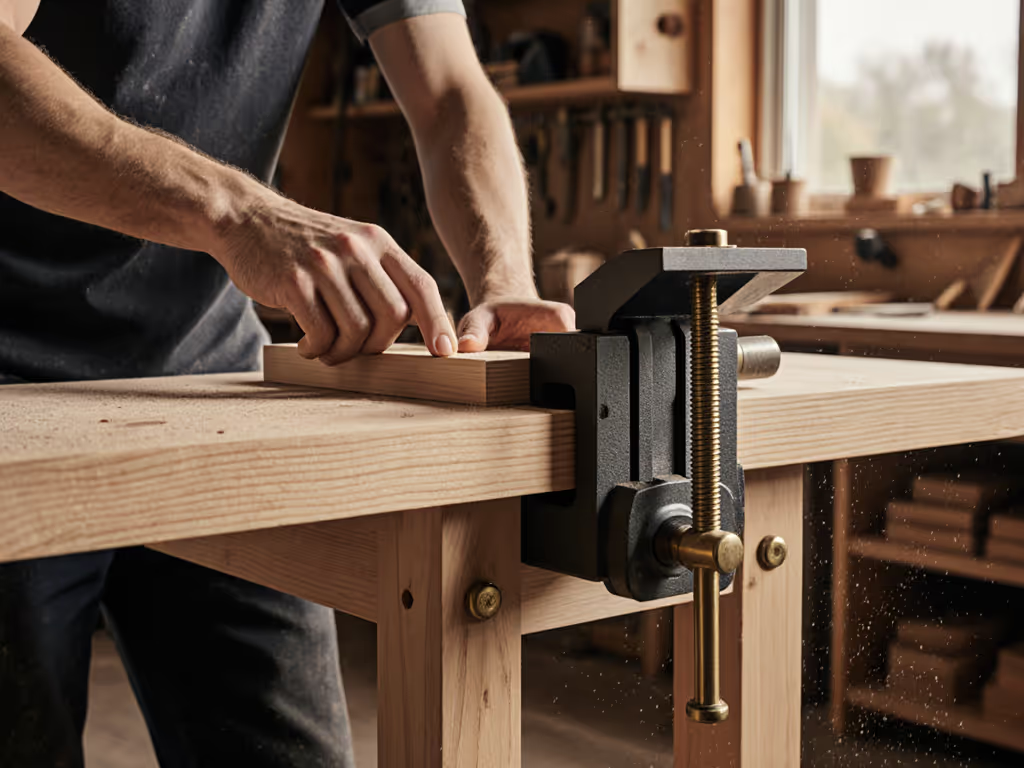

Designing a Precision Crafting Workbench for Small Studios
By Diego Martins • 21st Sep
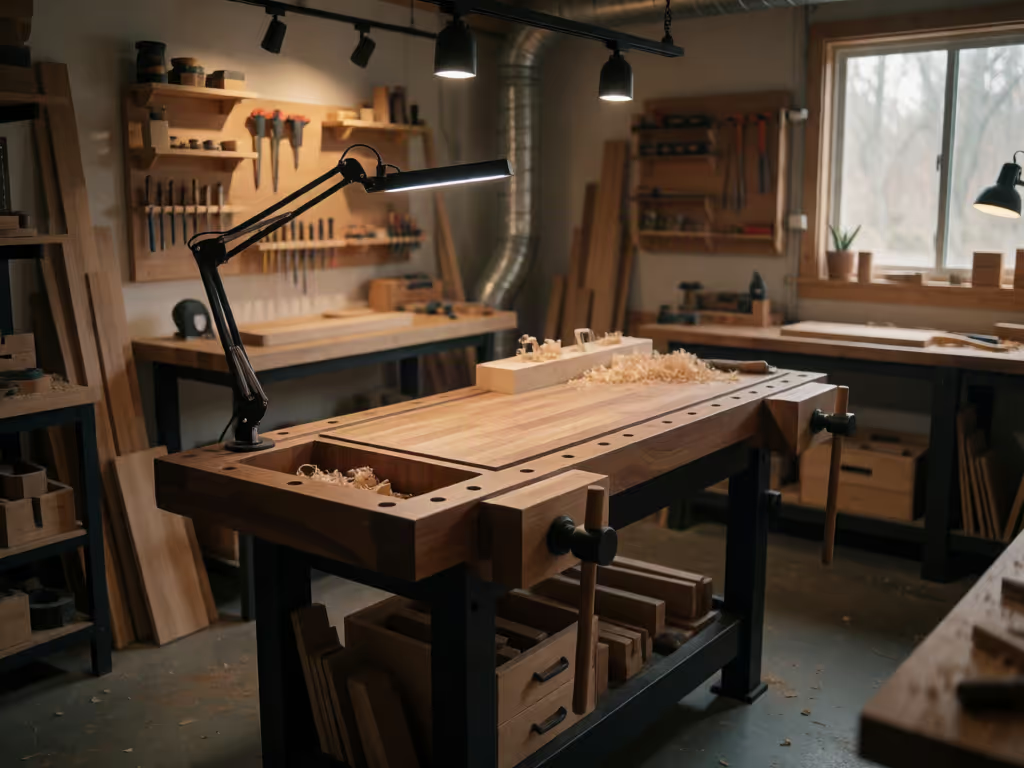
What to do
For seated precision work, use general workstation guidance to set posture and reach, jewelry-studio guidance to arrange lighting, and paint guidance to plan ventilation.
- Start with: Map the bench’s actual tasks and decide which activities need separate trays, mats, storage, or ventilation before choosing the layout.
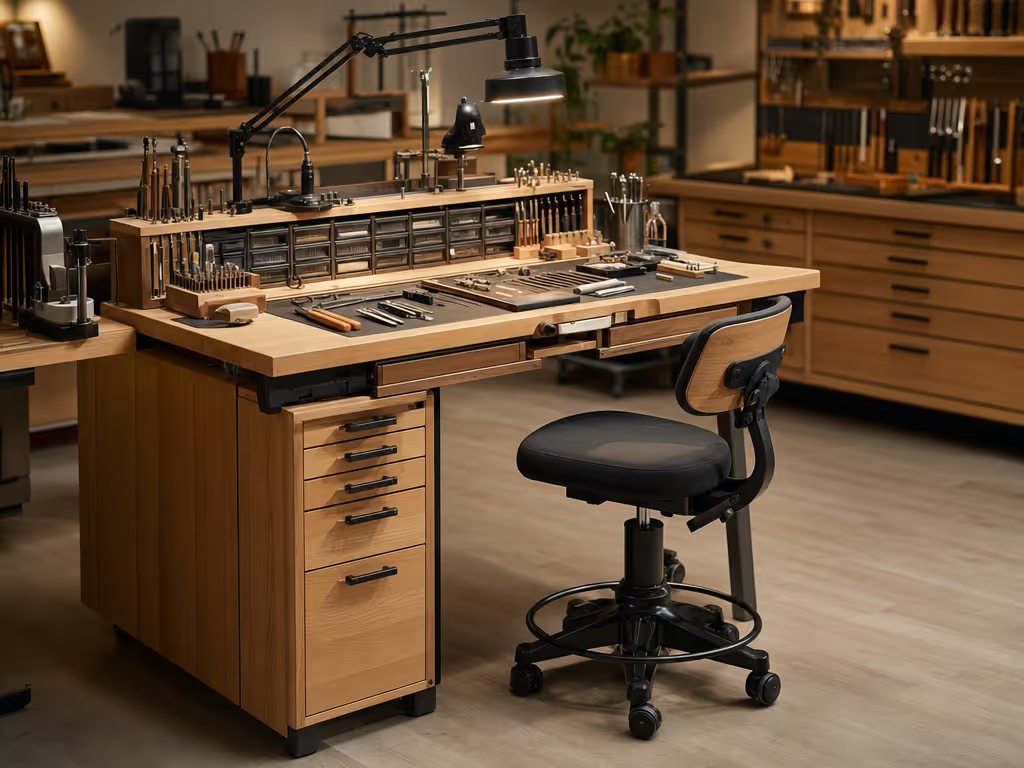
- Then: Fit the chair and surface together: keep feet supported, forearms roughly horizontal, elbows clear of the top, shoulders relaxed, and the central knee area open. Place frequent-use tools within about 16 inches, with occasional items farther away.
- Important prerequisite: Treat painting as a ventilation-location decision and use ESD controls only for applicable sensitive electronics. No universal bench height, lighting specification, or validated cross-contamination protocol is established here.
Whether you are planning a craft bench for close, detailed work, use general workstation guidance to assess seating, tool placement, and glare, then plan task changes around the work you actually do.
The common mistake is buying (or building) one impressive surface and asking it to solve every problem. In a small studio, seating fit, lighting position, storage zones, and task-specific changeovers are practical considerations around the top. Start lean, add interfaces, and compound the capability.
Step 1: Define the Work the Bench Must Support
Before choosing a shape, list the tasks that occur at the bench and sort them by posture and cleanup needs.
Make a short task map:
- Visual work: painting, inspection, color decisions, photography, or layout.
- Electronic work: identify whether you will handle ESD-sensitive components and assemblies so you can plan applicable ESD controls.
- Indoor painting: plan the location around general paint-vapor ventilation guidance, then check the product label and task-specific safety documentation.
Then identify the conversion each task needs. This can be as simple as clearing the active tray, putting away materials in lidded storage, and changing the work mat or tool set. That is practical workflow design, not a validated contamination-control protocol; its purpose is to give paint jars, parts, and hand tools defined put-away locations between tasks.
A small bench earns its footprint when its layout keeps frequent-use tools in the primary reach zone and infrequently used items in storage.
Step 2: Fit the Bench-and-Chair System to Your Body
Do not begin with a universal workbench height number. For close seated work, fit the surface and chair to the individual worker rather than relying on one fixed height.
Use this fitting sequence instead:
- Set the chair first. Adjust it so your feet rest flat on the floor and your legs are approximately at right angles.
- Check arm position at the work surface. Your forearms should be horizontal and roughly at right angles to your upper arms, with elbows just clearing the top.
- Assess your shoulders. Check that they remain relaxed in your normal working position.
- Protect leg clearance. Keep the central under-bench area open. Storage under the main working position consumes knee space and can make retrieval awkward.
This is a transferable ergonomic principle rather than a jewelry-specific height standard. It is more useful than copying somebody else's number because it gives you a repeatable fit test whenever you change chairs or add a thicker work surface.
Step 3: Divide the Top Into Active, Support, and Reset Zones
A multi-purpose bench works best when the top has a job hierarchy. The central area is not storage; it is the current operation.
Create a primary reach zone
Place tools and materials used repeatedly within about 16 inches in front of or to the side of the seated worker. This is where the current brush set, tweezers, files, cutters, or assembly parts belong.
Move occasional items outward
Put secondary tools farther away, then reserve shelves, drawers, or cabinets for infrequently used materials, using these small workshop storage strategies to keep the primary zone clear. This is parts sourcing clarity applied to layout: every item should have a known home and a known reason to be on the benchtop.
Preserve a reset zone
Leave a clear area for incoming parts, a temporary tray, or the next step of an assembly. This provides a designated place for incoming parts, a temporary tray, or the next assembly step.
Use a matte-finished work surface where close visual work happens. A matte surface reduces glare, which matters more than decorative finish when you are reading an edge, inspecting a joint, or painting a detail.
Step 4: Build Lighting as a Layered System
Good lighting is not merely "more light." For close visual work, use layered lighting that combines general illumination with an adjustable task light.
For precision work, combine:
- Ambient or general lighting for the room.
- Task lighting that can be aimed at the current operation.
For a jewelry-focused station, side-oriented ceiling lighting is preferable to placing the primary ambient light behind the worker. Two ambient sources, one to each side, create cross-lighting that reduces shadows. An edge-mounted flexible-arm task light is especially efficient in a compact studio because it preserves benchtop area and can be raised, lowered, or tilted to manage glare and the illuminated area.
Do not treat a lamp specification as a shortcut for placement. There is no single color-temperature, color-rendering, or brightness value established here for miniature painting or gemstone work. Test the actual task: place a representative piece under the light, work with your usual hand position, and adjust until the work remains visible without an intrusive shadow or reflection.
Step 5: Treat Painting Ventilation as a Location Decision
If your bench will be used for indoor painting that produces vapors, place that activity where vapors can be exhausted from the work area. General indoor-paint guidance advises a window-mounted box fan for exhaust; where that is not possible, provide adequate cross-ventilation.
This is not a substitute for the label and task-specific safety documentation for the exact paint, adhesive, solvent, airbrush medium, or other product in use. Those materials can have different requirements. General indoor-paint guidance also advises keeping windows open as weather permits for roughly two to three days after painting to reduce paint-vapor exposure.
Operationally, this means the painting position should be chosen around ventilation first, then storage and lighting, not squeezed into the only empty corner after the bench is complete.
Step 6: Add ESD Controls for Applicable Electronic Work
Use ESD controls when you handle ESD-sensitive electronic components and assemblies. An anti-static craft surface is not a universal precision upgrade.
For applicable ESD work, an engineered electronics workbench uses a grounded, static-dissipative surface. A historical NASA ESD-control document specified resistance to ground between 1 × 10⁶ and 1 × 10⁹ ohms within its program. That document is not current compliance guidance, so verify current requirements and suitability before representing a station as compliant.
If you handle sensitive electronics, use an ESD protective surface and supporting controls appropriate to the applicable requirements. Keep those requirements limited to the electronic components and assemblies they are intended to protect.
Step 7: Plan Upgrades as Friction Removal
Avoid designing the entire dream studio in one purchase. List the frictions you encounter during actual sessions, then rank them by how often they interrupt work.
A practical upgrade order is:
- Fit: chair adjustment, supported feet, clear knees, and a workable arm position.
- Visibility: matte work area, side-aware ambient lighting, and adjustable task light.
- Access: primary reach zone for current tools; secondary and long-term storage outside it.
- Task separation: active trays, put-away locations, and a clear reset routine.
- Specialized modes: ventilation-conscious paint location or an ESD setup for sensitive electronics.
Start with the basic working position, then add the changes that address the interruptions you encounter most often. In my first shared-garage setup, the bench improved over months because every addition removed one specific frustration; the same logic works in a studio where the "upgrade" may be a better light position or an empty knee bay rather than more hardware.
Your Next Step: Run a One-Session Bench Audit
Set up your current project and work for one normal session. Then write down only three observations:
- What did you reach for repeatedly outside your primary zone?
- Where did glare or hand shadows interfere with seeing the work?
- What prevented a clean switch to the next task?
Fix the highest-frequency issue first. A precision crafting workbench becomes professional not through luxury-for-luxury's-sake, but through a series of small, compatible decisions that keep paying back every time you sit down to make something.
Related Articles