Build Your Accessible Workbench: Dimensions & Comfort
By Aisha Thompson • 31st Mar
When you sit down to work (whether in a wheelchair, on a stool, or standing), your disability-friendly workbench isn't a luxury. It's the foundation that determines whether a project feels fluid or exhausting. The same is true for every maker: tool bench designs that match your body and workflow make every hour count. Begin with workflows; the right bench choices follow.
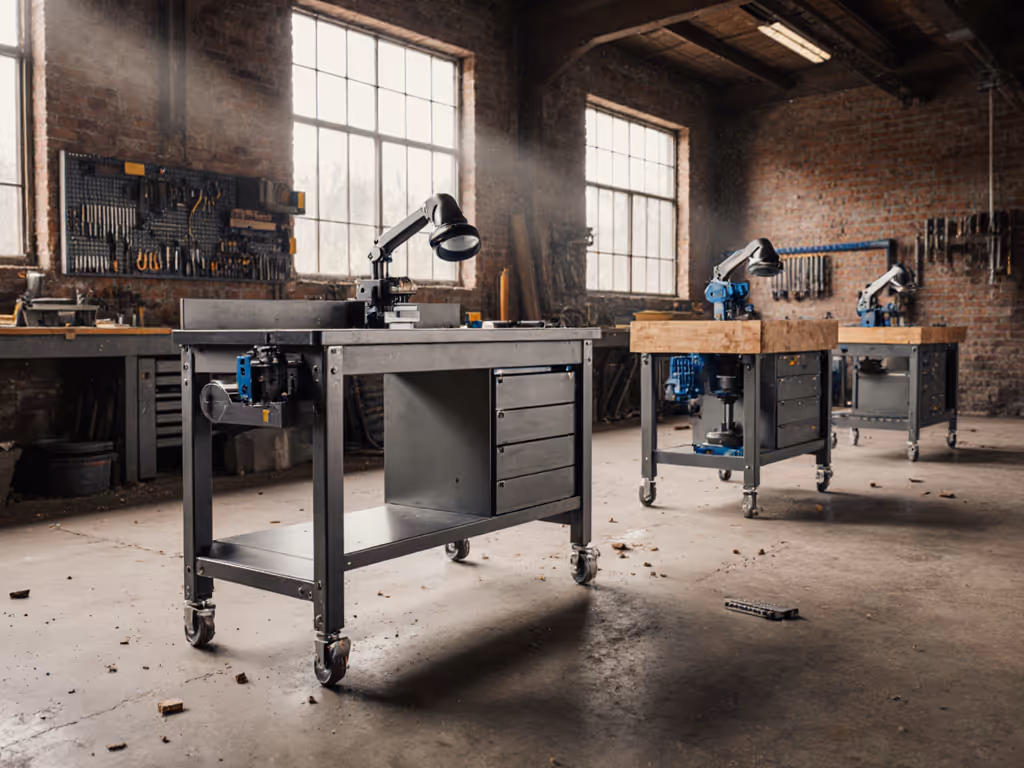
I learned this the hard way. On my first solo build, I wasted hours chasing clamps and tools buried under lumber. A mentor walked me through a reset: clear zones, fixed clamping points, a home for everything. That single afternoon made the project fun again. Ever since, I start with workflow before buying anything, and that principle matters even more when designing for different abilities. When everyone can reach their tools comfortably and position themselves to do precise work, the shop multiplies in capability and confidence.
Start with Your Body and Space
The first step isn't picking a size off a catalog. It's measuring your own reach, clearance, and the room you have to work in.
Understand Floor Layout and Access
Before you build or buy, map your shop. Wheelchairs need approximately 60 inches of floor space to complete a 180-degree turn[1]. If others share your shop, plan for a 48-inch-wide travel lane so a wheelchair user and an ambulatory person can pass each other safely[1]. Between your workbench and any fixed machine (a drill press, bandsaw, or table saw), allow at least 40 inches of clear workspace[1]. This isn't abstract accessibility code; it's the difference between flow and frustration.
Sketch your layout on paper or use a simple room planner. Mark fixed equipment, storage, and your main work zone. This visual checklist prevents buying a bench that looks great in photos but leaves you wedged in a corner.
Determine Working Height
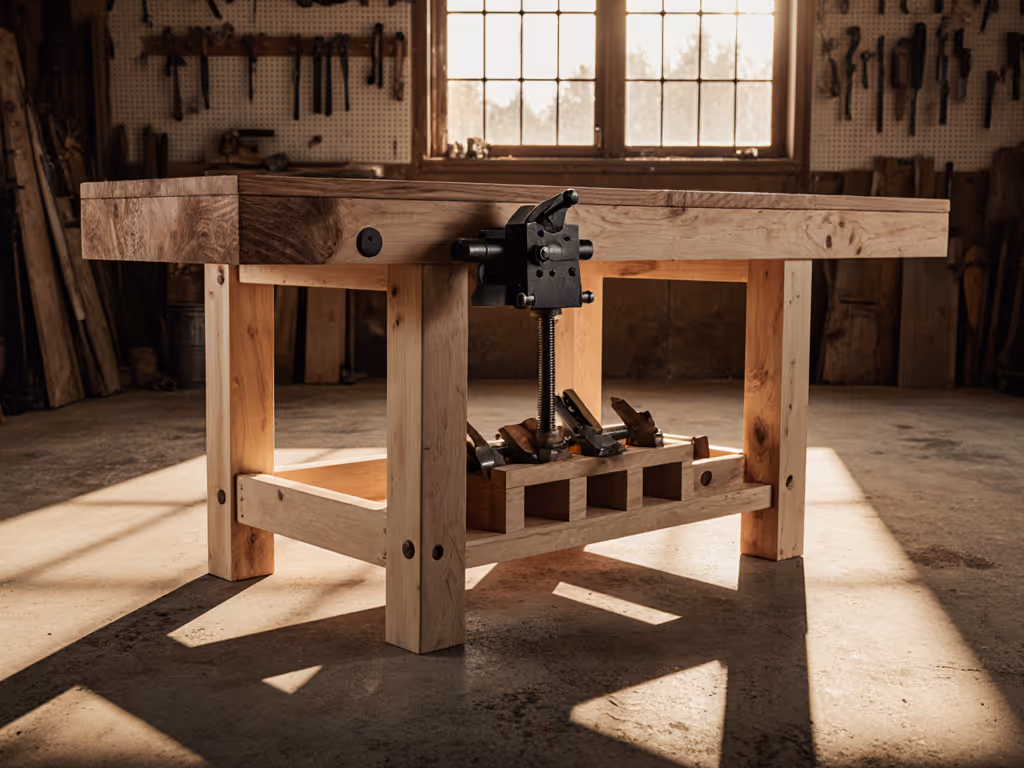
Standard woodworking benches sit at 34 inches (roughly the height of your first knuckle when your arm hangs relaxed). That standard works for many standing makers but fails for anyone whose reach or leverage point differs.
For wheelchair users, woodworking workbench height should clear the armrests and allow the chair to roll close enough to work[3]. Typical recommended heights fall between 28 and 30 inches[1][4]. A workbench at 29 inches paired with a benchtop that's 24 inches wide allows you to work at a comfortable reach without strain[4]. If you stand but have a shorter or taller frame, or if you prefer sitting on a tall stool, your ideal height might be 30 to 32 inches.
The rule: bench height should be just below your waist or at the level where your elbows bend comfortably when your arms rest naturally at your sides. For a deeper dive into sizing by body measurements and task type, see our workbench height guide. Test this before committing. Borrow a bench, or place plywood on blocks at your target height and spend 30 minutes working there. Confidence is a shop multiplier, and the right height builds that confidence immediately.
Plan for Knee and Leg Clearance
Underneath matters as much as the top. The space beneath your bench must accommodate your legs or wheelchair without obstruction[3]. Typically, 28 inches of clearance height allows a wheelchair to roll underneath, getting you close enough to apply force while holding work[1].
If your bench has a solid apron (the support board running front to back), make sure it sits high enough or is open in sections. Shelving and tool storage should be open or have shallow depth so you can reach what you need without leaning dangerously or straining your shoulders[1].
Design for Workholding and Reach
A strong bench is only half the equation. You need ways to hold work securely and reach the pieces you're working on.
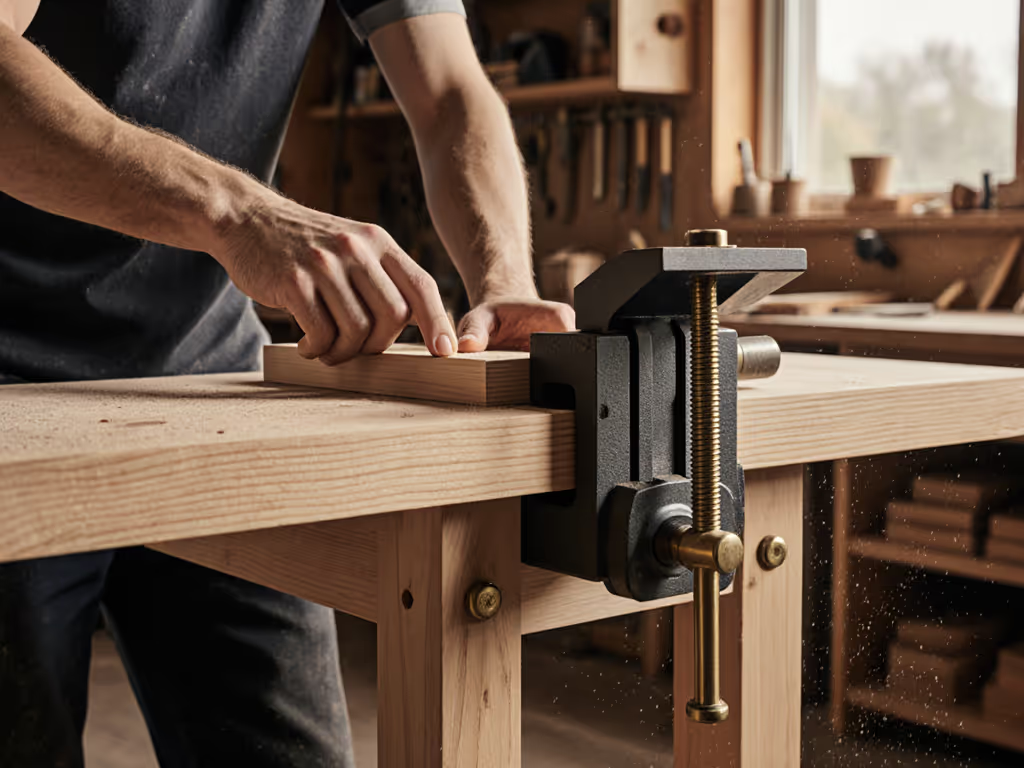
Vises and Clamping Points
Traditional bench vises bolted to the front corners assume you're standing and can apply downward leverage. If you're seated or reach from a different angle, vise placement and profile matter enormously.
Low-profile vises (those with minimal height underneath) let you roll or shift closer without your legs or chair legs catching[4]. Twin-screw face vises or similar designs give you flexibility in how you apply force and adjust the work. Some makers use multiple small vises at different positions on the bench rather than one large one; this distributes wear and gives you options depending on the task.
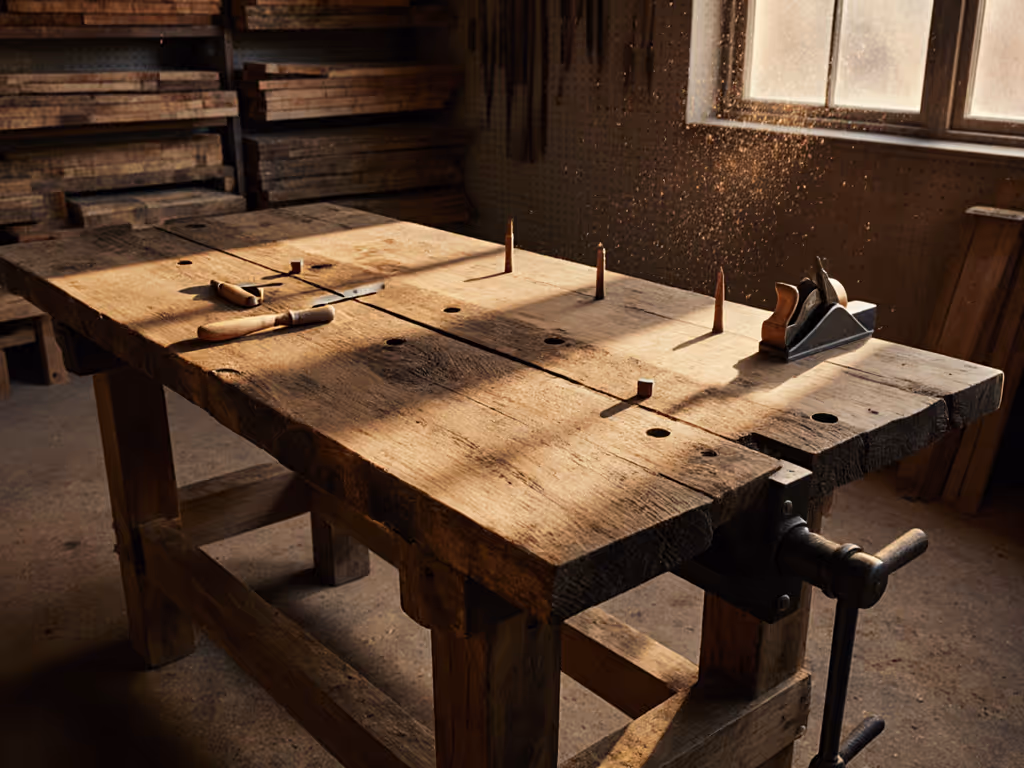
Beyond vises, plan for dog holes (or bench dogs). These are holes on a grid across the top where you can insert pegs to hold workpieces. A grid at 4-inch or 6-inch spacing is common, but the key is accessibility: you should be able to place dogs and clamps without reaching across the full width of the bench or leaning at an awkward angle.
Height-Adjustable Options
If your work varies (some hand-tool tasks at 29 inches, some assembly or routing at 36 inches), a mobile workbench or adjustable-height system is worth considering. Learn how different mechanisms affect stability and workflow in our adjustable height workbench guide. A motorcycle lift jack, for example, offers 12 to 14 inches of height adjustment for under $100 and can support a workbench top[5]. This modular approach means you design once, then adjust for the task.
If a full-height adjustable bench is beyond your budget now, build a base that accepts removable legs of different lengths, or use shims under fixed legs to fine-tune height incrementally.
Build or Source With Confidence
You have three main paths: buy a commercial bench, modify an existing one, or build.
Off-the-Shelf Benches
Several manufacturers now offer wheelchair-accessible models with standard heights of 28 to 30 inches and custom options[8]. These eliminate design risk and come fully assembled, though they command a premium. If you buy, verify that the clearance beneath is truly open and that any vises have low profiles.
Modification or DIY Build
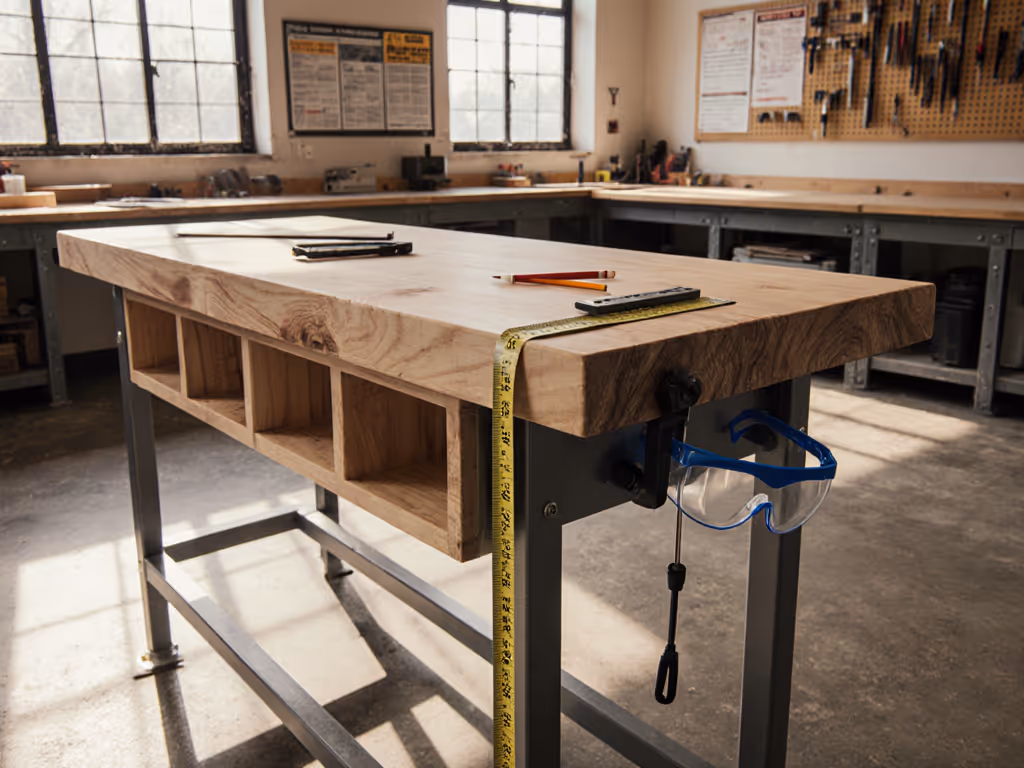
If you have a bench that's too high, lowering it is simpler than building from scratch. Cut the legs, adjust any shelving, and check that nothing catches. If you're building, the math is straightforward: subtract your finished-top thickness (usually 3/4 inch to 2.25 inches) from your target height, then cut your legs to that adjusted length.
A simple DIY approach: 4×4 legs, a plywood top (2 to 3 inches thick for stiffness), and a base frame of 2×4s or steel tubing. Add a low-profile face vise, drill your dog-hole grid, and you have a functional bench for a fraction of the commercial price.
Organize Workflow Around Your Bench
Once your bench is at the right height and in the right place, organize everything else to support it.
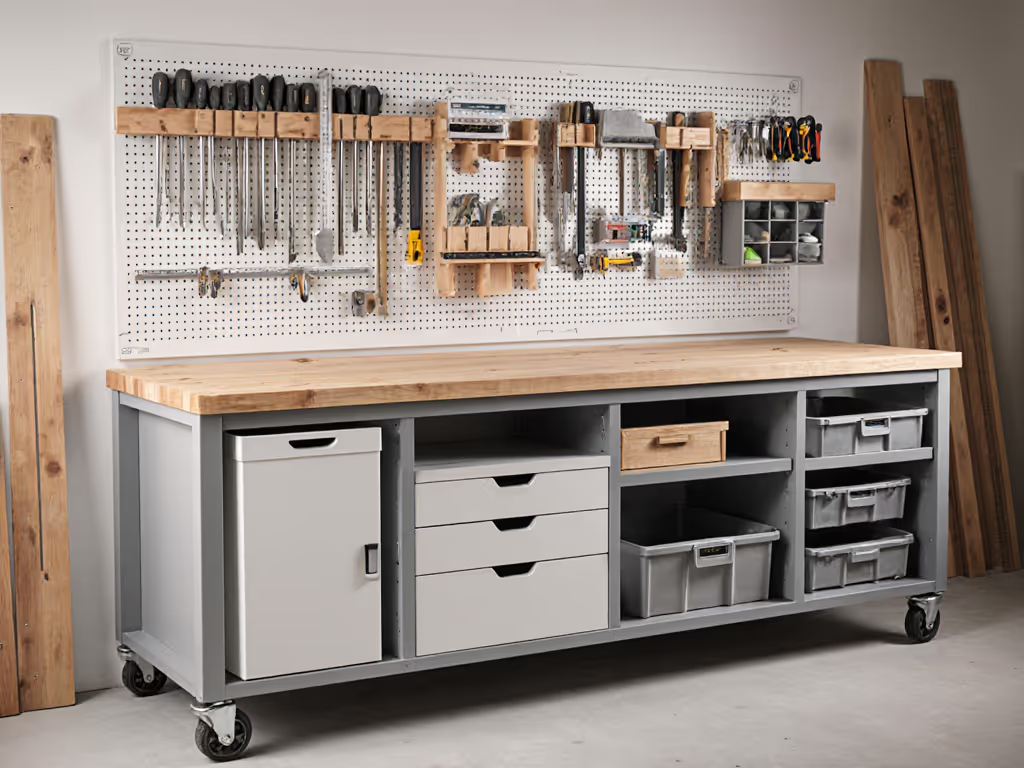
Storage Zones
Keep frequently used hand tools in open bins or on wall-mounted pegboard within arm's reach (no more than 18 to 24 inches from where you stand or sit)[1]. For layout ideas and under-bench solutions, explore our workbench storage hacks. Power tools like drills and sanders should have a home station, not live on the bench. Clamps, dogs, and fixtures belong on open shelving under the bench, sorted by type and size. A simple checklist:
- Hand tools: Immediately adjacent, sorted by task (layout, cutting, striking, finishing).
- Clamps and dogs: Under the bench, labeled and grouped by size.
- Material offcuts and stock: Mobile bins so you can roll them out of the way.
- Finishing supplies: Separate zone, never stored on the work surface.
- Power tools: Charging station or hanging storage, never blocking access to the bench.
Clamping Station Setup
If your layout allows, dedicate a small table or shelf as a pre-assembly station for glue-ups. This keeps excess clamps off your main bench and reduces setup time. A rolling utility cart works well here. Pull it to your bench when needed, then roll it away.
Make Adjustments as You Work
No bench is perfect on day one. Work on it for a week, and you'll discover tweaks.
- Height not quite right? Use shims or adjustable feet to fine-tune; even a half-inch can change how an afternoon feels.
- Vise position awkward? Reposition it or add a portable clamping solution to a secondary station.
- Can't reach tools? Move them closer or add a rolling cart nearby.
- Back or shoulders aching? You may need a foot rest, anti-fatigue mat, or different stool height to support your posture.
These iterations are normal. Workflow discipline makes modest tools feel world-class, and that discipline includes being willing to reset when something isn't serving you.
Next Steps: Build or Source Your Bench
Start with a sketch of your space, measure your ideal working height, and decide whether to build, modify, or buy. If you build, a simple 4×4-leg base with a plywood top and one face vise will outperform a wobbly store-bought bench costing three times as much. If you buy, prioritize clearance, vise profile, and adjustability. And if you're modifying what you have, lowering a bench or adding open shelving is a weekend project that pays dividends for years.
Your inclusive workshop design isn't a constraint, it is an opportunity to optimize for precision, comfort, and flow. Every maker benefits when a bench is set up right, and you'll find that confidence is contagious. Build once; enjoy for years.
Related Articles