Best Woodworking Workbench Top by Material
By Diego Martins • 15th Mar
Choosing a woodworking workbench top isn't about chasing the fanciest finish or highest price tag, it is about matching capability to your work right now, then building the system over time. I learned this the hard way: when I started in a shared garage with almost nothing, a solid torsion box and the willingness to add dog holes and casters in stages meant I could dial in precision without waiting to afford perfection. That experience shaped how I think about every tool investment. A workbench top is the same. Start lean, add interfaces, and compound the capability.
The material you choose anchors everything: flatness, durability, workholding potential, and cost-per-capability for years to come. Not sure how thick your top should be? See our workbench top thickness guide for stability data and recommendations. This guide breaks down the top contenders by material, showing you the cost-performance trade-offs so you can pick the right surface for your work, and know your upgrade path when your skills or ambitions shift.
1. Maple Butcher Block: The Woodworker's Workhorse
Maple butcher block remains the top choice for woodworking. It is sturdy, smooth, and minimizes tool damage. Here's what makes it the default:
- Impact forgiveness: Maple absorbs shocks from dropped tools or heavy parts without denting the work surface or damaging delicate tools. That "give" under planing or chiseling is crucial, it keeps your hand tools in better condition over a lifetime.
- Flatness and stability: Hardwood's density keeps surfaces flat under pressure, essential for joinery and glue-ups where tolerance matters.
- Quiet operation: Compared to steel, wood soaks up vibration and sound, a detail anyone in a shared garage or basement shop will appreciate.
- Cost-per-capability: Expect to pay $$$, but you're buying durability that spans decades with basic care.
- Maintenance: Seal regularly to ward off water and oil stains; occasional sanding keeps the surface true.
Best for: Hand-tool work, fine woodworking, cabinetry, furniture making, general assembly, and any task where tool longevity and vibration control matter.
Upgrade path: Start with a solid butcher block top on a basic base. As your work evolves, add face vises, planing stops, or a secondary outfeed table bolted to the same base. Standards-compatible dog holes (typically ¾-inch or 20mm) let you expand workholding without replacing the top.
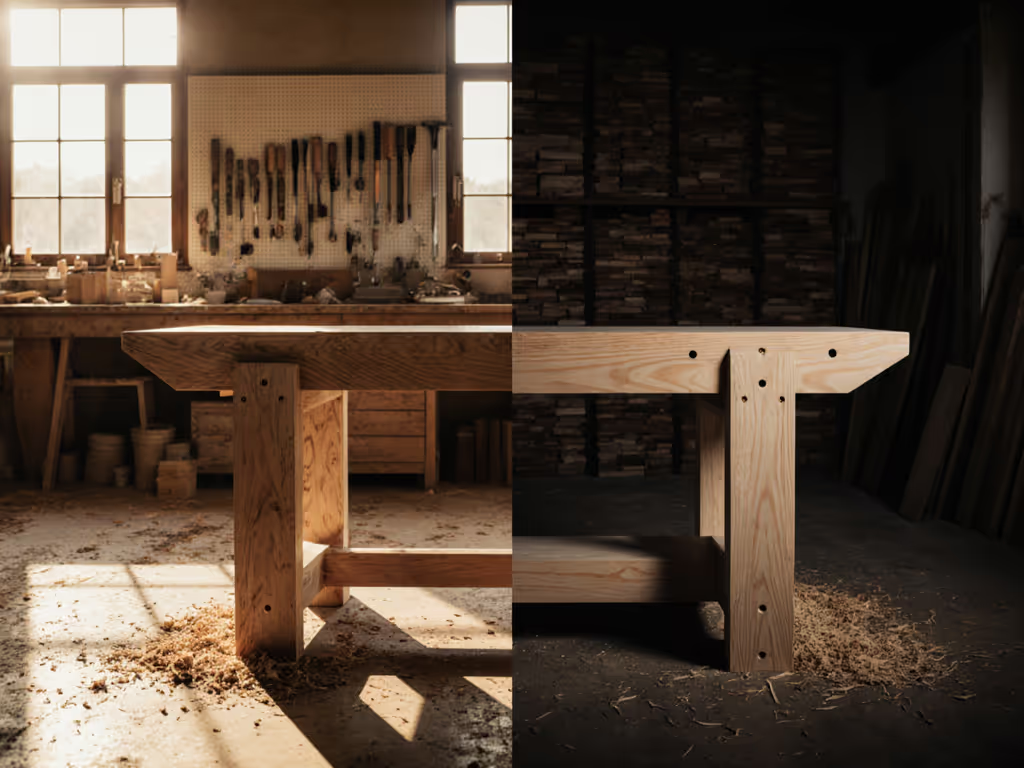
2. Hardwood Planks (Hickory, Oak, Maple): The Durable Alternative
If budget allows and you want an even harder surface, hardwood planks (especially hickory or oak) take maple's advantages further:
- Extreme hardness: Hickory is commonly used in hammer and tool handles for its unmatched durability and strength. It resists dents and dings more aggressively than maple.
- Refinish-ability: Both oak and maple planks can be sanded and refinished as they wear, effectively resetting the surface.
- Hand-tool friendly: These woods provide stability without damaging tool edges, making them ideal for precision work.
- Cost consideration: Hickory and premium oak cost more upfront than maple but stretch total cost of ownership over 20+ years.
Best for: Serious woodworkers, high-volume production shops, and makers planning to own the bench for decades. Perfect if you plane or chisel daily.
Upgrade path: Same as butcher block, dog holes and vises adapt to your growing needs without replacing the core surface.
3. Plywood (Budget Builds): Start Lean, Plan to Refresh
Plywood is the pragmatic choice for makers on a tight budget or testing a bench layout before committing to hardwood:
- Cost-per-capability NOW: A ¾-inch plywood top is functional for basic tasks and dramatically cheaper than hardwood.
- Replaceability: If damaged, it is inexpensive and simple to replace without redesigning the base.
- Lifespan reality: Expect 3-5 years under regular use; it is vulnerable to moisture damage and lacks strength under sustained impact.
- Protective coatings: A few coats of polyurethane or paint extend life somewhat, but you're managing decline, not longevity.
Best for: Temporary or budget builds, makerspace prototyping, learners testing their workflow, or anyone whose shop layout might change in 2-3 years.
Upgrade path: View plywood as phase one. Replace it with hardwood when your skills and budget allow, or when you've proven your bench design works for your body and tasks. The base structure stays; only the top changes.

4. Phenolic Resin: The Chemical-Resistant Specialist
Phenolic resin tops (often found in lab and industrial settings) deserve mention if your shop involves heavy chemicals, finishes, or staining liquids:
- Chemical toughness: Resists staining, cracking, and surface abrasion from solvents, dyes, and harsh cleaners.
- Low maintenance: No sealing required; wipe clean and move on.
- Durability: High durability means the surface outlasts plywood by far.
- Cost: High upfront ($$$), so reserve for serious production shops or finishing-heavy work.
Best for: Refinishers, stain and dye makers, shops running finish tests, or any setting where glue or solvent splash is constant.
Upgrade path: Pair with a secondary assembly bench (hardwood) for joinery and hand work. Use phenolic only where it earns its cost through chemical resistance.
5. Laminate (Standard or ESD): The Versatile Middle Ground
Standard laminate and ESD laminate occupy the space between plywood and hardwood:
Standard laminate:
- Cost-effective and easy to clean.
- Non-porous surface will not harbor contaminants.
- Moderate durability, holds up to light to moderate wear but isn't designed for heavy tool impact.
- Good for general maintenance and light assembly work.
ESD (electrostatic discharge) laminate:
- Essential for electronics assembly to protect components from static.
- Protects sensitive parts without sacrificing surface utility.
- Moderately priced, though full ESD setups require grounding wires and mats.
Best for: General maintenance workshops, light assembly, electronics work, and makers who prioritize cleaning ease over impact resistance.
Upgrade path: Laminate doesn't upgrade well, it is a functional slab. Use it as a secondary outfeed or parts-staging table, then graduate to hardwood for your primary work surface.
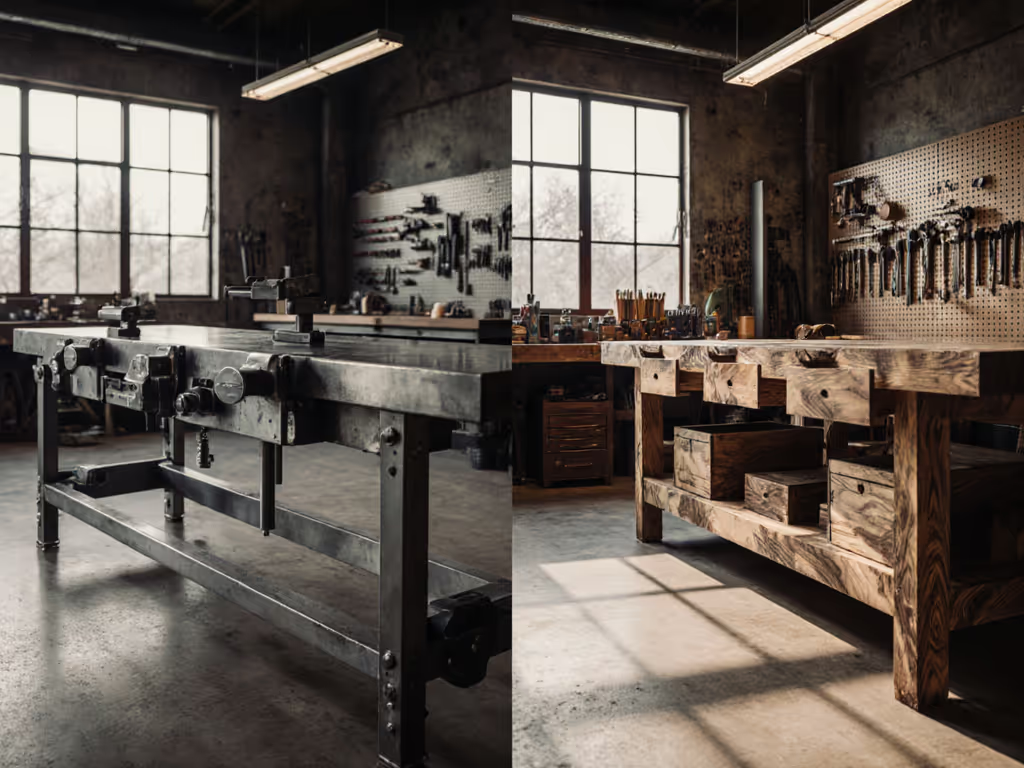
6. Stainless Steel: Overkill for Woodworking
Stainless steel is the gold standard for labs, food service, and medical environments, but rarely the right call for woodworking:
- Extreme durability and corrosion resistance: Virtually indestructible and impervious to heat, chemicals, and most hazards.
- Hygiene and cleanliness: Non-porous, so no contamination harbor.
- Cost: Significantly higher upfront ($$$).
- Wrong ergonomics for hand tools: Steel conducts vibration, making chiseling and planing less pleasant than wood. The hard, unyielding surface can fatigue your body over long sessions.
- Tool damage: Without shock absorption, dropped tools fare worse on steel than on wood.
Best for: Workshops mixing metal fabrication, welding, or extreme abuse, or shops where sterility outweighs craft feel (rare for woodworking).
Why to skip it for pure woodworking: You're paying premium dollars for durability you do not need while sacrificing ergonomics and tool life. Maple does 95% of what steel does for woodworking at half the cost.
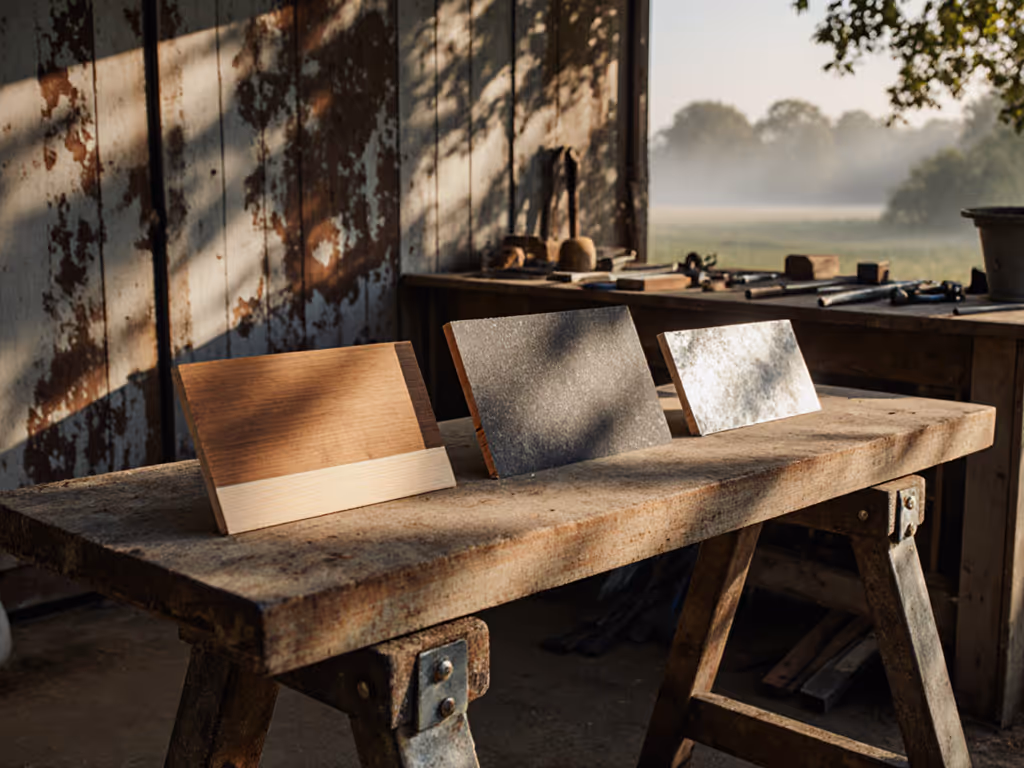
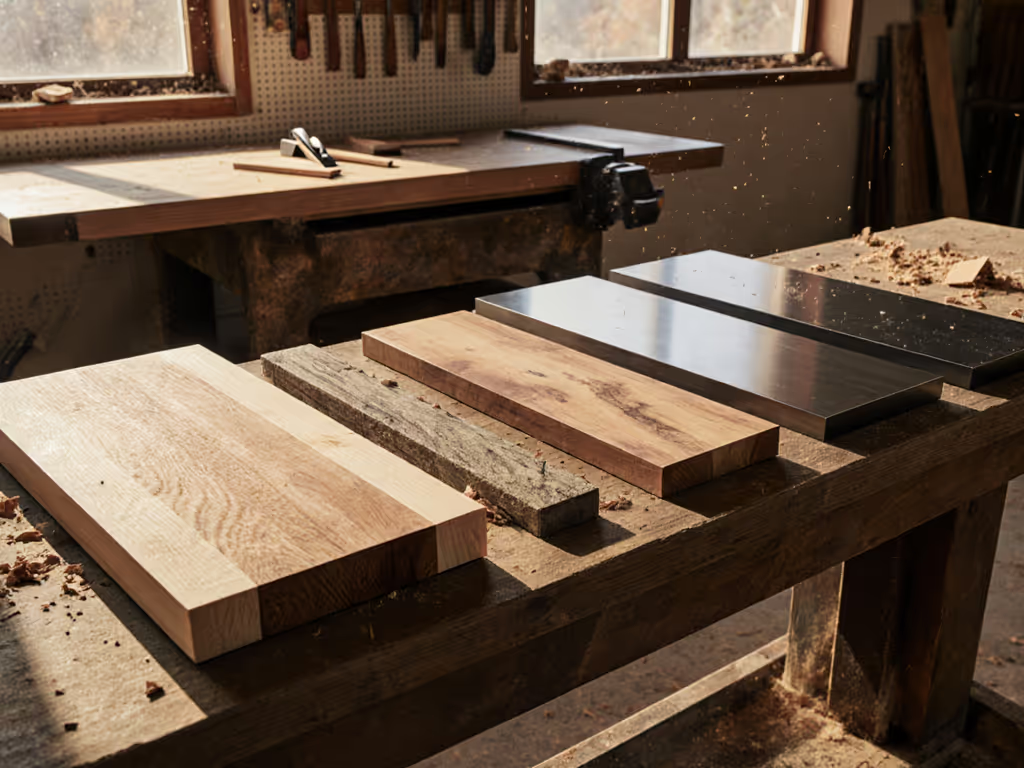
Material Comparison at a Glance
| Material | Durability | Cost | Hand-Tool Feel | Maintenance | Lifespan |
|---|---|---|---|---|---|
| Maple Butcher Block | High | $$$ | Excellent | Moderate (sealing) | 15-25+ years |
| Hardwood Planks (Hickory/Oak) | Very High | $$$ | Excellent | Moderate (refinishing) | 20-30+ years |
| Plywood (¾") | Low-Moderate | $ | Adequate | Low (paint/poly) | 3-5 years |
| Phenolic Resin | High | $$$ | Good | Low (wipe clean) | 15-20+ years |
| Standard Laminate | Moderate | $$ | Fair | Low (easy clean) | 7-10 years |
| ESD Laminate | Moderate | $$* | Fair | Moderate | 7-10 years |
| Stainless Steel | Very High | $$$$ | Poor (hard, conductive) | Low | 20-30+ years |
*Full ESD setups with grounding require additional accessories.
Choosing the Right Top for Your Woodworking
The "best" woodworking workbench top depends on three factors:
1. Your primary tasks
- Hand tools (planing, chiseling, joinery): Maple or hardwood, you need shock absorption and flatness.
- Assembly and glue-ups: Maple or hardwood for clamp-ability and durability.
- Finishing and chemical exposure: Phenolic or laminate; hardwood will stain.
- Mixed work (hand tools + finishing): Dual benches, hardwood for precision, phenolic for staining tasks.
2. Your budget timeline
- Now: Plywood or laminate gets you working while you save for hardwood.
- Medium term (2-3 years): Invest in maple; it is the cost-per-capability sweet spot.
- Long term (20+ years): Hardwood planks or phenolic if chemical resistance matters.
3. Your shop environment
- Shared spaces (noise matters): Wood over steel; vibration dampening is quieter.
- Moisture risk (basement, humid climates): Plywood needs aggressive protection; maple with sealant works; phenolic is immune. For climate-proof choices and care, read our humidity-resistant workbench guide.
- Chemical exposure (finishing, dyes): Phenolic or sealed hardwood; avoid bare plywood.
Your Upgrade Path
Start lean, add interfaces, and compound the capability. Here is a realistic three-phase approach:
Phase 1: Proof of concept (0-12 months)
- Build or buy a plywood-top bench on a solid base. Cost: $300-600.
- Add dog holes and a basic leg vise to test your workflow.
- Goal: Learn your ideal height, vise position, and workholding needs without overcommitting.
Phase 2: Core upgrade (Year 1-2)
- Replace the plywood top with a maple butcher block or hardwood slab. Cost: $800-1,500.
- Retain the base; bolt the new top in place.
- Add a second vise or planing stop if your hand-tool work grows.
- Goal: A durable, flat surface that will serve for 15+ years.
Phase 3: System expansion (Year 2+)
- Add an outfeed table, finishing station, or secondary assembly bench, each using the same dog-hole standard.
- Invest in casters and leveling feet if mobility matters.
- Goal: A modular workshop ecosystem where the core bench anchors specialized stations.
This path keeps you moving (you are not waiting for perfect) while respecting that true capability compounds over seasons, not overnight.
Next Steps
1. Measure your ideal working height. Stand at arm's length, relax your shoulders, and bend your elbows 90 degrees. Measure from floor to hand. That is your ideal bench height. Any workbench top sits on that foundation; the material matters less than the fit.
2. Clarify your primary task. Are you hand-tooling, glue-ups, finishing, metalwork, or mixing all four? Your answer narrows the material list immediately. Maple for hand work; phenolic or sealed surfaces for finishing.
3. Sketch your sourcing plan. Decide on dog-hole spacing (¾-inch or 20mm), vise style, and base design before buying materials. A clear bill of materials prevents waste and surprises.
4. Start with what you can afford now. Plywood is honest; it works for years at a fraction of hardwood cost. You will learn faster in a "good enough" bench than waiting for the perfect top. Upgrade when your skills and budget align, not before.
A woodworking workbench top is not a one-time purchase, it is the first interface in a growing system. Build it right for your body and tasks, keep it flat, and let it compound value. That is how craft shops evolve.
Related Articles