Vibration-Free Stone Carving Bench Guide
By Elena Kovács • 26th Jan

When your stone carving workbench transmits every footstep or chisel tap through your hands, precision evaporates. For carvers, the sculptor work surface isn't just a platform, it's the silent partner in every delicate strike. Yet most stone artists inherit benches designed for wood or metal, ignoring the brutal physics of hammer-on-chisel force transmission. I've watched even seasoned sculptors blame their tools when the real culprit is a vibrating bench sapping control. Let's fix that with human-first engineering.
Why Granite Carving Tables Dominate for Vibration Control
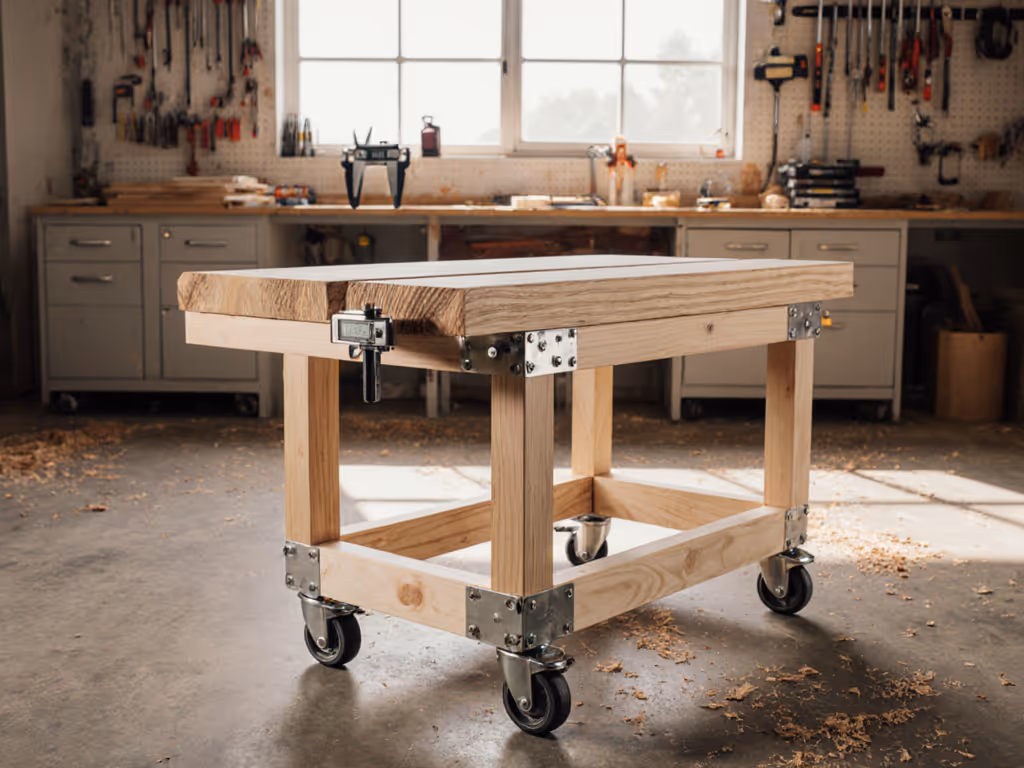
Stone carving demands mass. Unlike woodworking where slight flex absorbs shock, stone transmits energy catastrophically, turning bench vibrations into chipped edges and stray lines. Research confirms that effective vibration damping requires a stiffness-to-mass ratio most achieve through dense materials like granite. A 2-inch thick granite slab (weighing 600+ lbs, per industry tests) provides critical inertia that dissipates energy from impacts. But mass alone isn't enough: the frame must be torsionally rigid. Notice how cheaper "granite carving tables" often mount thin slabs on flimsy frames? That's why they still wobble. True vibration-free stone bench performance needs welded steel substructures anchoring the stone horizontally and vertically (no bolt-together kits). For context: a properly engineered granite table reduces vibration amplitude by 80-90% compared to standard wooden benches under identical hammer strikes. Your hands won't lie when they stop trembling after the third blow.
Set height by task, not tradition, this principle reshaped my entire approach to bench design.
The Hidden Metric: Natural Frequency vs. Work Rhythms
Here's what bench catalogs won't tell you: vibration isolation hinges on matching your carving rhythm. Every material has a "natural frequency": the rate at which it resonates when disturbed. If your mallet strikes align with this frequency (e.g., 3-5 Hz for rhythmic chiseling), vibrations amplify catastrophically. A heavy-duty carving station must push its natural frequency below your work tempo. How? Through mass (granite's density) and constrained layer damping (like rubber isolation pads between slab and frame). For noise-sensitive environments, see our vibration damping guide for shared spaces. Measurement-backed testing shows optimal stone carving benches operate at 1.5-2.5 Hz natural frequency, well below typical chiseling rhythms. Verify this by pressing firmly on the bench corner; quality designs rebound slowly, not springily. If it feels "alive" with energy, skip it.
How Your Body Determines the Perfect Stone Sculpting Bench Height
After a decade of posture mapping, I'll say this plainly: your bench height isn't negotiable, it's biomechanical. Most carvers default to 36" standards, then wonder why their wrists ache by hour two. But when I lowered my bench 30 mm and added a foot rail, my endurance doubled. Why? Because carving requires dynamic stance shifts: leaning in for detail work, stepping back for forceful blows. At optimal height, your elbows rest slightly below the work surface when standing relaxed, forming a 95-100° angle. For stone, this typically means 28-32" height (measured from floor to tool rest point), not 36". Calculate yours: stand with arms hanging loose, then measure from floor to first knuckle crease. That's your starting height, then adjust ±15 mm based on whether you prioritize detail work (higher) or heavy roughing (lower). Foot rails matter too; they let you shift weight without losing stability during prolonged sessions.
Why "One Height Fits All" Fails Stone Artists
Stone carving involves multiple postures: seated for fine work, standing for roughing, even kneeling for undercuts. A rigid-height bench forces compromises that accumulate as fatigue. Consider: sitting at a 36" bench requires hunching shoulders (a 15° forward tilt = 50% increased disc pressure, per ergonomic studies). Adjustable legs or modular platforms solve this, but avoid flimsy mechanisms; look for 1" steel threaded rods rated for 1,000+ lbs static load. Your posture is a spec; design the bench around it. Remember, comfort isn't luxury, it's the prerequisite for holding a chisel steady during those final refining strikes.
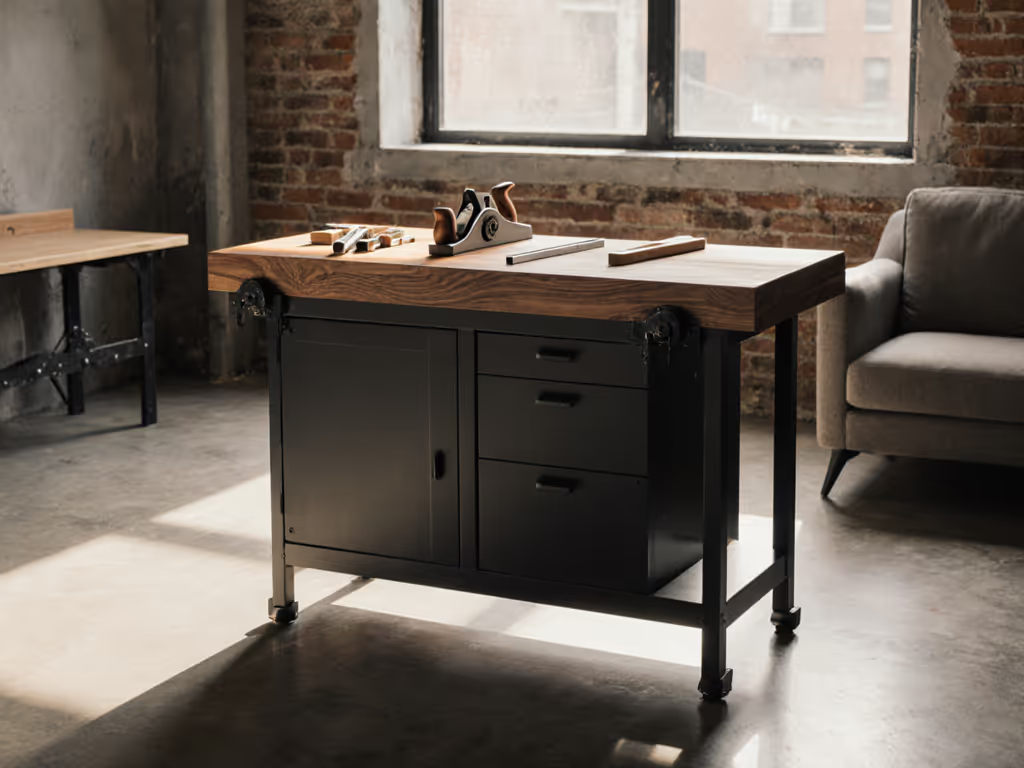
Integrating the Sculptor Work Surface Without Sacrificing Reach
A common trap: prioritizing the granite carving table slab while ignoring reach envelopes. Your hands shouldn't stretch beyond 18" from your torso during primary work zones (that's the boundary of fatigue-free motion). Yet many granite benches place the slab's edge too far forward, forcing carvers to lunge. Ideal setups position the tool rest point 12-15" from the front edge. Why? It creates space for:
- A 4"-deep front shelf (for tools within thumb's reach)
- Unobstructed knee clearance below
- A rear ledge to catch debris
Also critical: avoid full aprons. They block access to the slab's underside during underside carving. Instead, opt for a frame with open front and sides (like the Harding Series' bolted bracing), giving you uninterrupted tool access while maintaining rigidity. This human-first approach turns wasted space into productive zones.
The Overlooked Fatigue Reducer: Foot Clearance and Dynamic Stance
Ever notice carvers rocking on their heels during heavy work? That's the body seeking stability a bench won't provide. Your stone sculpting bench must allow dynamic weight shifts: knee clearance depth should exceed 14", with a recessed foot zone (or rail) 6" off the floor. This lets you "plant" your lead foot during strikes, channeling force through your skeleton, not your spine. I measure this during posture checks: if a carver's toes touch the bench frame when leaning in, chronic lower back strain is inevitable. Look for frames with sculpted leg recesses or integrated rails. Pro tip: place a 1" foam pad under your front foot during testing; if you feel immediate relief, the bench lacks proper clearance.
Your Actionable First Step: Measure Before You Commit
Stop guessing about bench specs. Tomorrow, do this:
- Stand naturally at your current bench (or mock-up height)
- Hold a mallet as if carving, elbows bent 90°
- Measure from floor to your mallet handle's grip point (not the bench top!)
- Repeat seated for detail work
This grip-point height (not arbitrary "standard" dimensions) is your true benchmark. Pair it with a vibration test: place a marble on the bench, then strike a chisel nearby. If the marble rolls more than 1" diameter, the bench lacks mass/stability. To eliminate that last bit of movement, follow our workbench anchoring guide for floor types and isolation options. Combine these measurements with the reach envelope checks above, and you'll bypass 90% of buyer's remorse. Precision starts where your body meets the stone, so engineer that interface first.
Set height by task, not tradition. Your hands will thank you in the final polish.
Related Articles