No-Nonsense Biohacking Workbenches: Lab-Grade Durability
By Aisha Thompson • 3rd Jan
As a biohacker setting up your home lab, your work surface is the foundation of everything you do. Finding the right biohacking workbench that offers true lab-grade durability without breaking the bank can feel overwhelming. And let's be honest, nobody wants to be mid-experiment only to realize their surface is contaminated, warped, or worse, degraded by the very chemicals you're using. Having guided dozens of first-time biohackers through setting up their spaces, I've seen how the right DIY biology lab bench transforms frustration into flow. On my first solo build, I wasted hours chasing tools buried under clutter. A mentor reset my approach: start with workflow zones before buying anything. That single afternoon made all the difference, and it's why I now begin every consultation with the mantra: Begin with workflows; the right bench choices follow.
When your bench supports your movements rather than fights them, you're freed to focus on what matters: your science. After all, confidence is a shop multiplier. With that in mind, let's cut through the noise and build your decision checklist for a biohacking work surface that won't let you down.
1. Understand Your Real Workbench Requirements
Before diving into materials or price points, clarify what you actually need. Many beginners assume they need a full professional lab setup when something simpler would serve them better. Start with these questions:
- What specific procedures will you perform most often? (DNA extraction, bacterial culturing, microscopy, etc.)
- What chemicals, reagents, and biological materials will you handle regularly?
- How much space do you realistically have available?
- Will multiple people use this space?
- What's your actual budget for the bench alone (not including other equipment)?
This isn't about scaling down your ambitions; it's about scaling up your success rate. Your microbiology workbench features should match your most common tasks, not theoretical edge cases. I've watched too many biohackers stretch their budgets to buy "pro" equipment they rarely use, leaving them without funds for the essentials that would actually move their projects forward.
2. Surface Material: More Than Just Chemical Resistance
Your work surface needs to withstand not just chemicals but daily physical demands. Here's what truly matters:
- Chemical resistance: Not all surfaces resist all chemicals. Phenolic resin holds up to acids and bases better than epoxy in some cases, while stainless steel excels with oxidizers but can corrode with halogens.
- Impact resistance: Dropping a centrifuge rotor or glassware happens. Your safe biological work surface needs to absorb minor impacts without cracking.
- Thermal resistance: Many protocols involve heat sources. Epoxy resin handles higher continuous heat (up to 350°F) than phenolic.
- Seamlessness: No joints or seams where contaminants can hide. Poured epoxy resin creates a truly seamless surface.
- Porosity: Non-porous surfaces prevent biological material from embedding in the surface.
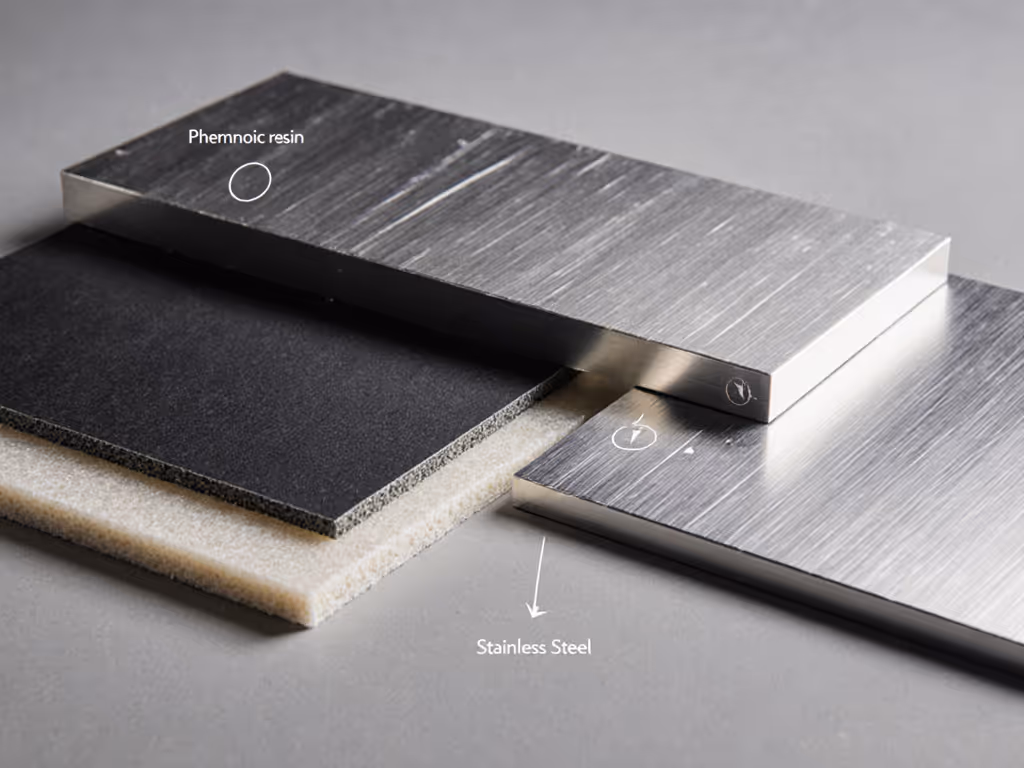
Consider this real-world scenario: If you're doing frequent PCR work with ethanol cleanup, phenolic resin outperforms stainless steel which can develop micro-scratches that harbor contaminants over time. But if you're doing protein work with strong denaturants, epoxy resin might be your best bet.
3. Built-In Safety Features That Actually Matter
Beyond basic chemical resistance, your bench should include these often-overlooked safety elements:
- Integrated splash guards: Even modest vertical lips (1-2 inches) contain minor spills without obstructing your workflow
- Drainage channels: Essential if you'll be using liquid disinfectants regularly
- Electrostatic discharge (ESD) protection: Critical when working with sensitive electronics for monitoring
- Easy-clean rounded corners: Eliminate hard-to-sanitize right angles where microbes can hide
- Stable, vibration-dampened base: Prevents micro-movements during microscopy or pipetting
A proper chemical-resistant lab bench considers these details from the start rather than relying on after-market fixes that often compromise stability or usability. If ESD protection is a priority, see our ESD-safe electronics workbench picks for surfaces and features that prevent static damage.
4. Sterilization Compatibility: Beyond Just Wiping Down
Your sterilization work surface must withstand your chosen decontamination methods without degradation. Consider:
- Autoclave compatibility: Some surfaces (like certain plastics) can't handle steam sterilization
- UV resistance: Some materials degrade under UV sterilization
- Chemical compatibility with common disinfectants: 70% ethanol, bleach solutions, hydrogen peroxide
- Heat tolerance for dry-heat sterilization methods
- Surface integrity after repeated sterilization cycles
Don't assume "lab grade" means it can handle all sterilization methods. Check manufacturer specifications for exact exposure limits. For wet or chemical-heavy protocols, consider plastic workbenches for wet labs with corrosion-proof surfaces. Many budget "lab" surfaces quickly degrade after just a few bleach cycles, a fast track to cross-contamination.
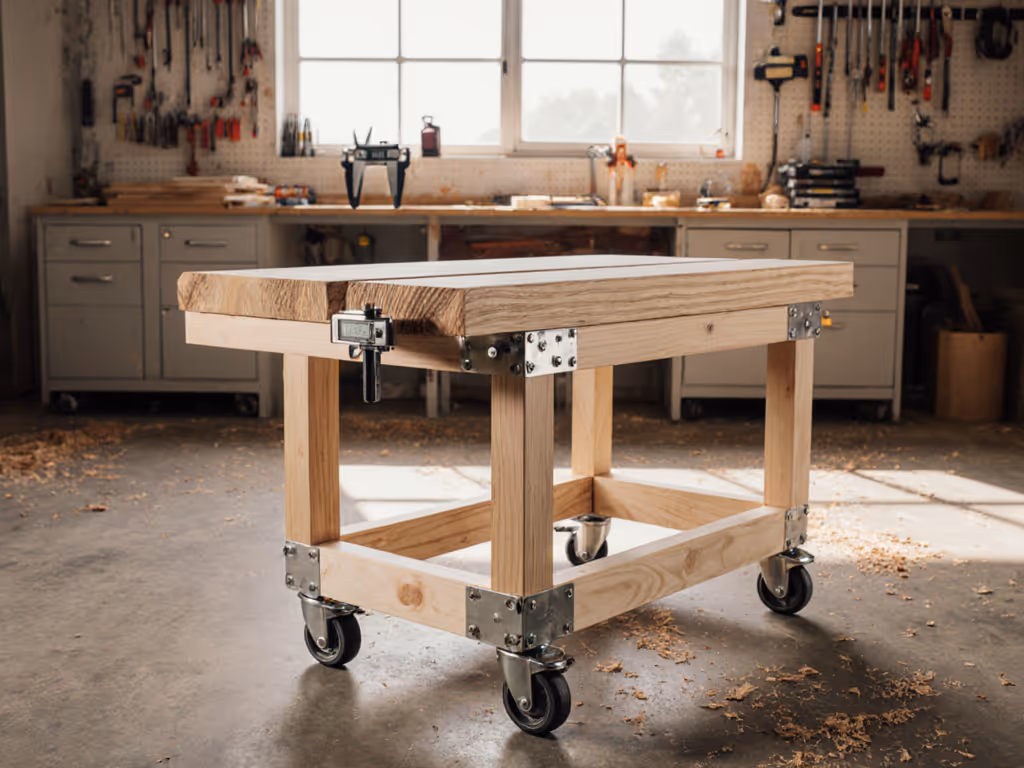
5. Structural Integrity: Stability Matters More Than You Think
A wobbly bench isn't just annoying, it introduces errors in precise work. Look for:
- Frame material: Powder-coated steel offers better stability than wood in humid environments
- Joint construction: Welded > bolted > screwed for long-term stability
- Cross-bracing: Essential for preventing racking under one-sided pressure
- Weight capacity: Minimum 500 lbs for most biohacking applications
- Vibration damping: Especially important if you'll use microscopes or precision scales
Your bench shouldn't move when you're adjusting a micropipette or focusing a microscope. This stability factor is the difference between reliable results and mysterious experimental variations. If your floor allows it, follow our bench anchoring guide to eliminate micro-movement during precision work.
6. Workflow Zones: Design for Your Movement Patterns
Instead of accepting a one-size-fits-all layout, design zones based on your actual workflow:
- Prep zone: Chemical storage and reagent preparation (needs chemical resistance)
- Execution zone: Where experiments happen (needs maximum chemical/impact resistance)
- Analysis zone: Microscopy and data collection (needs vibration resistance)
- Decon zone: Sterilization and waste handling (needs easy-to-clean surfaces)
Map your typical experiment from start to finish and position these zones to minimize unnecessary movement. This single adjustment reduced workflow time by 30-40% for the biohackers I've coached (time you can spend on actual science rather than bench logistics).
7. Storage That Works With Your Workflow (Not Against It)
Clutter-free surfaces are non-negotiable in a biological workspace. Effective storage includes:
- Closed storage for chemicals: Prevents accidental contamination
- Dedicated biological waste containment: Integrated or immediately adjacent
- Vertical storage solutions: Keeps frequently used items within reach without crowding the work surface
- Easy-access storage for sterilized items: Positioned after your decon zone
- Mobile storage carts: For moving items between zones without cross-contamination
The worst biohacking setups I've seen cram everything onto the bench surface "for convenience" only to create a contamination nightmare. Remember: workspace ≠ storage space. For layout ideas tied to specific tasks, see our workflow-optimized bench storage comparison.
8. Space-Smart Design for Home and Garage Labs
Most DIY biohackers work in constrained spaces. Maximize your footprint with:
- Fold-down extensions: Create temporary extra space when needed
- Wall-mounted components: Free up floor space for movement
- Vertical height adjustment: Accommodate different users and tasks
- Modular components: Add or remove sections as your needs evolve
- Clear underneath space: For easy cleaning and avoiding hidden contamination zones
This is where many pre-built lab benches fail home biohackers, they're designed for institutional spaces, not your garage or spare room. Your DIY biology lab bench should fit your space, not force you to change your living arrangement.
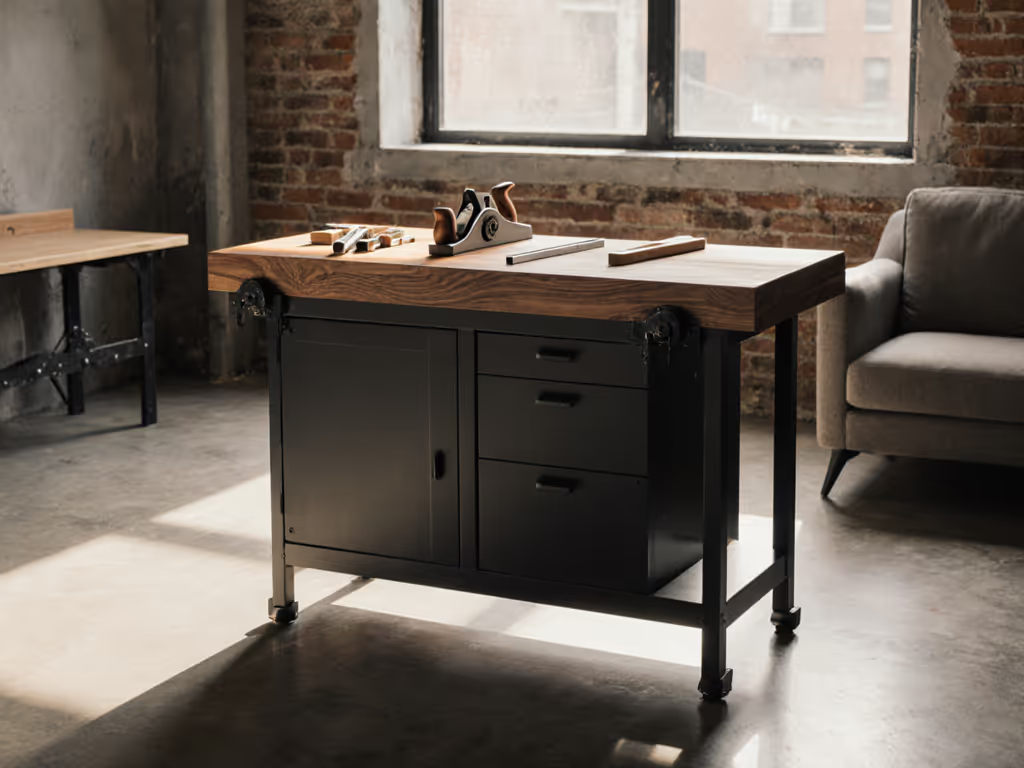
9. Budget-Friendly Options That Deliver Real Value
You don't need a $5,000 professional lab bench to start meaningful biohacking. Consider:
- Stainless steel prep tables: Originally for kitchens but excellent for basic biology work
- Phenolic resin countertops: Cut to size from lab supply companies
- DIY epoxy resin pours: Over plywood for a seamless, chemical-resistant surface
- Mobile workstation kits: Modular systems that grow with your needs
- Refurbished lab equipment: Often available from universities upgrading facilities
Focus your budget on the surface material first. This is where failures happen most often. You can build a supporting structure yourself or purchase something basic that meets your stability requirements.
10. Your Action Plan: Building Confidence Step by Step
After guiding countless biohackers through bench selection, I've refined a simple implementation sequence that minimizes decision fatigue and builds confidence:
- Map your workflow: Document your most common procedures start-to-finish
- Identify your top 3 surface requirements: Based on actual chemicals and procedures
- Measure your space: With clearance for movement and equipment
- Research 2-3 options: Choose those that meet your core requirements
- Check sterilization compatibility: Don't assume it works with your protocols
- Set up a test zone: Before committing to the full bench
- Implement your workflow zones: Gradually refine based on actual use
Confidence is a shop multiplier: start with what you need today, not what you might need someday.
This systematic approach has helped dozens of biohackers avoid costly mistakes and build labs they actually enjoy working in. Your perfect biohacking workbench isn't about having the most expensive equipment, it's about having a surface that supports your specific work without introducing unnecessary complications.
Take Your Next Step Today
Don't let bench selection paralysis stall your biohacking journey. Grab a notepad and spend just 20 minutes mapping your most common experimental workflow. Identify where your current setup frustrates you. Is it chemical resistance? Surface stability? Inadequate sterilization capability?
Then, focus on solving just that one issue first. Maybe it's adding a replaceable chemical-resistant mat to your existing surface, or adjusting your workflow zones to minimize movement. Small, intentional improvements compound quickly.
When you begin with workflows rather than products, you'll find the right bench choices follow naturally, freeing your focus for what really matters: your science. And remember, confidence is a shop multiplier that grows with every thoughtful decision you make.
Related Articles