Institutional Workbench Guide: Performance Specs and Values
By Maya Iqbal • 10th May
When a workbench must perform across dozens of hands, weeks of heavy use, and multiple task types, aesthetics vanish. What remains is a simple question: Does it hold tolerance, or doesn't it? This guide cuts through the marketing and hype surrounding institutional workbenches and workbench pro setups. It translates performance specs into actionable choices for serious makers, small shops, and shared makerspaces that need their bench to behave like the precision tool it is.
FAQ Deep Dive: Institutional Workbench Performance and Selection
What Separates an Institutional Workbench from a Casual Hobby Bench?
An industrial workbench isn't just heavier or bigger. It's engineered to absorb repeated stress without drifting. The difference is measurable and non-negotiable.
A casual hobby bench might deflect 1/4 inch under a planing load of 200 pounds. That same load on an institutional bench should produce deflection under 0.05 inches. Racking (the twisting of the frame when you push diagonally) separates the precision tools from the glorified tables.
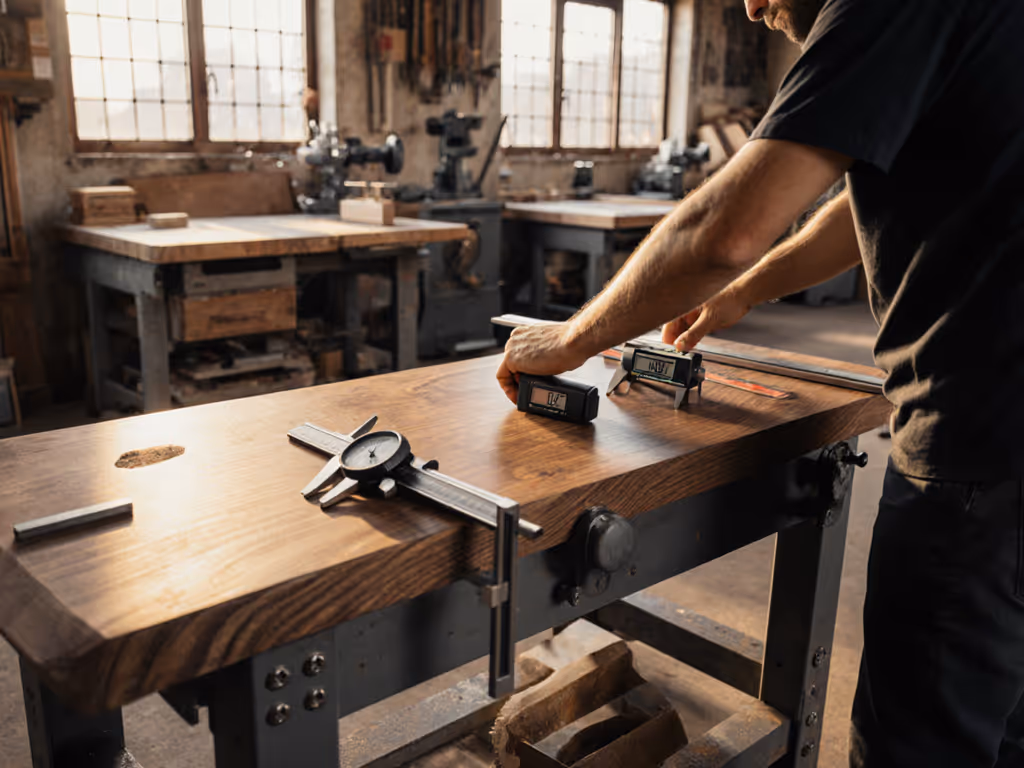
I once witnessed two benches side-by-side in a community makerspace rebuild. Both looked identical: steel frames, thick tops, similar height. We loaded each with 500-pound sandbag stacks and watched. One twisted like warm taffy. The other didn't budge. The difference? One had diagonal bracing; the other didn't. For the engineering behind bracing, bases, and rigidity, see our workbench foundation design guide. A $2 dial indicator settled the debate faster than any sales pitch ever could. Since that day, I don't trust appearances (I trust measurements first, paint and branding last).
Institutional benches share three core traits:
- Stiffness under load: deflection remains invisible to the naked eye across the full working envelope (typically < 0.1 inches at midspan under 300+ pounds of distributed load).
- Flatness retention: the top stays flat season-to-season and task-to-task, without shimming or re-flattening every month.
- Racking resistance: the frame doesn't twist when you apply lateral or diagonal forces (planing, chiseling, assembly pressure).
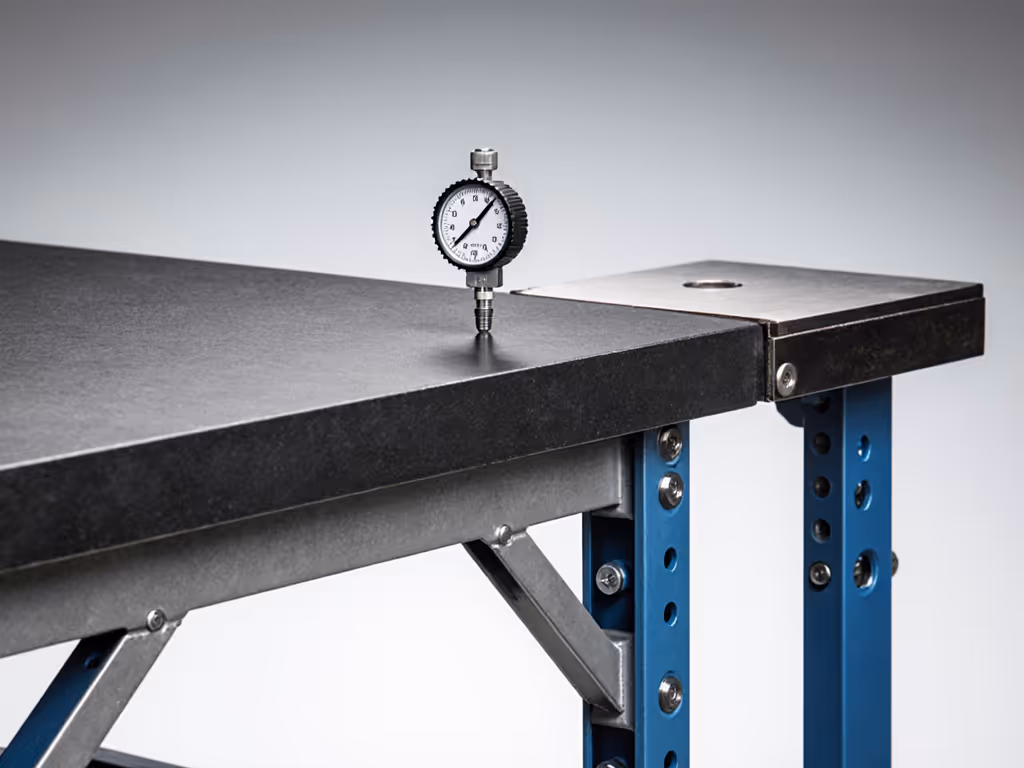
How Do You Measure Bench Stiffness, and Why Does It Matter?
Stiffness is deflection under a known load, measured with precision instruments (typically a dial indicator accurate to 0.001 inches).
The Standard Test Method:
- Place a straight, calibrated steel bar across the bench (ideally spanning 90% of the length).
- Position a dial indicator at the midpoint, perpendicular to the top surface.
- Apply a distributed load (usually 200 to 500 pounds, depending on the bench class) and record the maximum deflection.
- Control the variables, and the #'s will explain themselves. If a bench deflects 0.2 inches under 300 pounds, you have your first data point. If it deflects 0.02 inches, that's a 10x difference; one will feel solid under planing, the other will whisper to you.
Why This Matters:
Deflection compounds error. A bench that sags 0.1 inch at midspan means your reference face for joinery is tilted. Glue-ups on a twisted surface create internal stress; parts don't fit square. Hand-tool work becomes exhausting because you're fighting the bench, not the wood. Assembly tables in institutional settings must perform consistently across shifts and operators; sloppy benches amplify human variation instead of taming it.
Best-practice workshop bench specs for institutional use typically call for < 0.05 inches of deflection under 300 pounds of evenly distributed load at midspan. Some high-end workbench pro designs achieve < 0.02 inches.
What Causes Racking, and How Do You Prevent It?
Racking is the villain of shared makerspaces. It happens when the frame twists under lateral force (a painter's push during a planing stroke, the clamping pressure of a tail vise, or the diagonal stress of assembly work).
Common Racking Scenarios:
- A user leans hard into a fore plane at a 45-degree angle; the leg opposite the workpiece shifts outward.
- Vise jaws are tightened; the entire frame lifts and twists slightly.
- Assembly fixtures pull the bench frame diagonally as clamps tighten.
Prevention Strategies:
- Diagonal bracing: Cross-bracing in the frame (often 1.5-inch tube steel or equivalent hardwood) eliminates twist before it starts.
- Wide stance: Legs positioned near the edges of the top (not centered) create a wider lever arm, resisting moment forces.
- Mass and density: A 400-pound bench feels different under load than a 200-pound one. Institutional benches often exceed 600 pounds, with no apology.
- Bolted (not welded) assemblies: Bolted joints allow micro-adjustment and replacement without scrapping the frame.
- Reinforced top-to-leg interface: The connection is the weakest point. Institutional designs use wide steel plates, high-grade bolts, or integrated top-frame geometry.
A practical racking test: Apply a 100-pound horizontal force at one corner of the top, 2 feet up from the frame base. Measure deflection with a dial indicator at the diagonally opposite leg. Institutional benches should show < 0.05 inches of movement.
How Flat Should a Workbench Top Stay, and What's Acceptable Drift?
Flatness is the second pillar of institutional bench performance. A top that drifts out of flat is a slow poison, it telegraphs error into every part and assembly.
Flatness Standards:
- Grade 1 (Precision): < 0.001 inch per 12 inches of length (0.0001 inch / inch). This is a surface plate. Very few shop benches need this.
- Grade A (Institutional Standard): < 0.004 inch per 12 inches. This is the target for institutional workbenches. Over a 6-foot span, that's roughly 0.002 inches of acceptable deviation.
- Grade B (Professional Shop): < 0.010 inch per 12 inches. Workable for cabinetry and furniture but requires occasional shims for precision joinery.
Why Institutional Benches Drift:
- Wood tops: Seasonal movement (cupping, twisting) due to humidity swings. A solid hardwood top can move 0.5 inches across its width over a year in a climate-controlled vs. uncontrolled shop.
- Adhesive creep: Glue joints under load (especially in leg aprons) relax slightly over months.
- Frame settlement: Bolted joints loosen incrementally without periodic re-torquing.
- Thermal expansion: Steel frames and tops expand and contract at different rates, introducing shear stress.
Mitigation:
- Use stable top materials: laminated MDF, epoxy-cast concrete, or engineered stone for institutional settings, which reduce seasonal drift by 70-80% vs. solid wood.
- Design for shimming: a top surface that's easy to shim (bolted, not glued) allows non-destructive re-flattening.
- Choose slab-type frames (no deep aprons on the working faces): aprons trap moisture and stress; they're decorative, not functional, in institutional benches.
- Test annually: A straightedge and feeler gauges take 15 minutes; it catches drift before parts start rejecting. If your shop faces big seasonal swings, our humidity-resistant workbench guide outlines materials and design tweaks that keep tops flat longer.
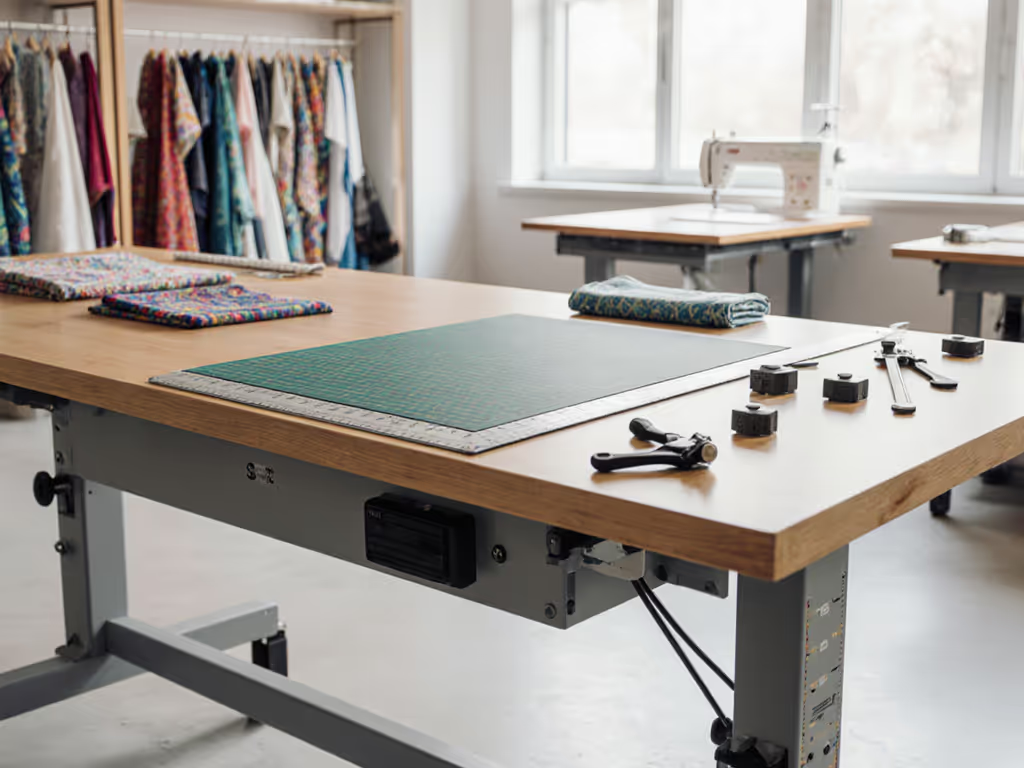
What Clamping and Workholding Systems Should an Institutional Bench Support?
Workholding is the third pillar (and often the most neglected). A stiff, flat bench that can't hold work reliably is a desk.
Essential Clamping Features:
- Bench vises (minimum two): A face vise (foot vise) on one end and a tail vise on the opposite end or side. Institutional benches support both simultaneously without deflection.
- Dog holes: Standardized holes (typically 20mm in EU, 3/4 inch in US) for bench dogs, clamps, and fixtures. A 6-foot bench should have 24-32 dog holes along one or both long edges. Spacing is critical: 4-inch centers minimize setup time.
- T-track or slot systems: Allows modular clamping fixtures, stops, and jigs. Institutional benches often have 2-3 parallel T-tracks flush or slightly proud of the working surface.
- Unobstructed working faces: Leg aprons below the working surface should be set back at least 1 foot to avoid fouling clamps, bodies, or outfeed material.
- Accessible underside: Benches used by multiple users must allow easy access for vise screws, dogs, and removable clamp faces.
Compatibility Matters:
Institutional settings often have benches from different makers or eras. A B2B workbench for consumers that uses proprietary dog-hole spacing or non-standard vise interfaces becomes a headache. Choose benches that conform to:
- 20mm system (EU standard): dog holes and T-tracks at 20mm intervals.
- 3/4 inch system (US tradition): dog holes and facings aligned to 3/4-inch spacing.
- MFT/96 standard: Festool's 96mm grid for universal jig compatibility.
Control the variables, and the #'s will explain themselves: a bench that accepts 30 different clamp styles sees higher utilization than one that forces users to buy proprietary hardware. For help choosing compatible dogs and workholding, see our bench dog systems comparison.
How Do You Choose the Right Bench Size and Height for Institutional Use?
Wrong height is ergonomic suicide. A bench 2 inches too high causes shoulder and neck strain over 8 hours; one too low taxes the lower back and knees.
Height Selection:
- Optimal working height: Measure from the floor to the user's knuckles with arms hanging naturally at their sides. This is where the hands naturally fall when standing upright. Most benches hover at 36-40 inches; optimal is closer to 38-42 inches depending on task and user stature. Use our workbench height sizing guide to dial this in for different users and tasks.
- Mixed-use adjustment: Institutional benches serving planing, assembly, and finishing may benefit from a height in the 36-38 inch range (lower for hand-tool work) or modular height options (twin benches at different heights, or adjustable legs).
- Accessibility: Benches in makerspaces or educational settings should accommodate users in wheelchairs or with mobility aids. Roll-under clearance of 27 inches at the center allows safe approach.
Size and Layout:
- Minimum Length: 5 feet for solo work, 8 feet for institutional use (two users working opposite ends, or one user with outfeed material).
- Working Surface Depth: 24-30 inches. Shallow benches (< 20 inches) cramp movement; deeper benches (> 36 inches) waste reach.
- Leg Span: Position legs at least 18 inches inboard from the edges to create clear clamping faces and prevent users from hitting shins or knees on corner bracing.
What's the Real Total Cost of Ownership for an Institutional Workbench?
People often shock at institutional bench prices ($2,000-$8,000+) and flinch. Then they buy a $300 hobby bench three times and upgrade vises, hardware, and tops. Control the variables, and the #'s will explain themselves.
Cost Components:
| Component | Budget Option | Institutional Standard | Premium |
|---|---|---|---|
| Frame & Structure | $400-600 | $1,000-1,500 | $2,000-3,000 |
| Top Material | $300-500 | $800-1,200 | $1,500-2,500 |
| Vises (2x) | $200-400 | $600-1,000 | $1,200-2,000 |
| Dogs & Hardware | $100-150 | $250-400 | $500-800 |
| Assembly/Delivery | $200-300 | $300-500 | $500-1,000 |
| Total | $1,200-1,950 | $2,950-4,600 | $5,700-9,300 |
Cost per Use (5-Year Horizon):
Assuming 1,000 shop hours per year (200 work days x 5 hours): 5,000 total hours over 5 years.
- Budget bench: $1,500 ÷ 5,000 = $0.30 per hour
- Institutional bench: $3,500 ÷ 5,000 = $0.70 per hour
- Premium bench: $6,500 ÷ 5,000 = $1.30 per hour
That $0.40-per-hour premium for institutional specs buys you flatness, stiffness, and racking resistance. If a wobbly bench costs you 20 minutes per 5-hour session (6.7% of time) troubleshooting, refixturing, or correcting mistakes, you've lost $700+ in productivity over 5 years, and found no new value. The institutional bench pays for itself in reduced frustration and rework.
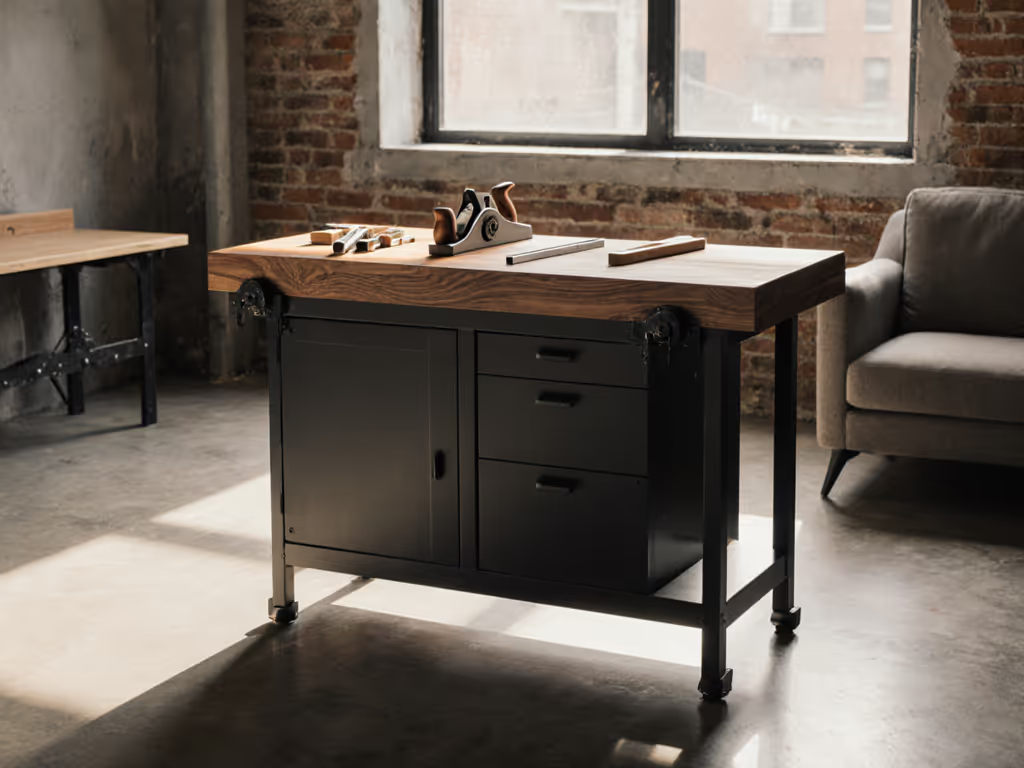
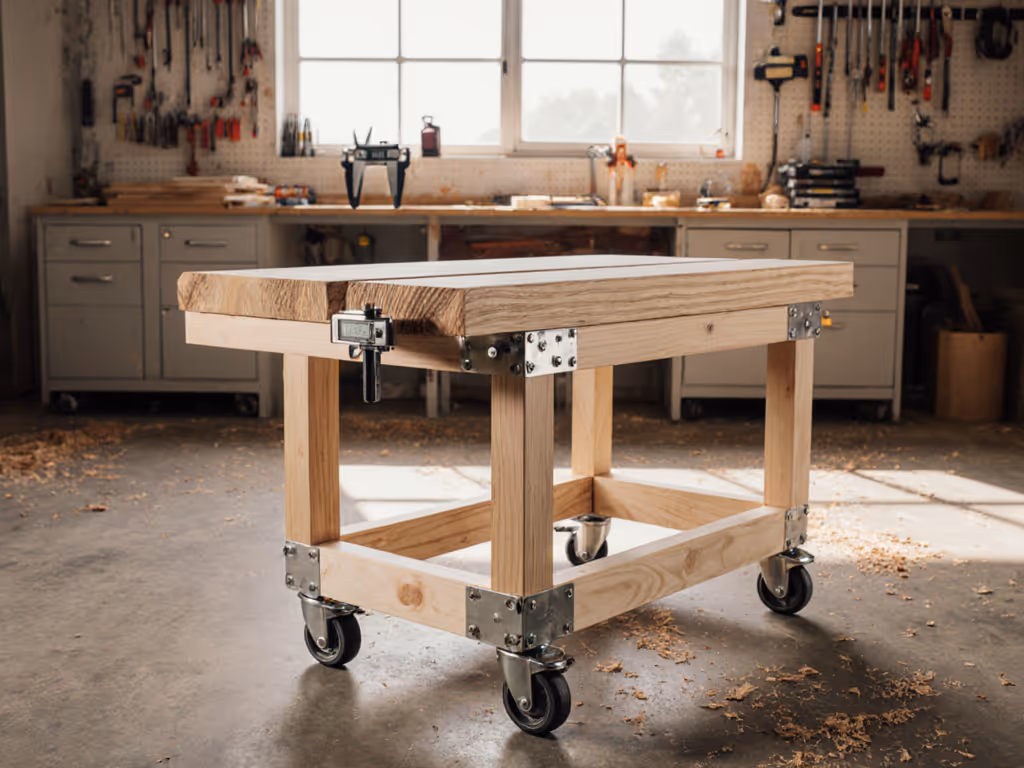
What's the Ideal Upgrade Path for Institutional Benches?
Institutional settings rarely buy a bench once and ignore it. They layer features as budgets and uses evolve.
Phase 1 (Foundation): Stiff, flat base frame with bolted top and standard vise setup. Cost: ~$3,000. Performance: handles 80% of woodworking and assembly tasks.
Phase 2 (18-24 months later): Add second leg vise or specialty vise (tail vise for panel work, milling vise for metal). Add T-track rails for modular clamping. Cost: +$600-1,000.
Phase 3 (3-5 years): Replace or resurface top if worn; add mobile base with pneumatic leveling feet if the bench needs to move between spaces. Cost: +$800-1,500. If mobility is on deck, choose a workbench caster system that locks solid without adding wobble.
Phase 4 (5+ years): Integrate power-tool stations (outfeed table, sanding surface, finishing zone) as modular satellites orbiting the central bench. Treat the bench as the precision hub of a larger system.
This staged approach means the initial investment is lower ($3,000 vs. $5,500 for a fully loaded bench), and upgrades flow as budgets allow and uses clarify. Frame never becomes obsolete; it becomes a platform.
How Do Institutional Benches Compare for Best Workbench Woodworking Performance?
Beyond numbers, institutional benches divide into two philosophies:
1. Precision-Machining Approach
- CNC-drilled dog holes, laser-aligned vise plates, epoxy tops.
- High repeatability; minimal hand-finishing on assembly.
- Best for: Production shops, educational environments where consistency matters.
- Trade-off: Higher upfront cost; less customization.
2. Modular-Build Approach
- Bolted frames, interchangeable tops and vise assemblies, field-drilled dog holes.
- Lower upfront cost; easy repair and customization.
- Best for: Makerspaces, small shops that evolve their needs.
- Trade-off: Requires more careful assembly; less geometric precision from the factory.
Both can deliver institutional performance if designed with stiffness, flatness, and racking resistance in mind. The choice depends on your shop's philosophy: Do you want a precision instrument you configure once, or a platform you customize and evolve?
Summary and Final Verdict
An institutional workbench is not a luxury. It's an investment in precision, safety, and productivity. The benches that outlast trends are those built to measurement standards, not marketing narratives.
The Checklist:
- Stiffness: < 0.05 inches deflection under 300 pounds, measured at midspan with a dial indicator.
- Flatness: Grade A (< 0.004 inch per 12 inches) initially; maintainable to this spec with shimming.
- Racking Resistance: Diagonal bracing and wide stance; < 0.05 inches movement under 100-pound lateral force.
- Clamping: Two vises minimum, 24-32 dog holes at 4-inch centers, T-track for modularity.
- Height: 36-42 inches matched to user stature and primary tasks.
- Top Material: Laminated MDF or engineered stone for institutional settings; less seasonal drift than solid wood.
- Upgrade Path: Bolted assemblies, standardized interfaces (20mm, 3/4 inch, or MFT/96), modular components.
- Total Cost: $3,000-5,000 for a capable institutional bench; < $1 per shop hour over 5 years.
Control the variables, and the #'s will explain themselves. A bench that measures well, feels solid, and holds tolerances isn't just furniture, it's the foundation of your shop's output. If you're still debating, borrow a dial indicator and test the benches you're considering. Let the numbers speak. The bench that doesn't wobble when loaded is the one that'll earn its cost back in reduced rework and fewer frustrations before the first year is out.
Related Articles